Managers can create new user accounts from within a space, only if this action has been enabled by a site admin.
Good to know: External user accounts can be created from within any space at any time. No site admin permission is required to do this. For more on the difference between users and external users, see About: Chorus and people.
Step-by-step:
1. Select the space you want to manage.
2. Click Manage → This Space in the right-hand sidebar.
The Manage Space modal will open at the People tab.
3. Click Create New User at the top of the people column of this modal.
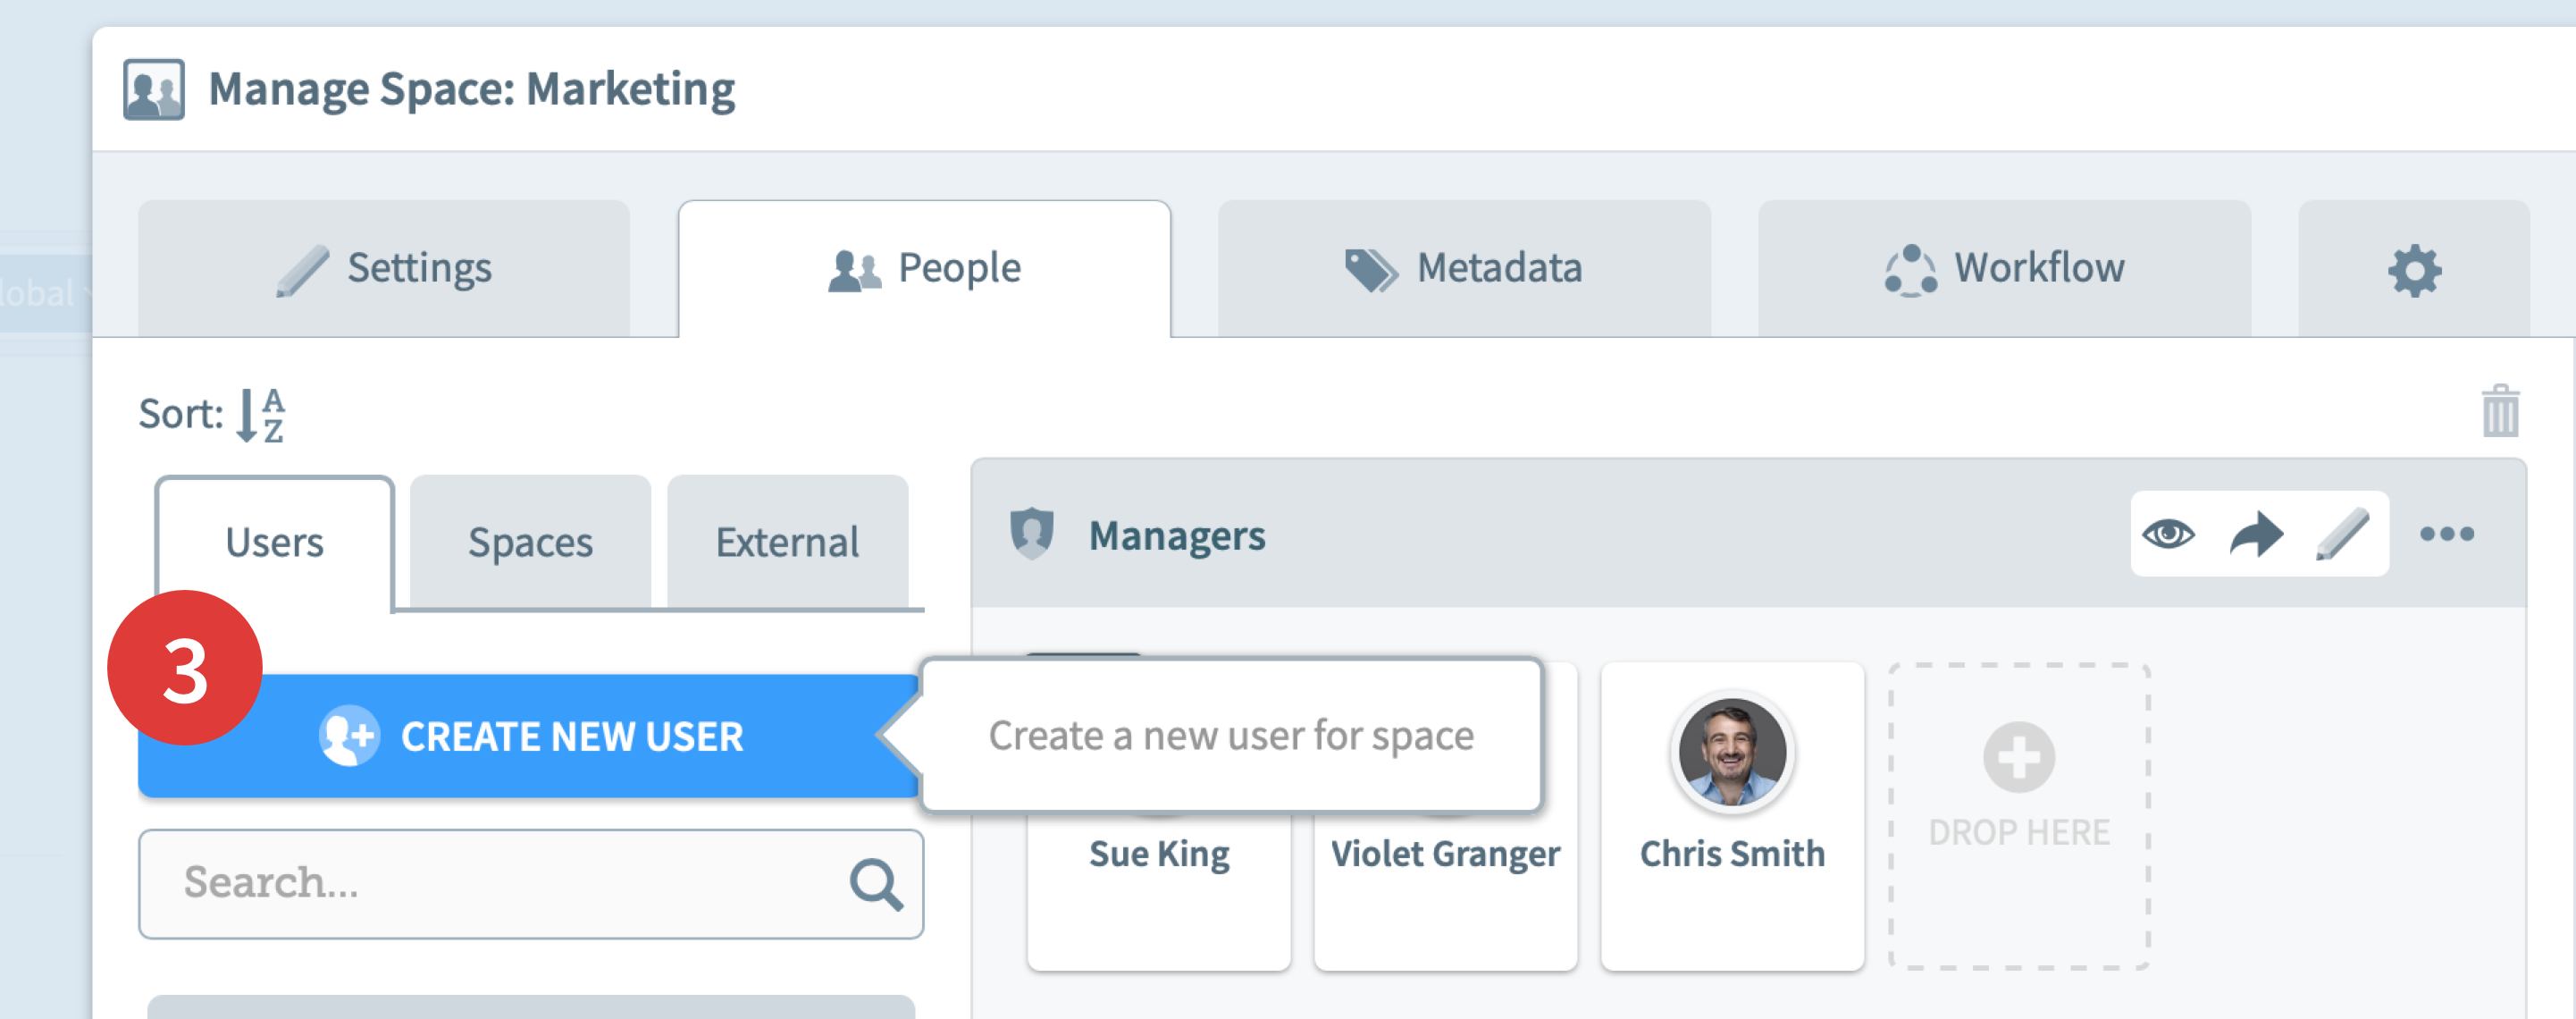
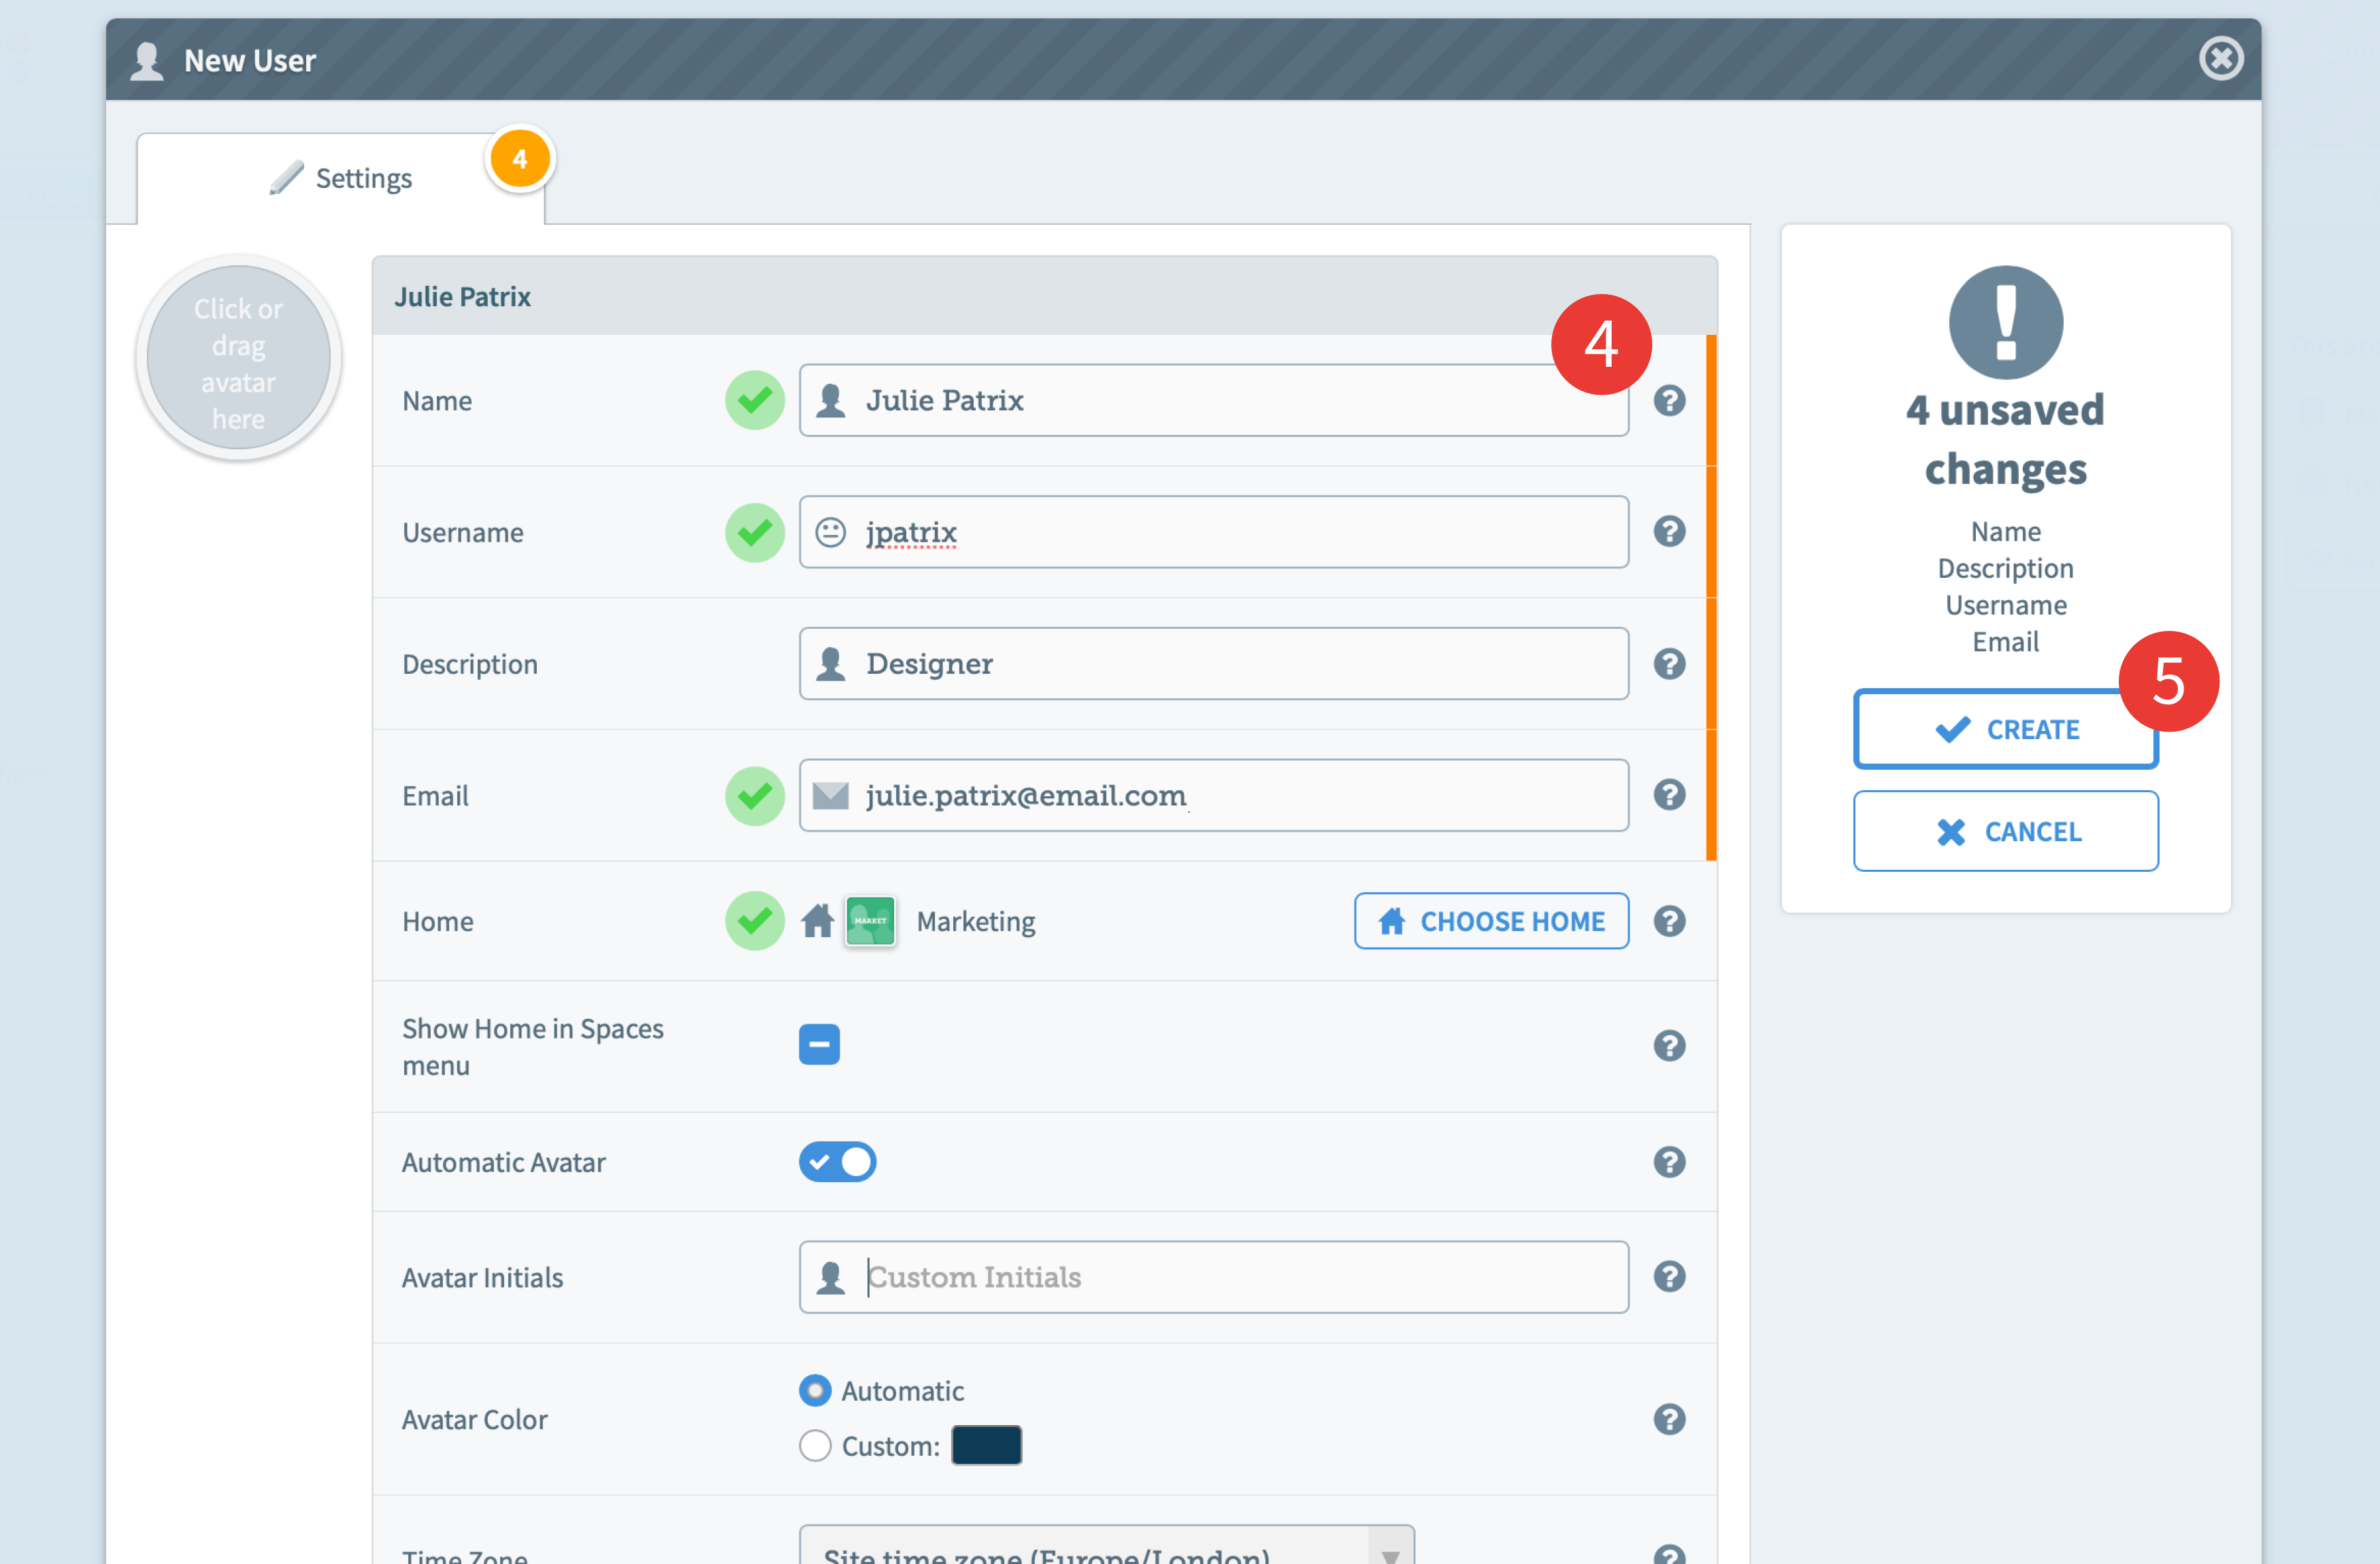
A New User modal will open.
4. Edit this user's details. See the page: Create a new user for instructions.
5. Click Create. The new user will receive an email entitled ‘Please set your password’ with sign in instructions.
OR
To create a new external user from within this space:
3. Go to the External tab of the people column in the Manage Space modal.
4. Click Add External User.
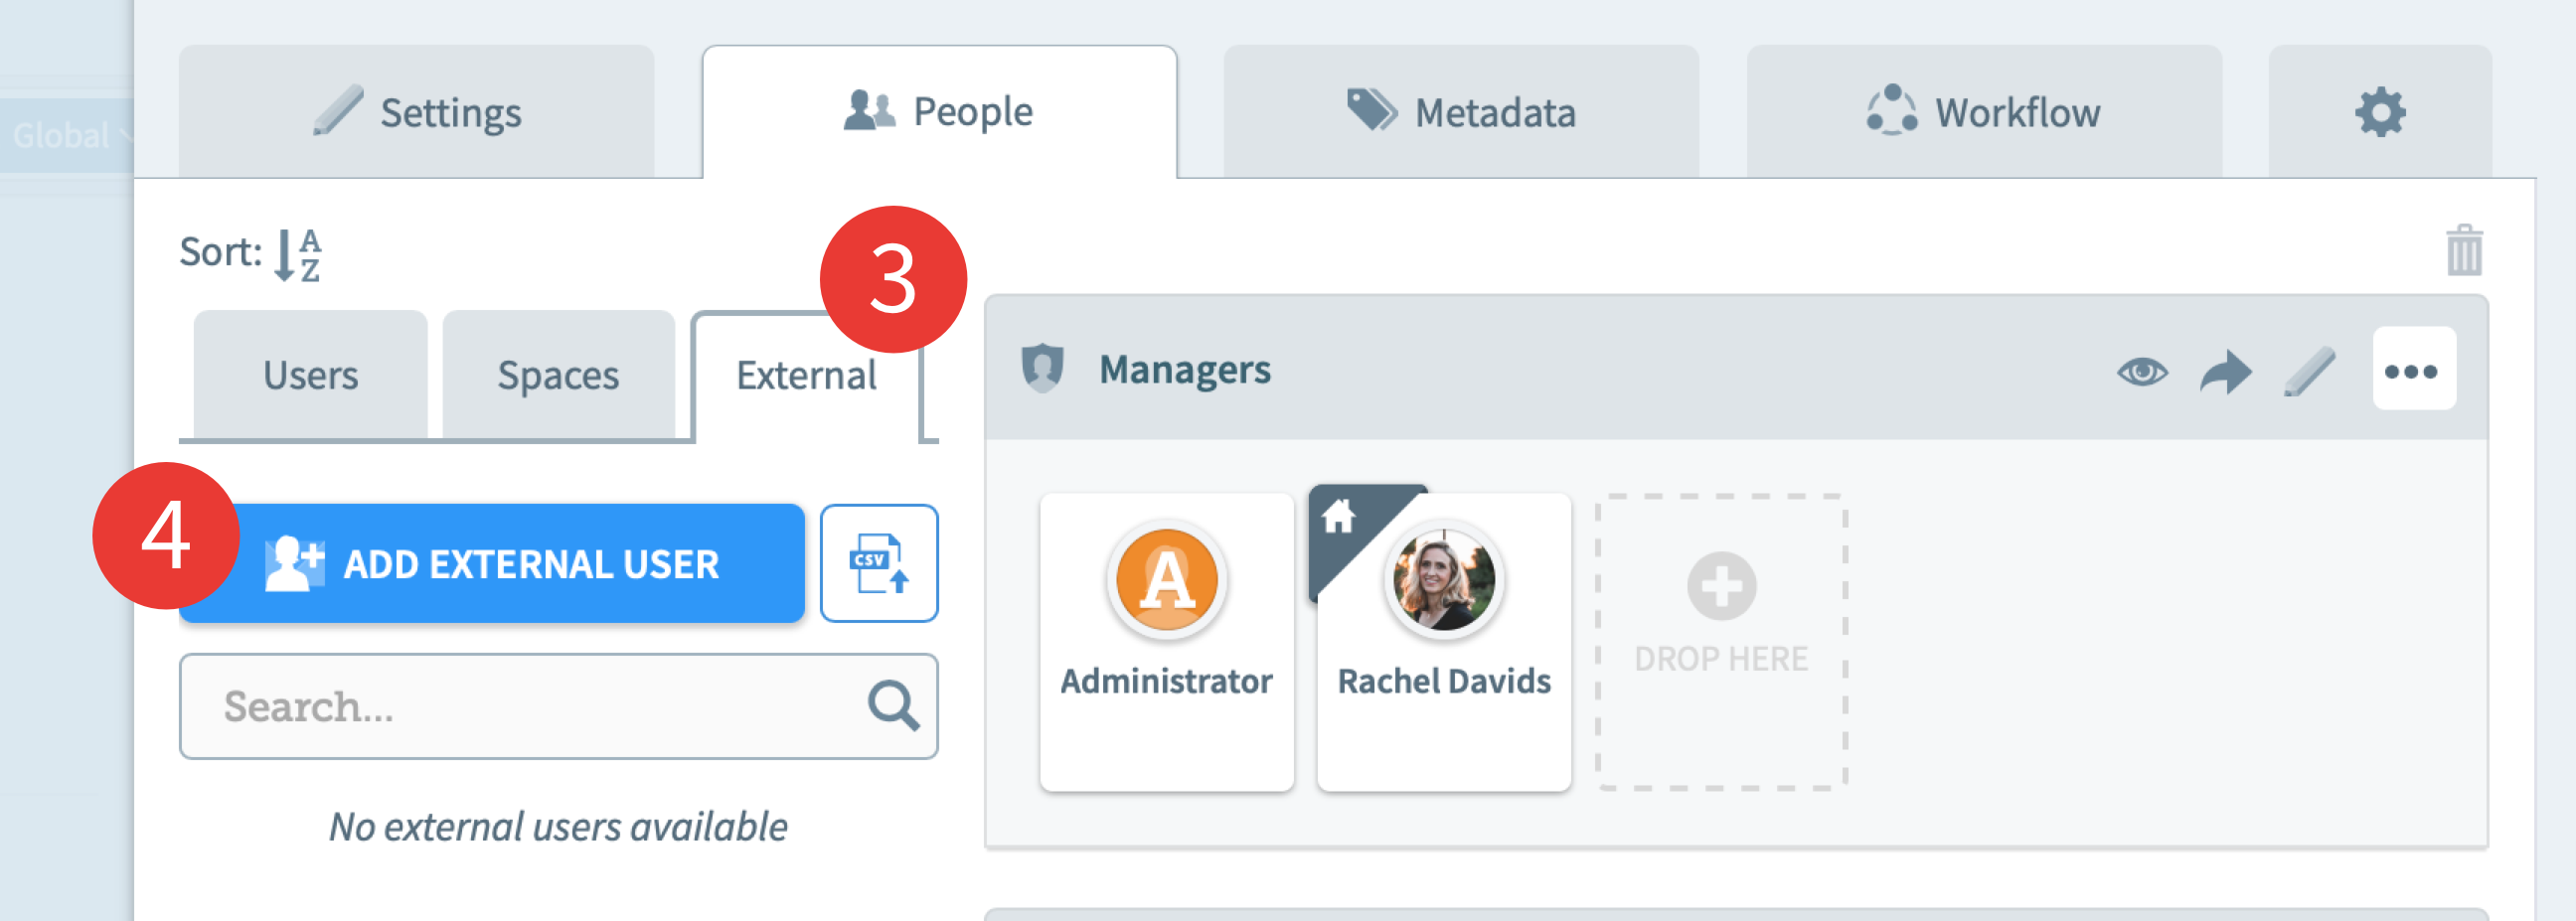
An Add External User modal will open.
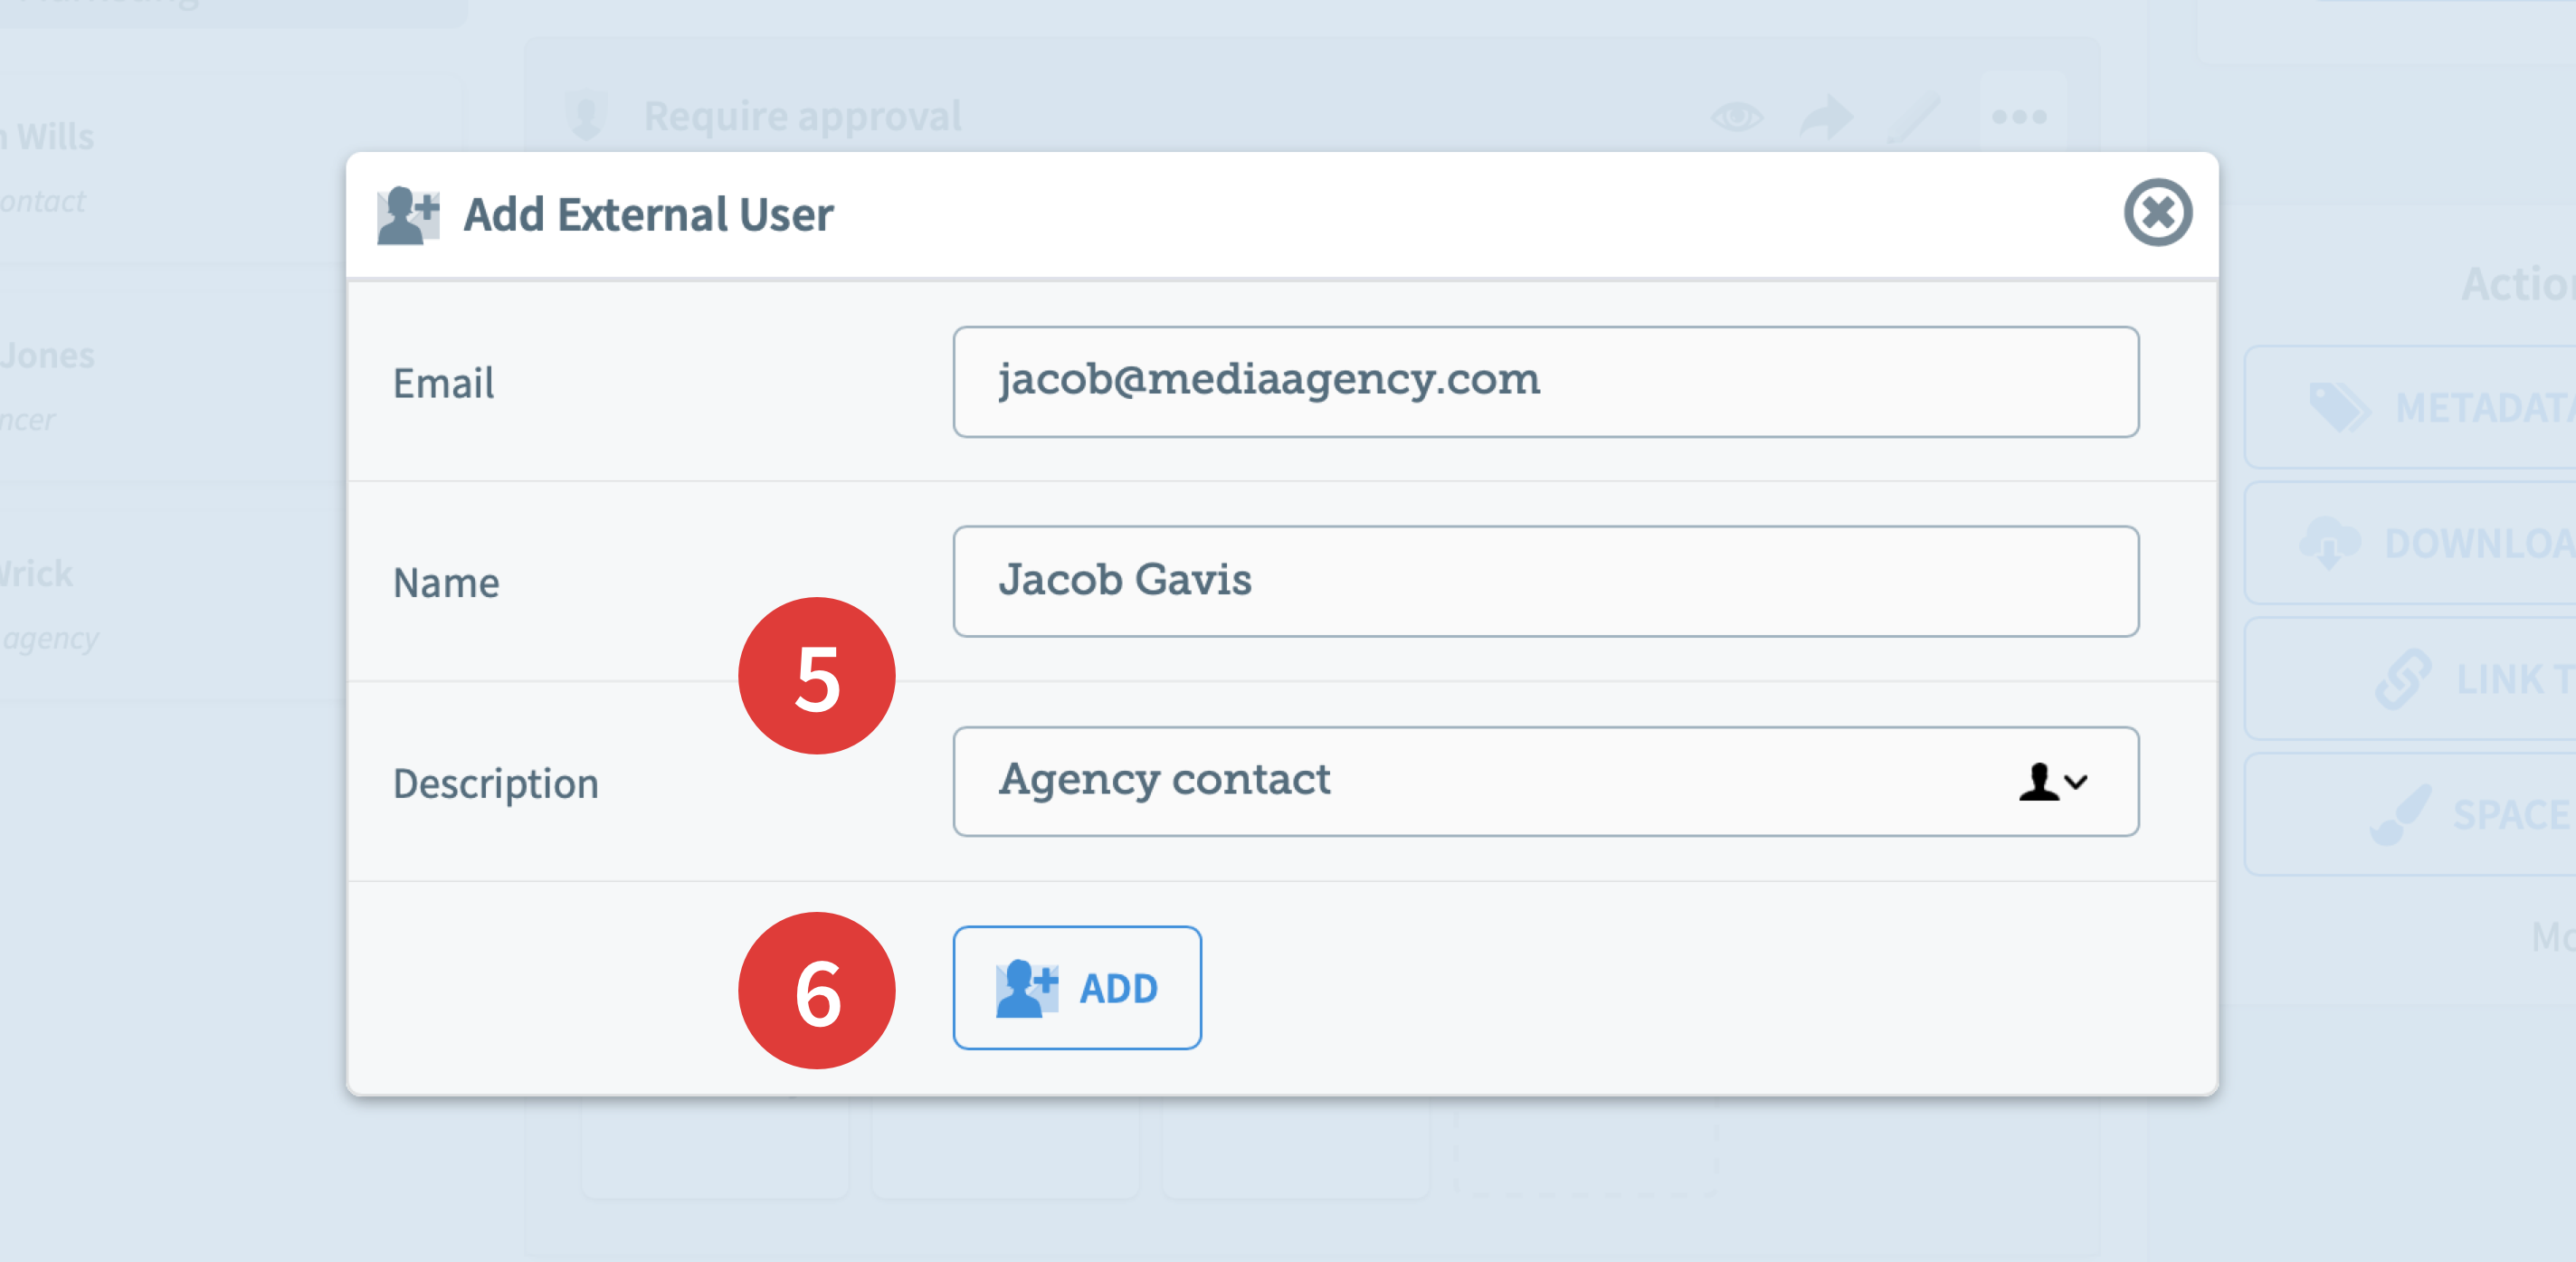
5. Enter the email address, name, and description of the new external user.
6. Click Save. The new external user will receive an email once someone share a folder or some files with him/her, or once someone add this user to a role in that space. External users don’t have usernames and passwords, they will access Chorus using the link in the email they receive.
If you want to create an external user account for a lot of people, you don't have to create one by one, you can also:
Create and edit external users in batch:
First, you will need to create a spreadsheet in a spreadsheet application such as Excel. This spreadsheet needs to have columns for usernames, email addresses and descriptions (optional). Once the CSV file is ready, you can import it into Chorus.
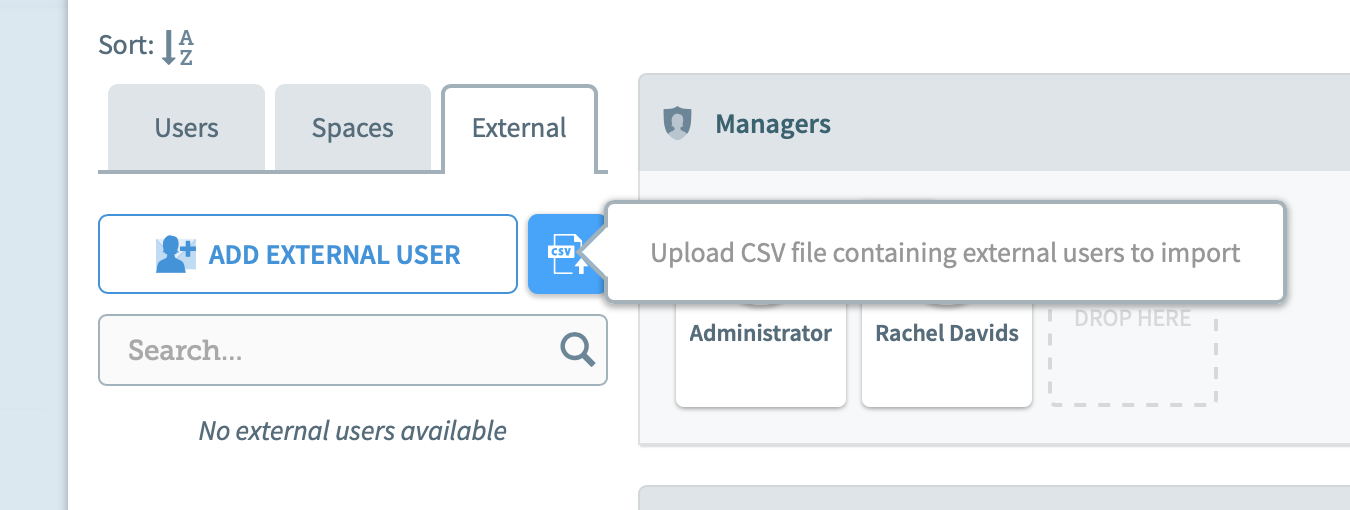
1. Go to the External tab of the people column in the Manage Space modal and click the "CSV" icon button.
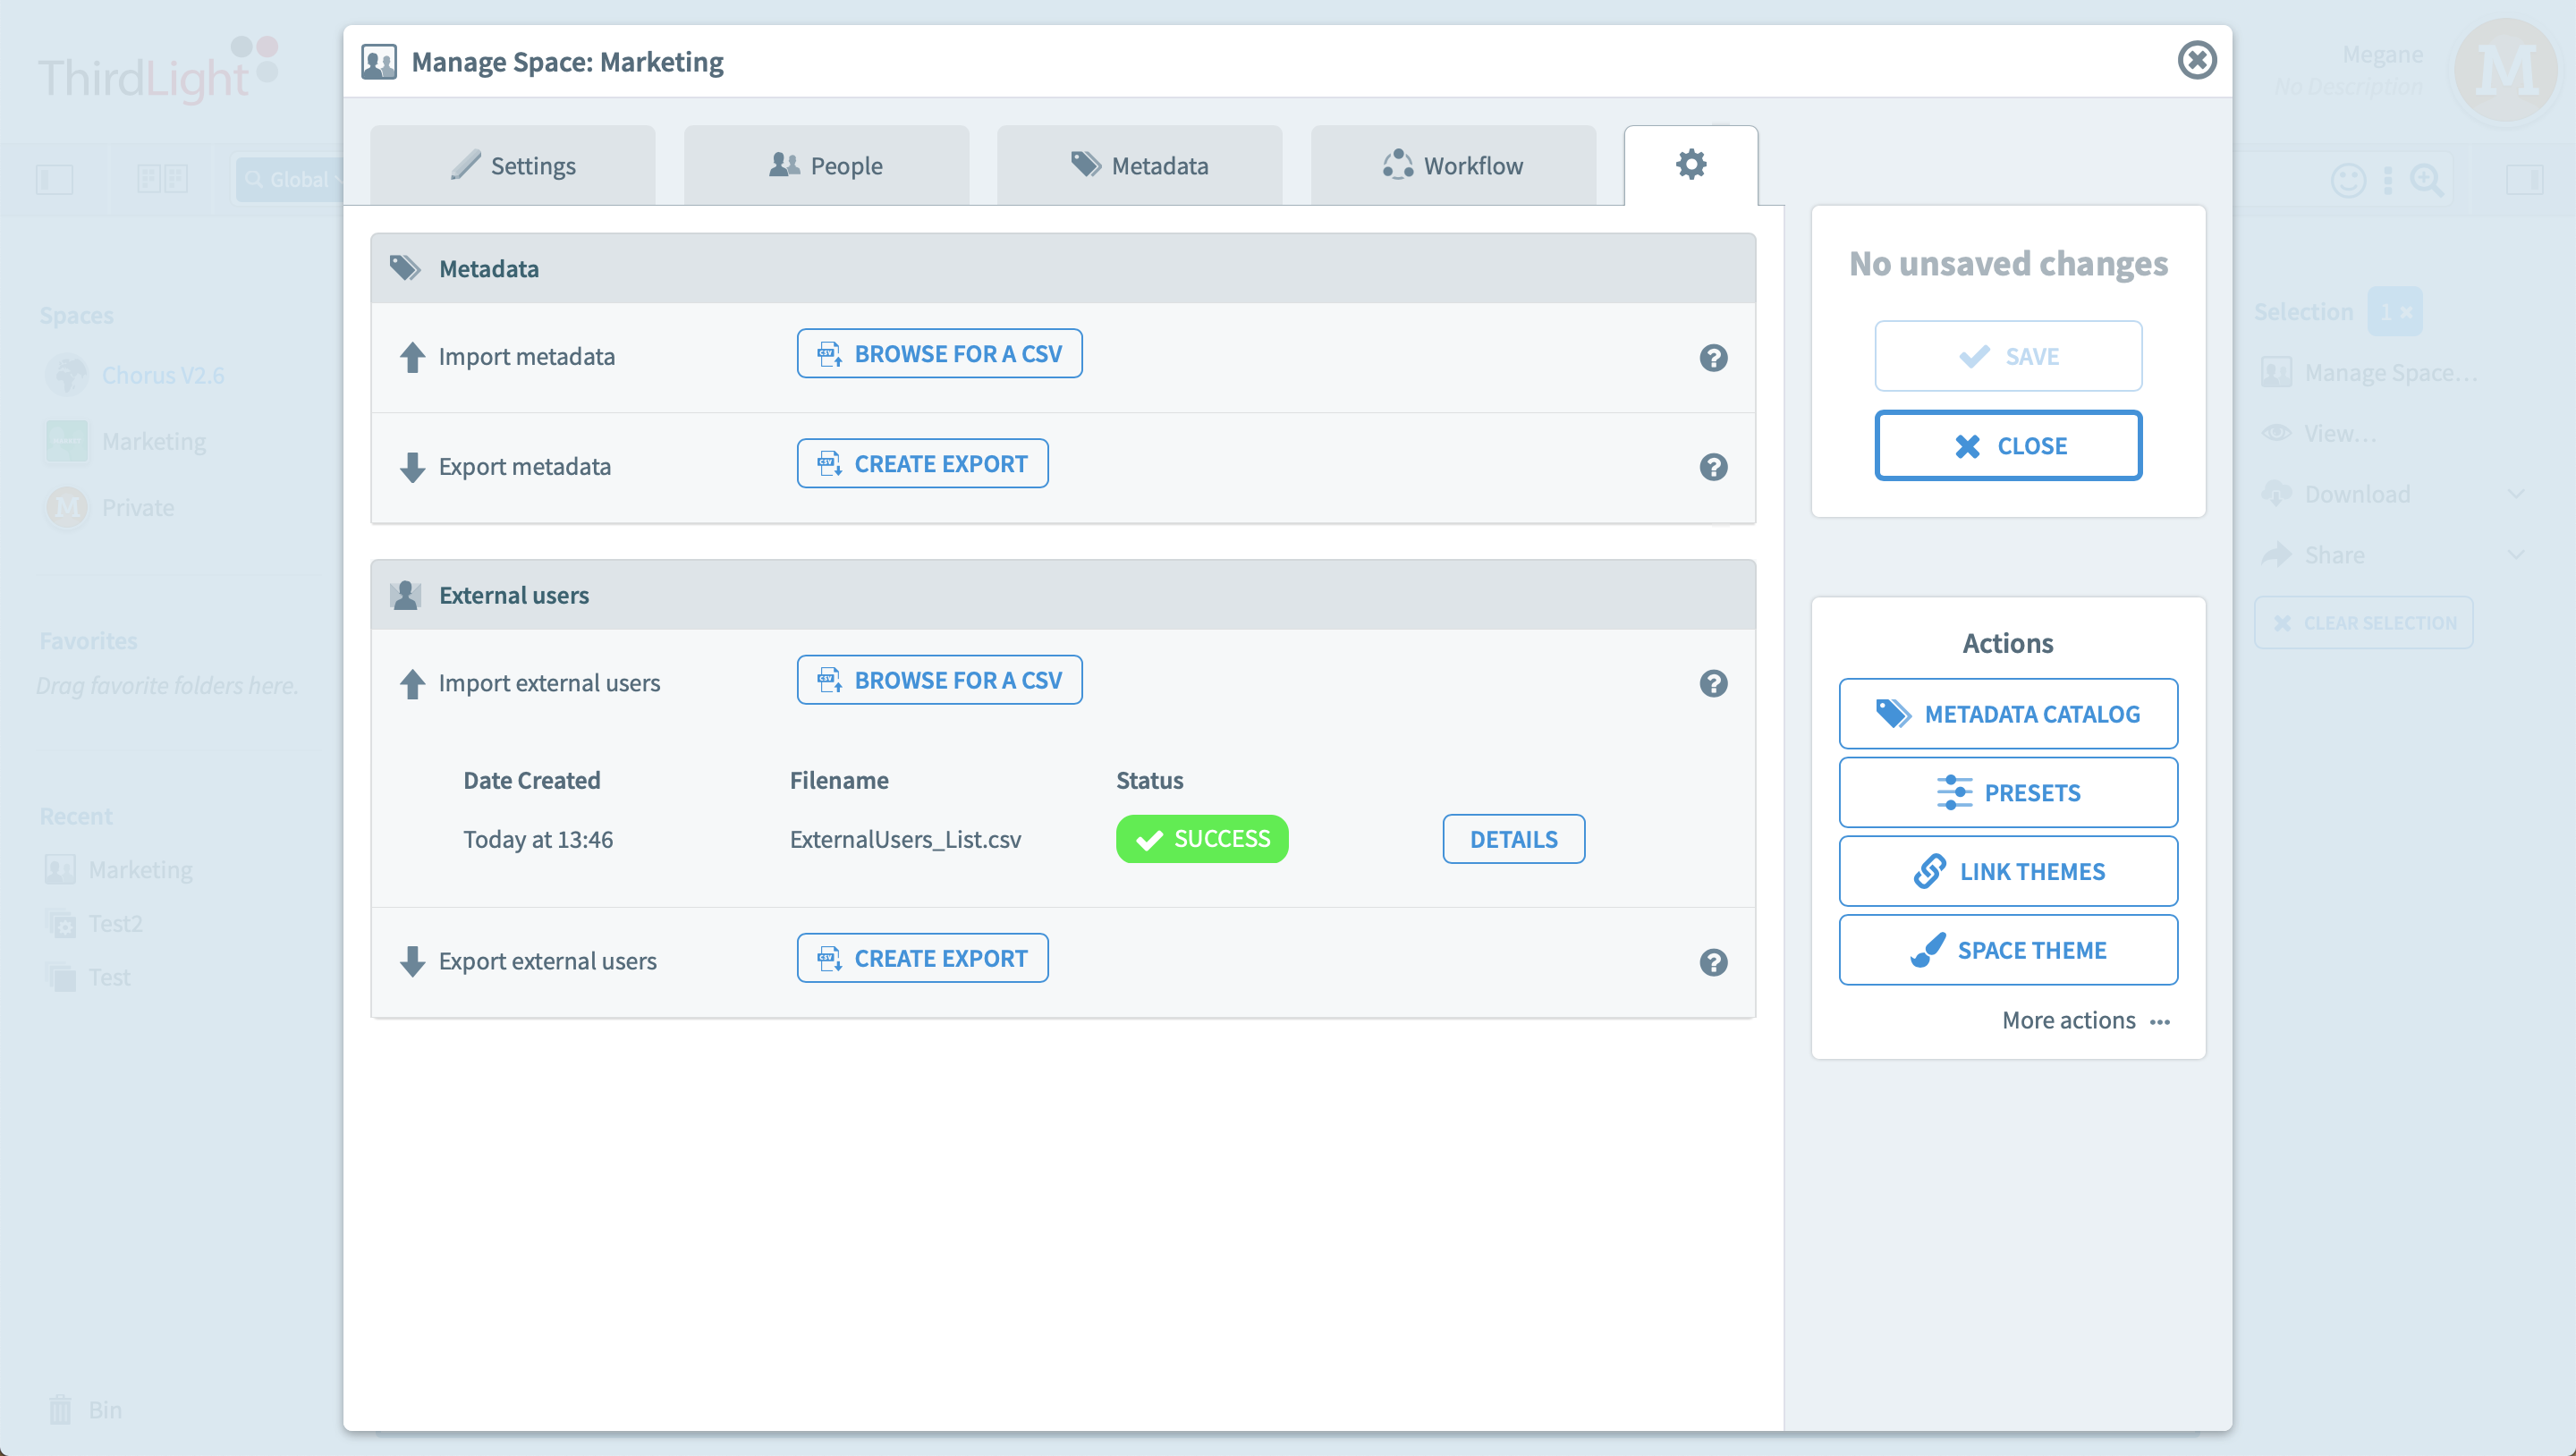
1bis. You can also go to the cog/settings tab, and click on "Browse for a CSV" in the External Users section. You will then be able to import a CSV file from your computer.

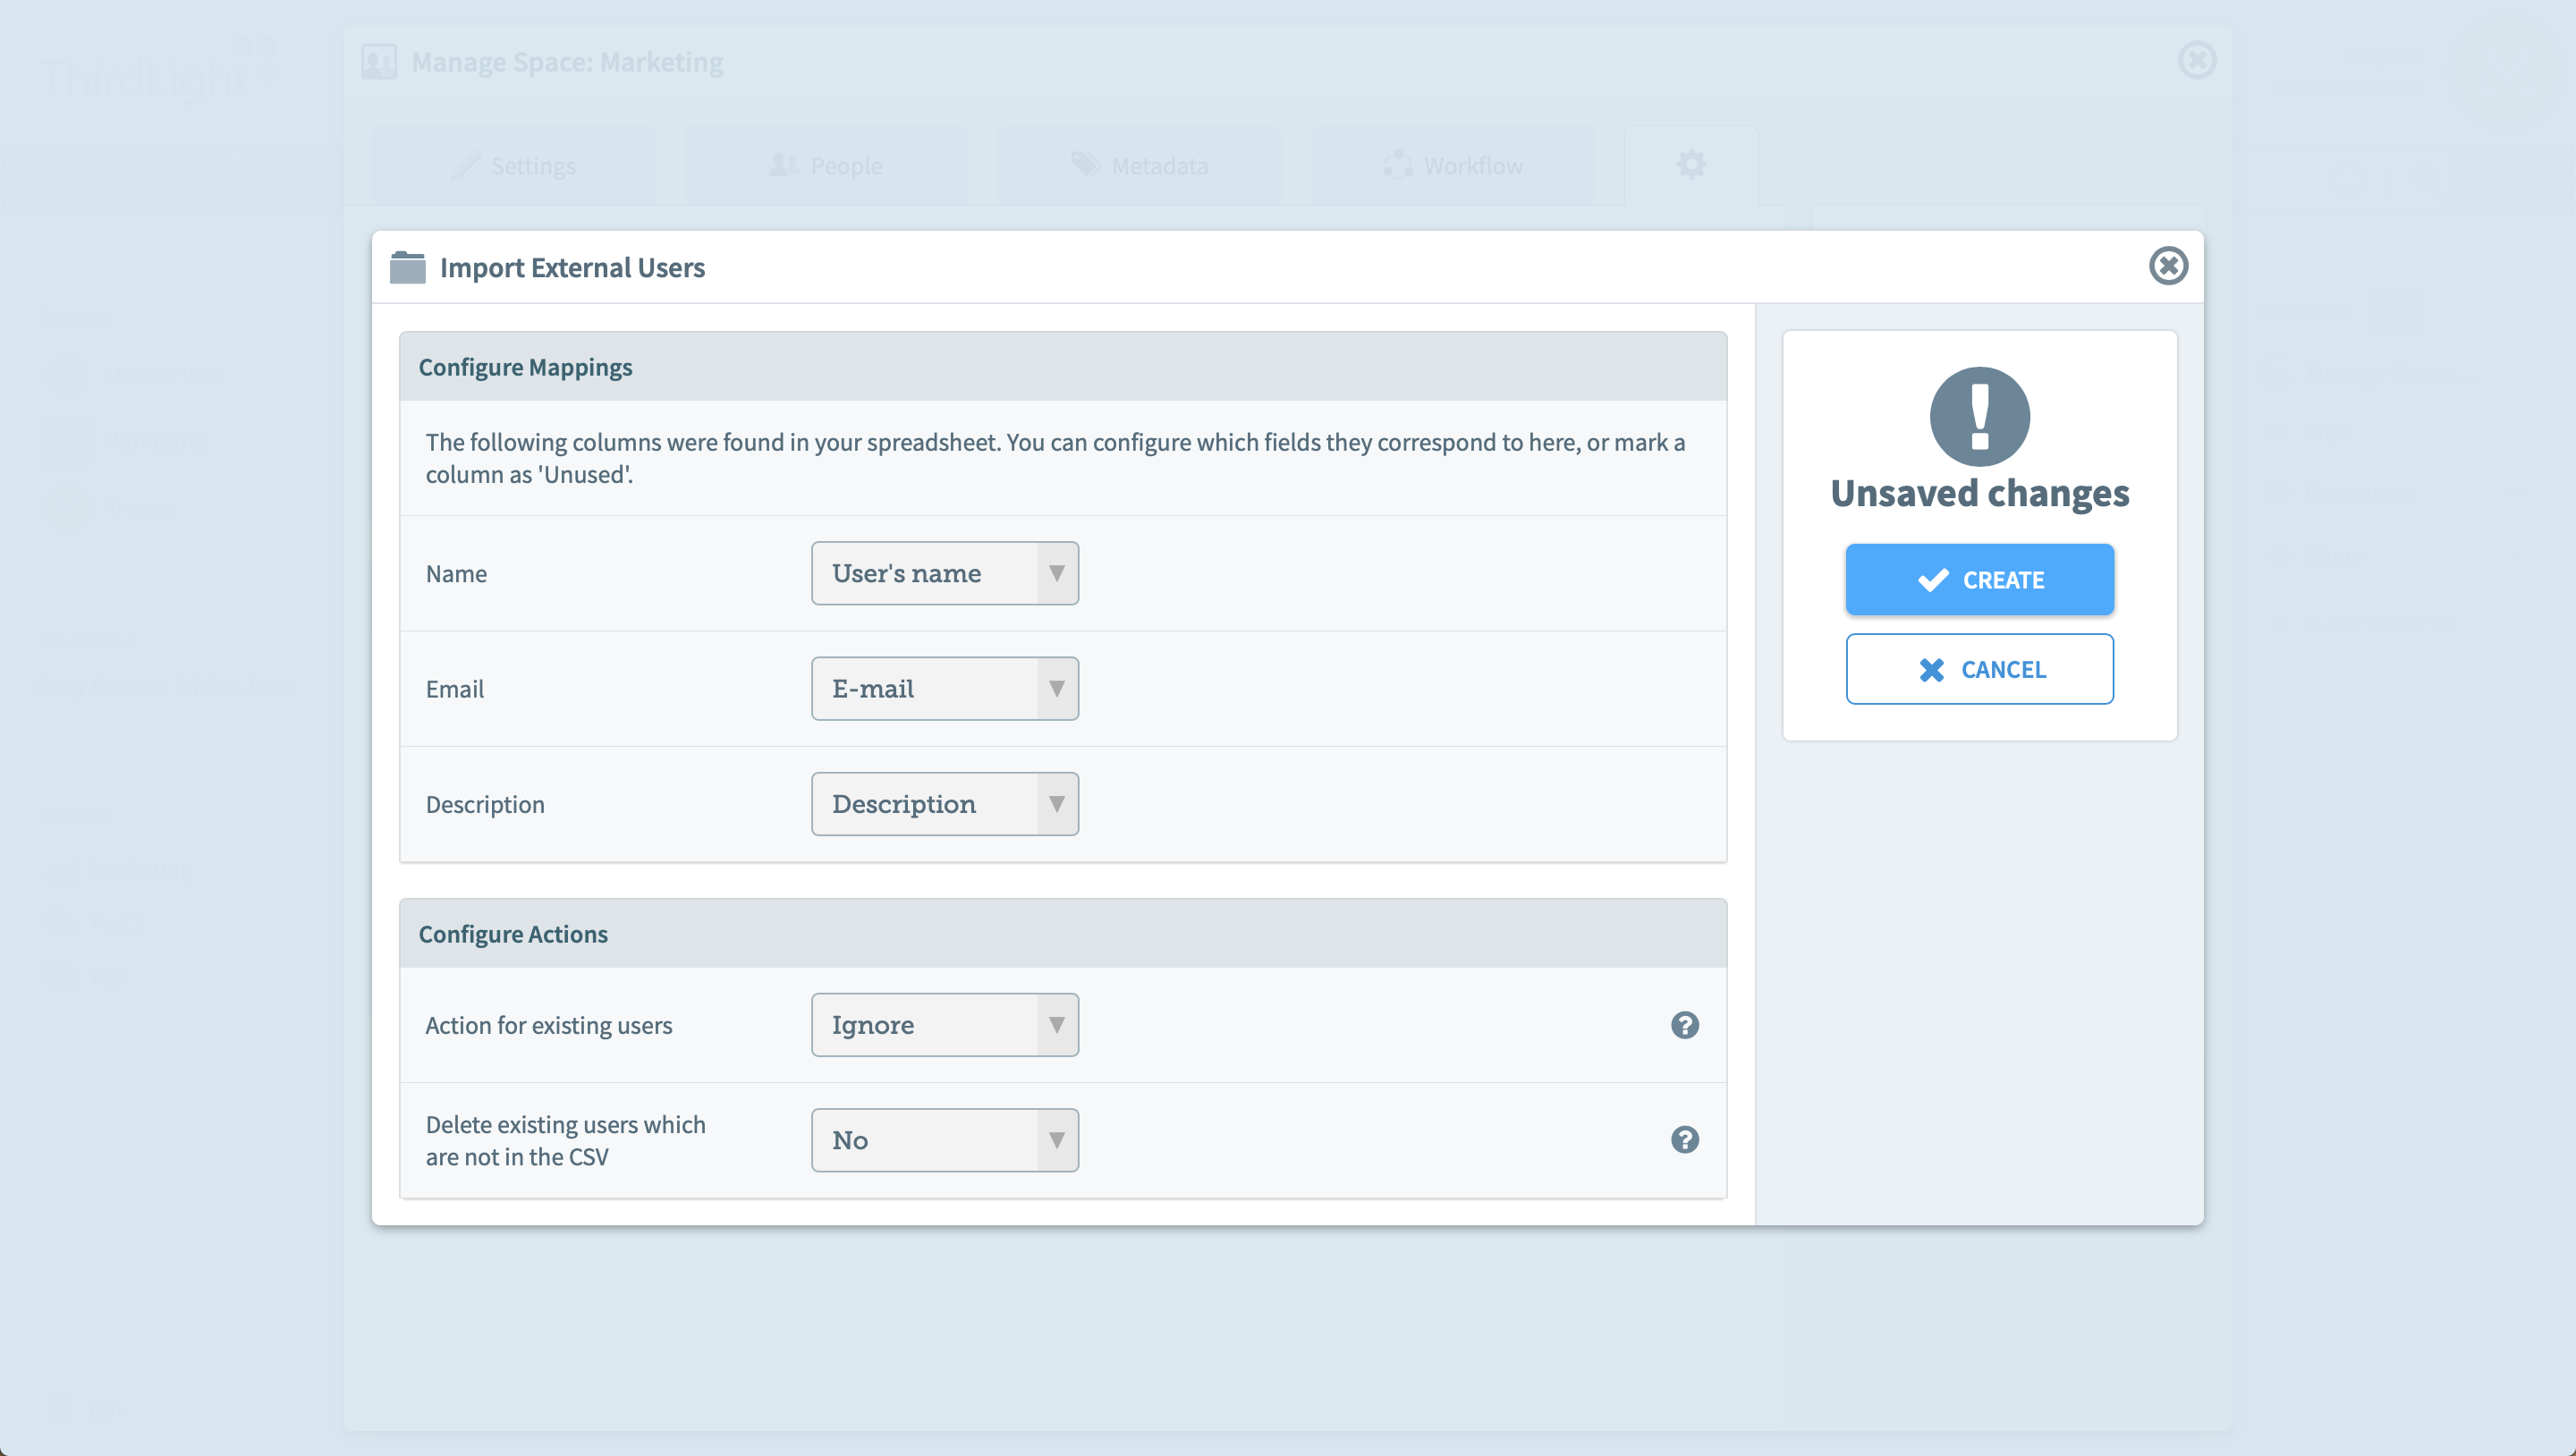
When performing the import, Chorus will ask you to match each column on the CSV file (on the left) to E-mail, User's name or description. If your headers in the CSV file are already called this way then these will be auto-filled.
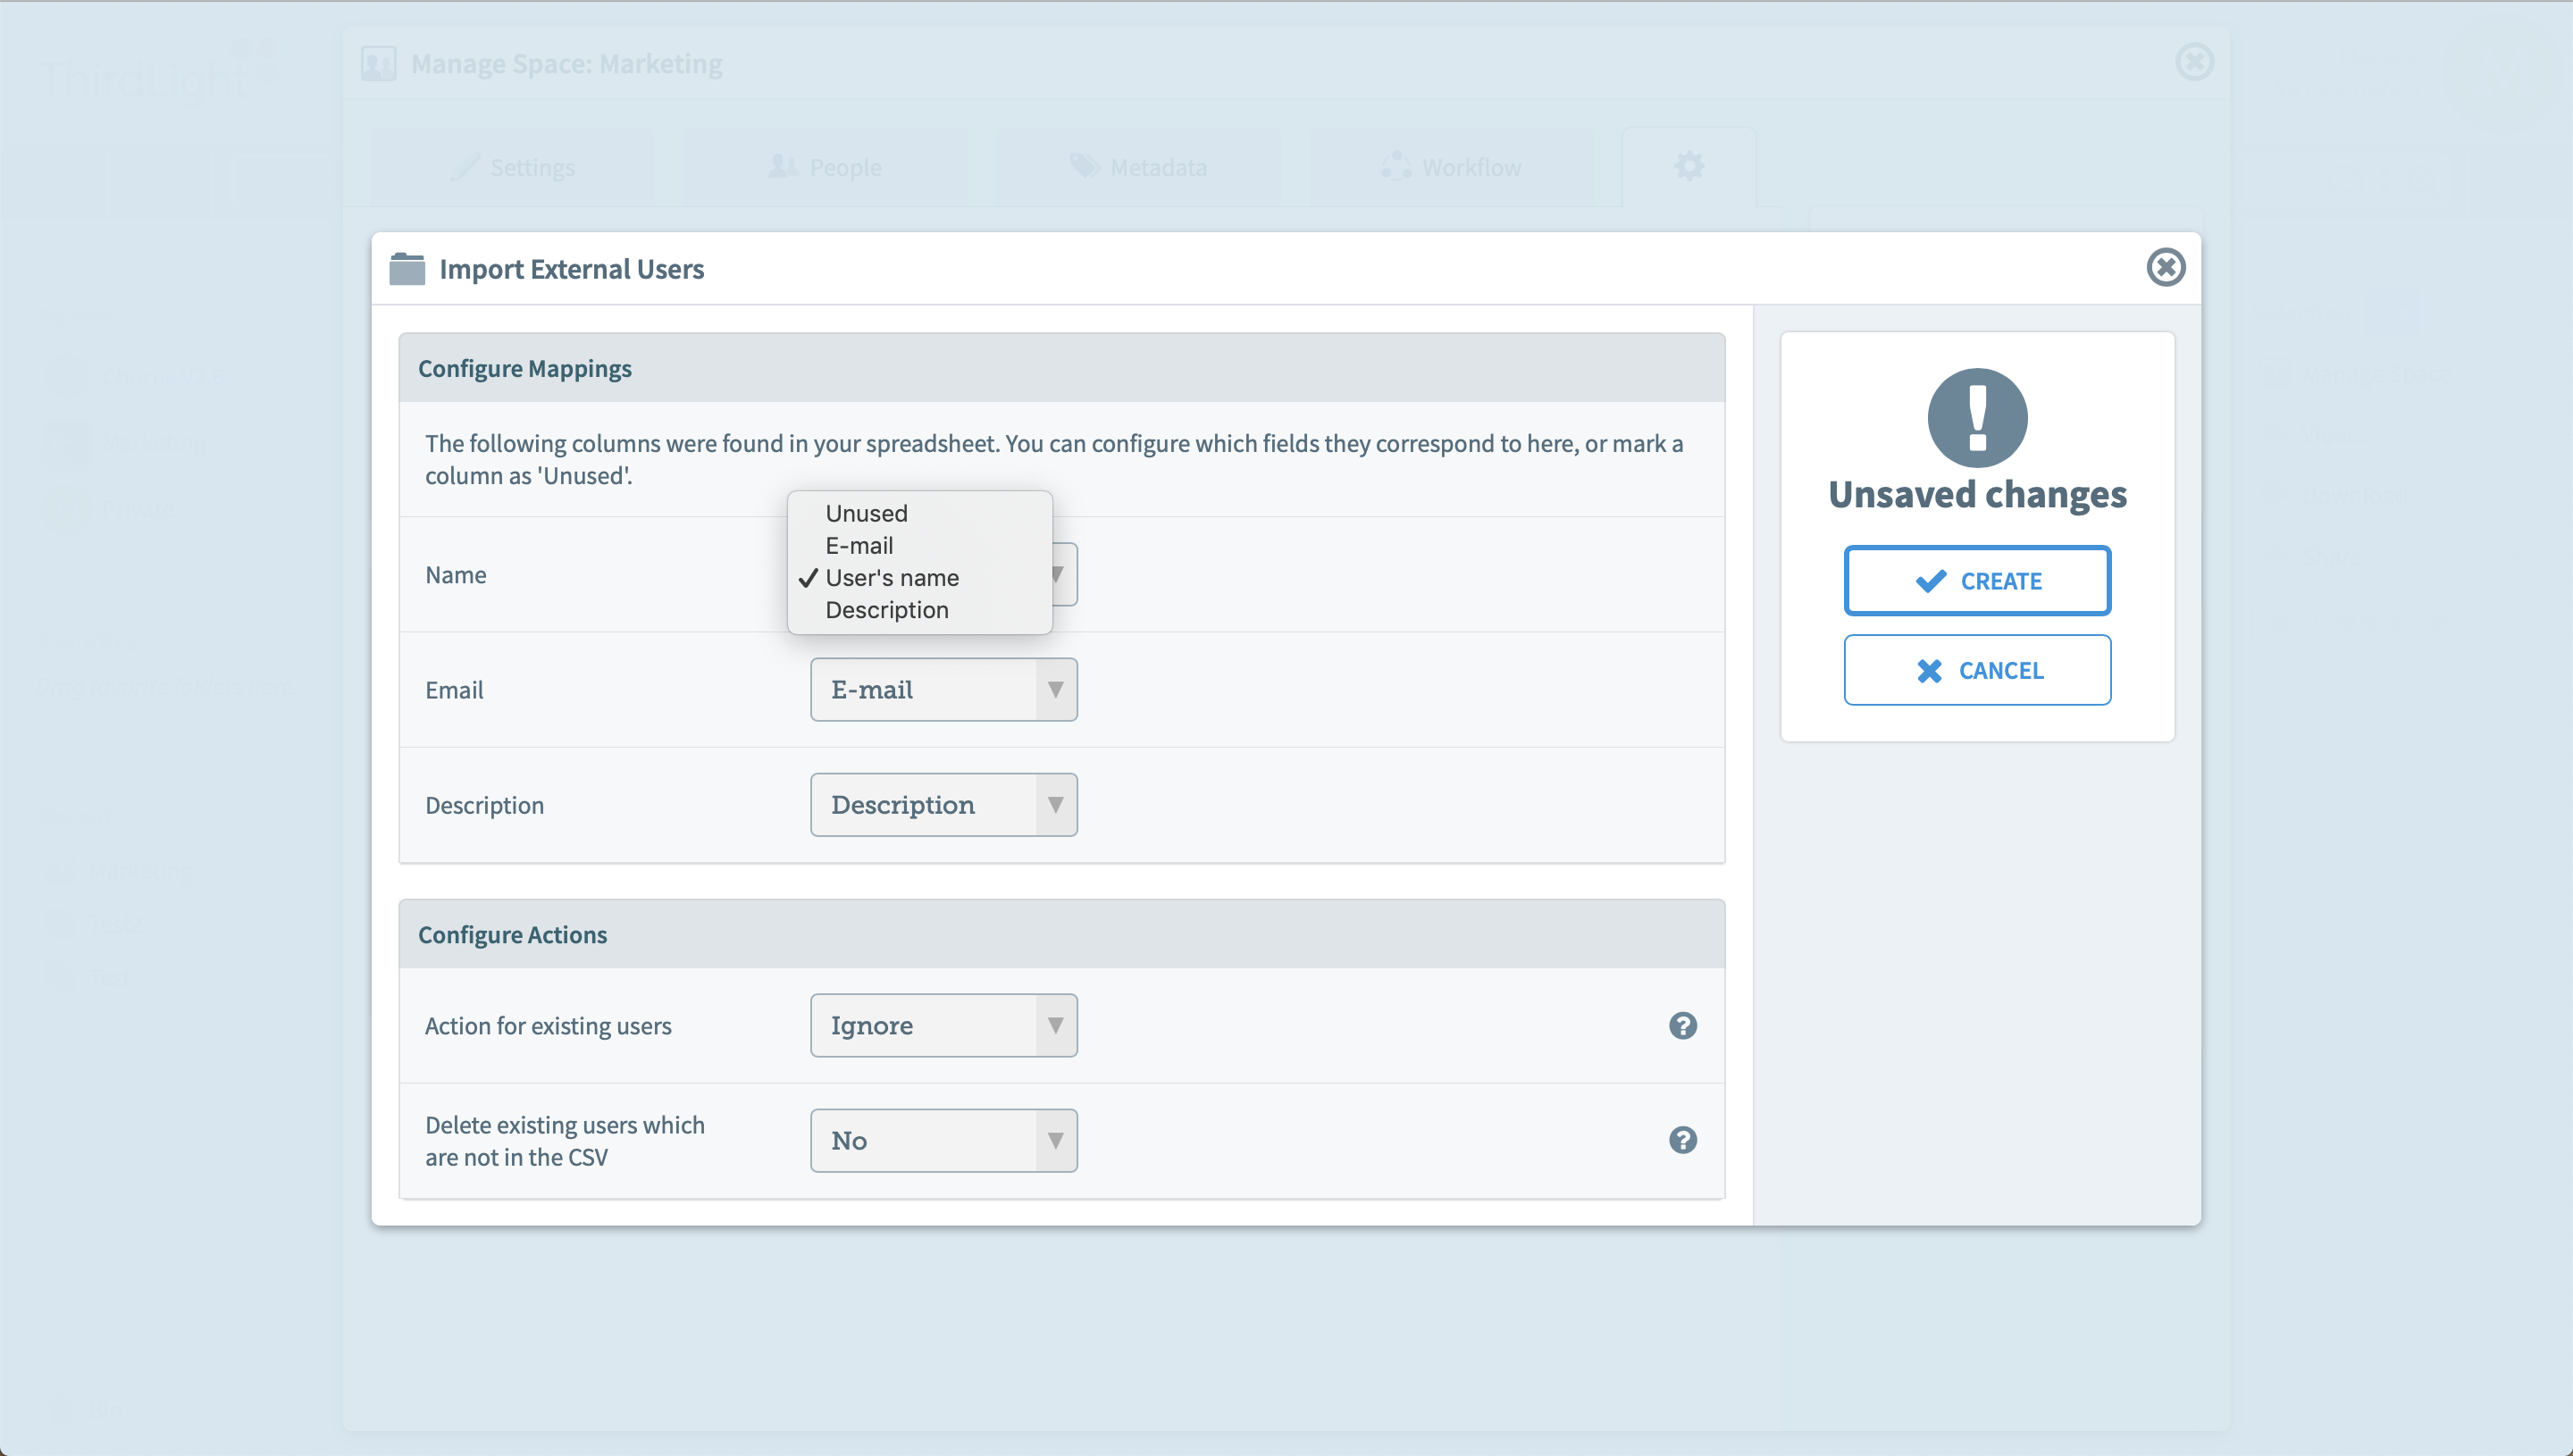
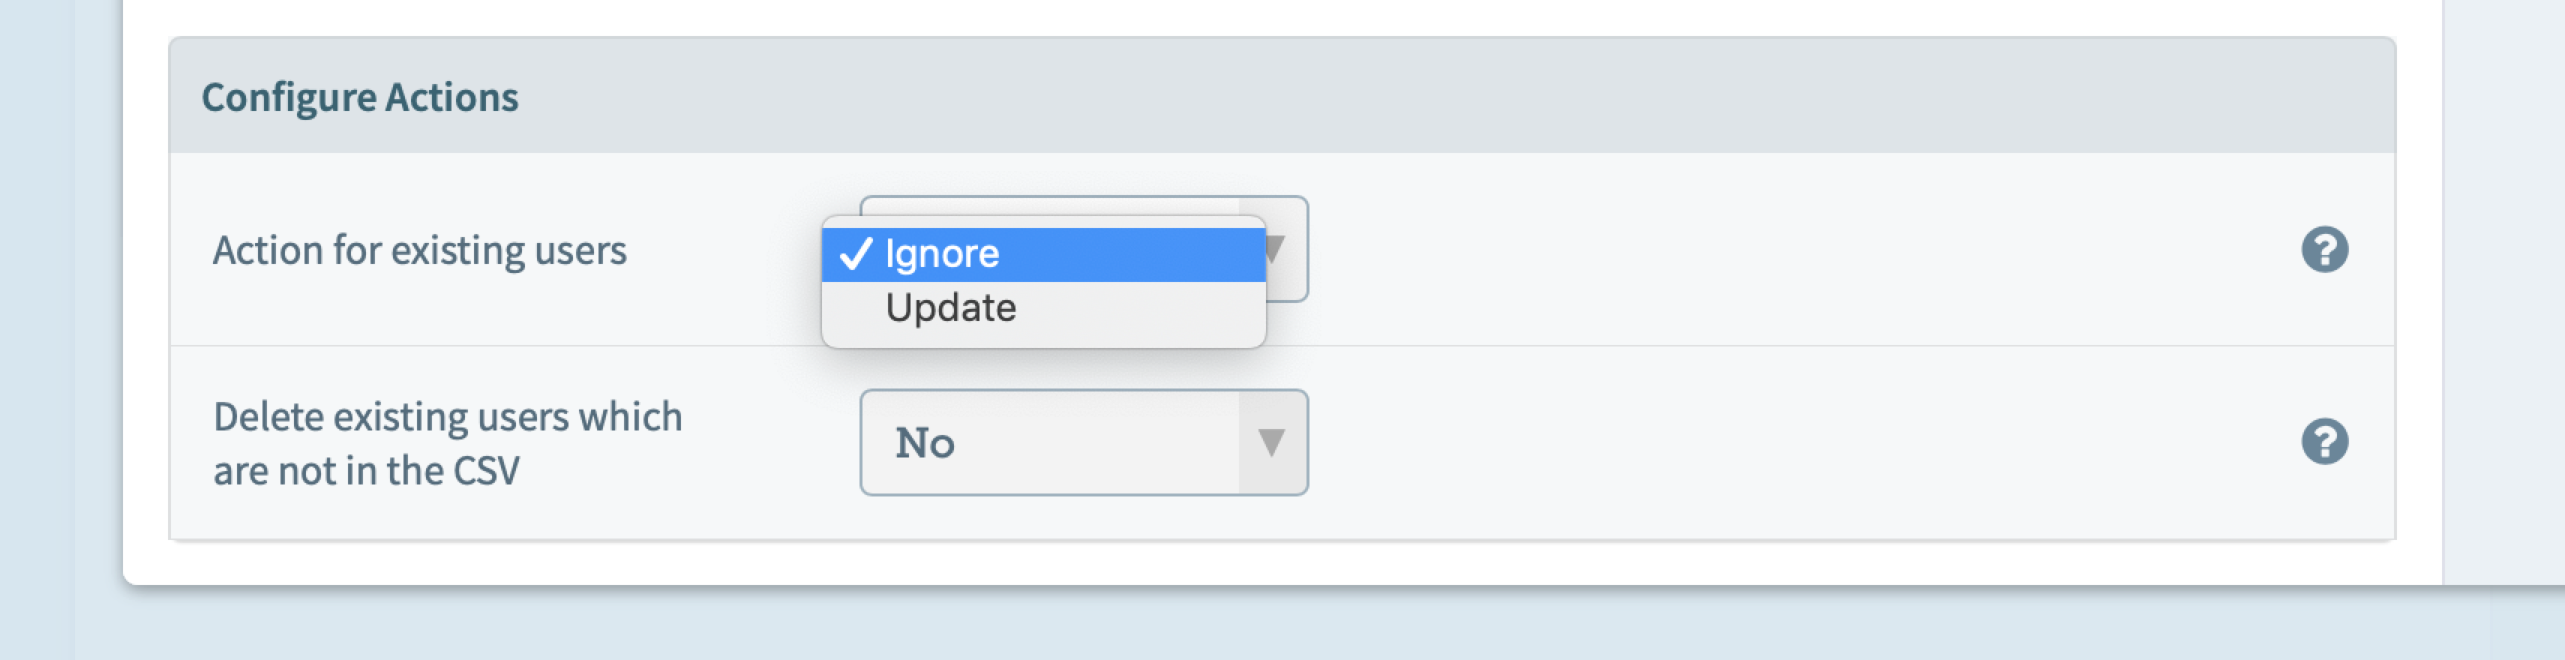
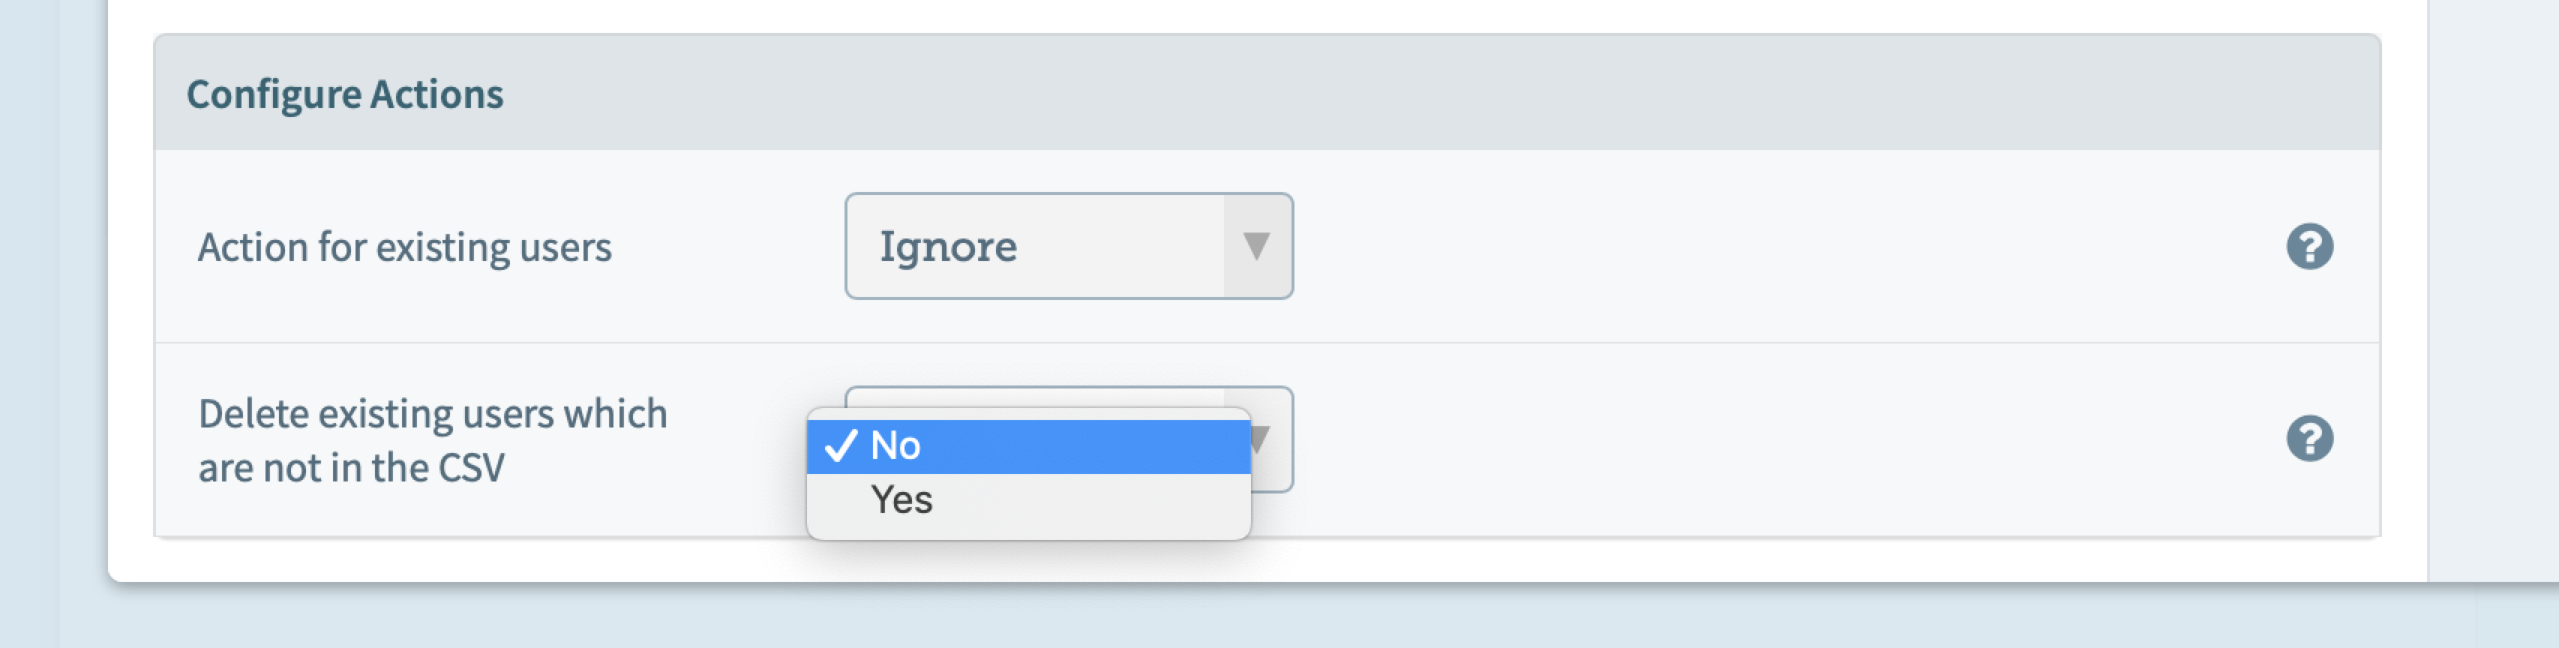
When importing users you can decide whether existing users are overwritten or deleted by the import.
Once you have done the mapping and decided on the actions to perform, click Create.
Once your import is finished, Chorus will display its status as "success". If the Status says "partial" or "failed", click on the "Details" button to find out more.
You can import the same CSV file in as many spaces as you need the external users to be created in.
You can also export a CSV file with the information on the external users currently available in this space.
Create a few external users and then do an export to see how a table should look like when you prepare one for import.
More on managing users in spaces:
You are here:
