WHAT: The watermarks module lets you apply custom watermarks to the media in you spaces.
WHY: Watermarks help managers protect their media and allow creatives to use media in mockups without approval
Site Admins
How to set up Watermarks on a site?
Admins can enable a default watermark and apply custom watermarks of their own to files in the site. With options to set the image as tiled or placed, admins can then apply size, spacing, and opacity settings with a preview box showing the current settings. Watermarks are then managed at the space level via roles and permissions.
Step-by-step:
- Click Admin at the top of Chorus and sign in to elevate.
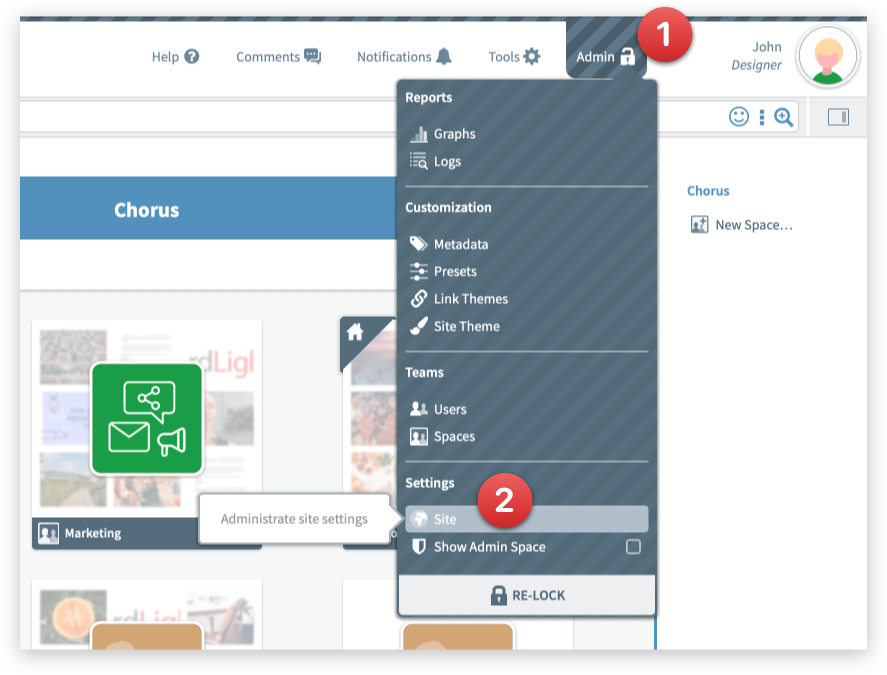
- Choose Settings > Site from the Admin menu. The Site Admin modal will open.
- Click the Watermarking section. The default setting for watermarks is off.
- Toggle the Enable Watermarking button on.
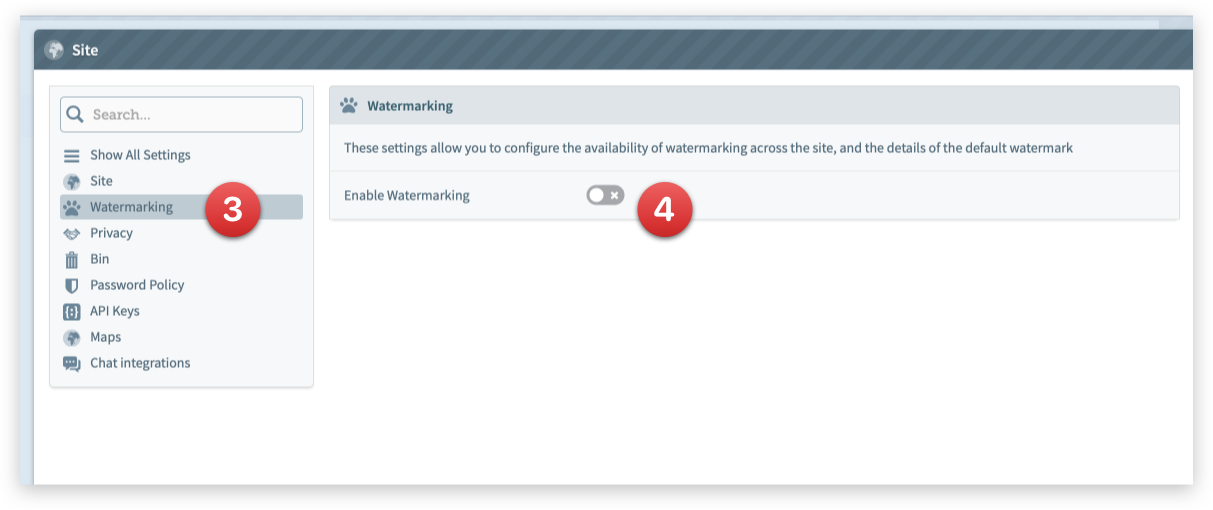
The Watermark settings will open with a default watermark already applied.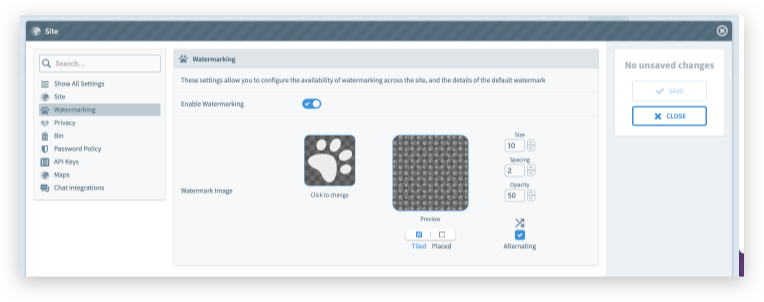
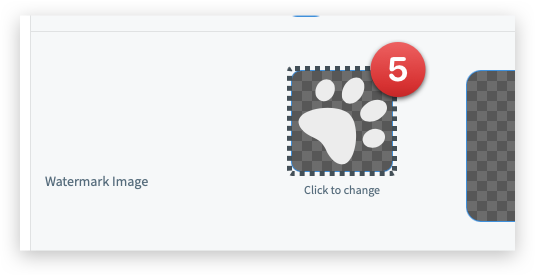
- Change the default watermark settings, or click on the Watermark box to upload a custom watermark image. You can also drag and drop an image from your desktop.
- A pop-up opens, allowing you to select a file from your desktop. The accepted formats are SVG, PNG or JPEG. We recommend using SVG images, or PNGs in the range of 1024x1024 pixels to 2048x2048 pixels. It is best not to go above 4096 pixels in either dimension.
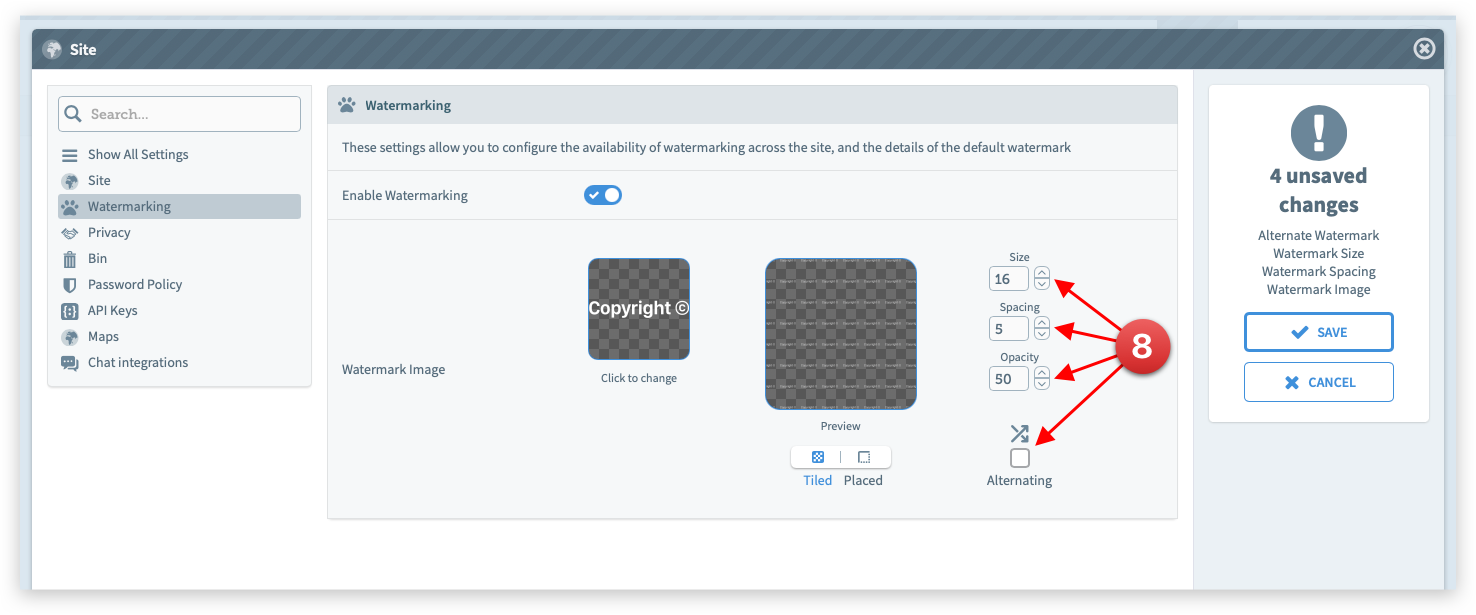
- Once the custom watermark image has uploaded, admins can choose to apply the watermark as tiled (default setting) or placed.
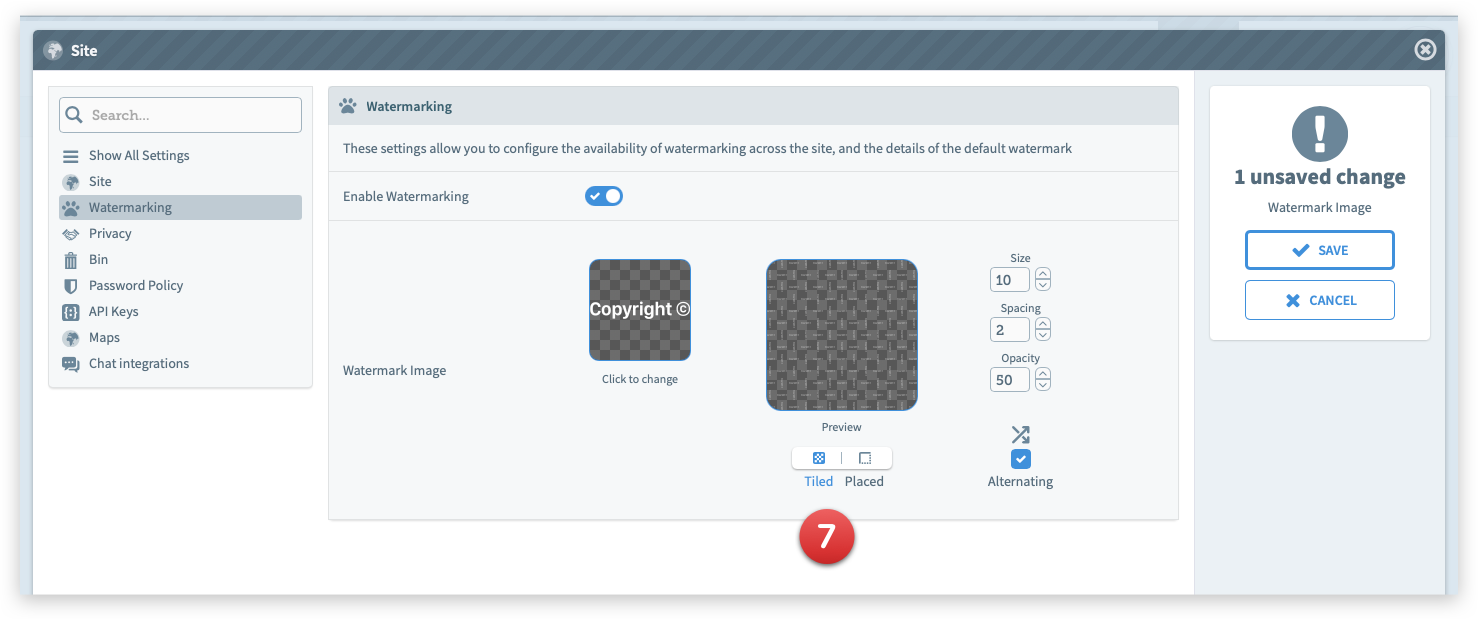
- For tiled images, admins can change the size, spacing, and opacity settings. They can also choose to show the watermark in an alternating pattern.
- Alternatively, use the placed setting. Choose to place the watermark in nine edge positions via the position box, with options to set the size, margin, and opacity.

- Once you are happy with the image and its settings, click Save.
Once watermarks are set on the site, Space managers need to set permissions for each role, to indicate if a role can view files with or without watermarks. They can also set a custom watermark per space.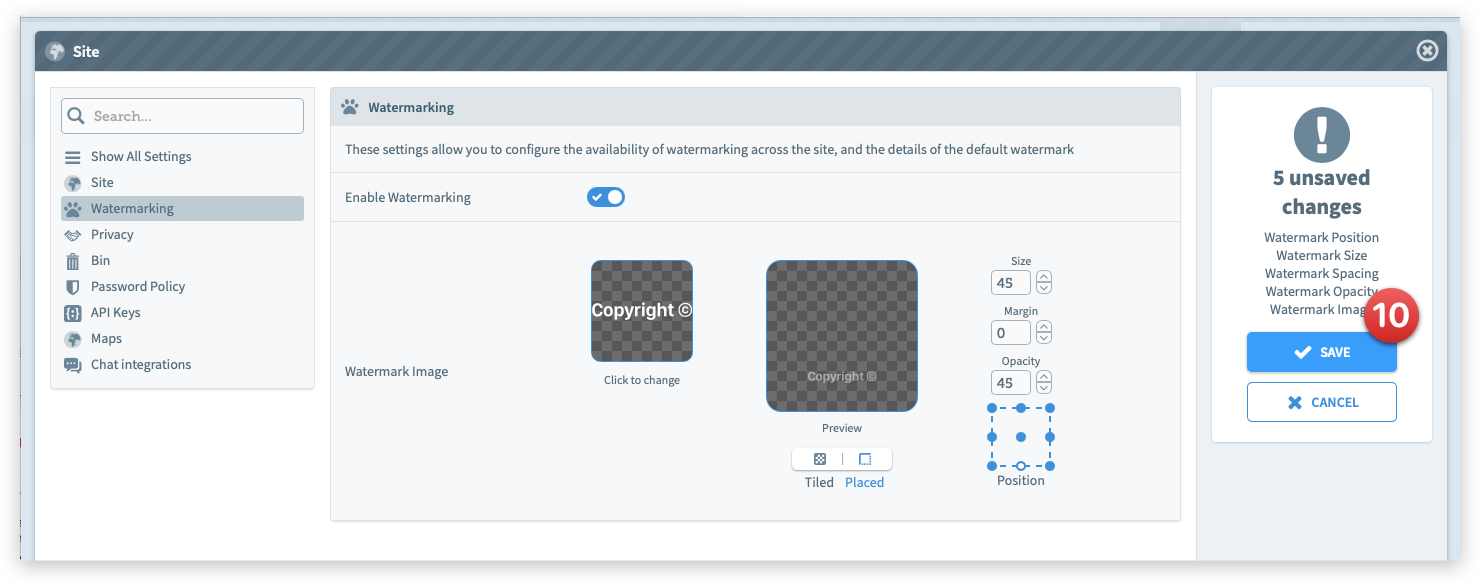
Tip: You can revert back to the default watermark image by clicking on the cross.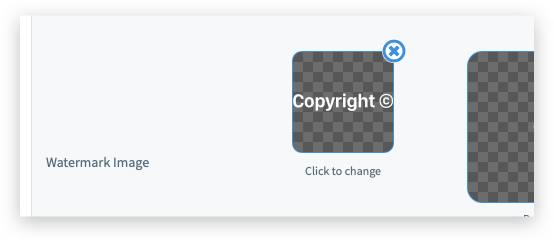
Space Managers
How to set up Watermarks on a space?
Space managers can use the default site watermark or add their own custom watermark to their space.
Step-by-step:
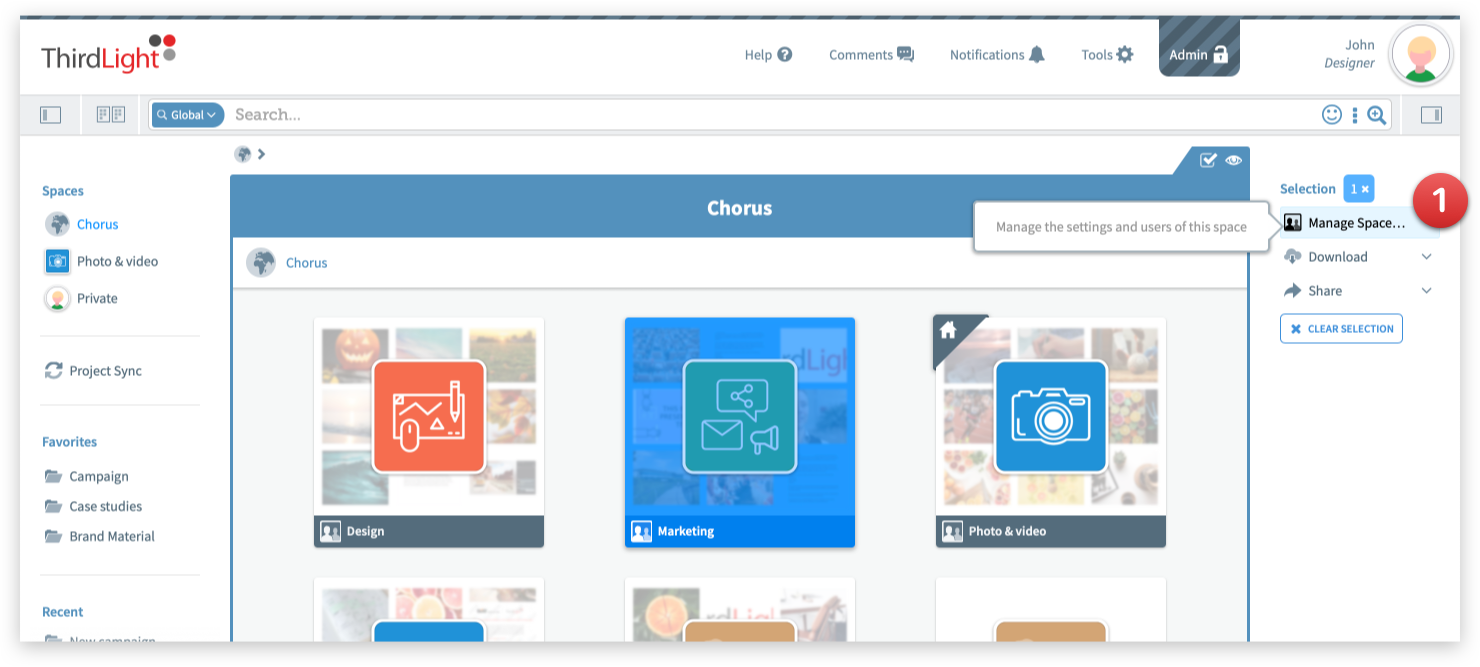
Select a space and click Manage Space.
Go to the Settings tab
Toggle the Use custom watermarks button to enable custom watermarks in the space.
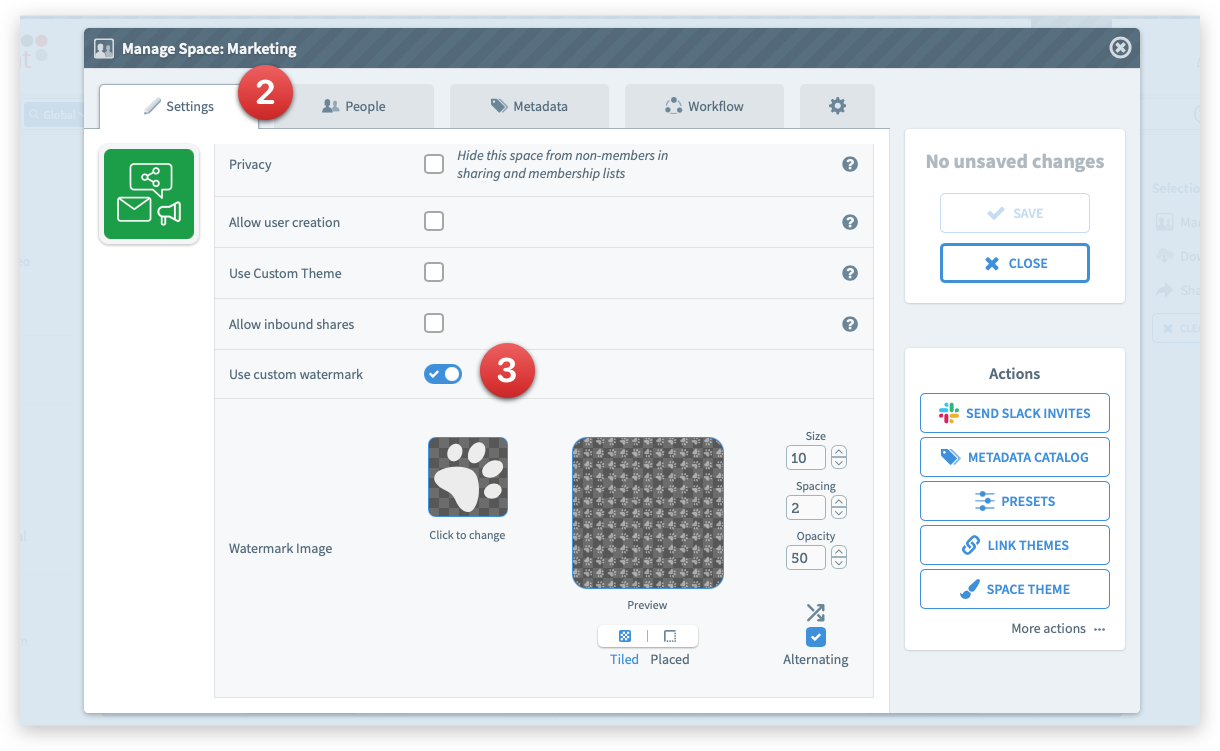
Managers can set up their own watermark in SVG, PNG, or JPEG formats. Same as on the Site settings, they can choose to place the watermarked as tiled (default setting) or placed with different sizing and display options.
Space Managers
How to set up which roles get to view files with watermarks?
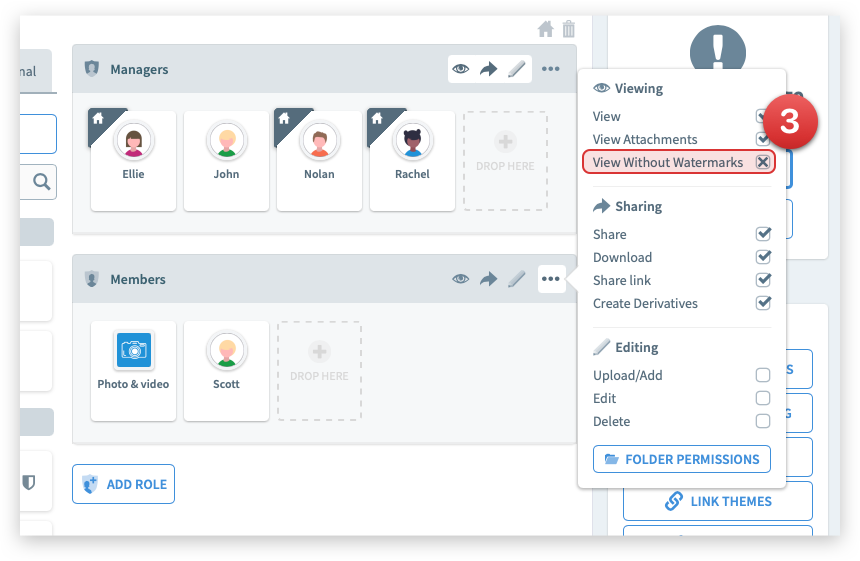
When watermarks are set up on a site, a new View without watermarks permission is added. By default, all roles have the permission ticked, but Space managers can decide to untick it for specific roles so that users of these roles get to see files with watermarks.
Step-by-step:
Select a space and click Manage Space.
In the People tab, open the permission details for any role.
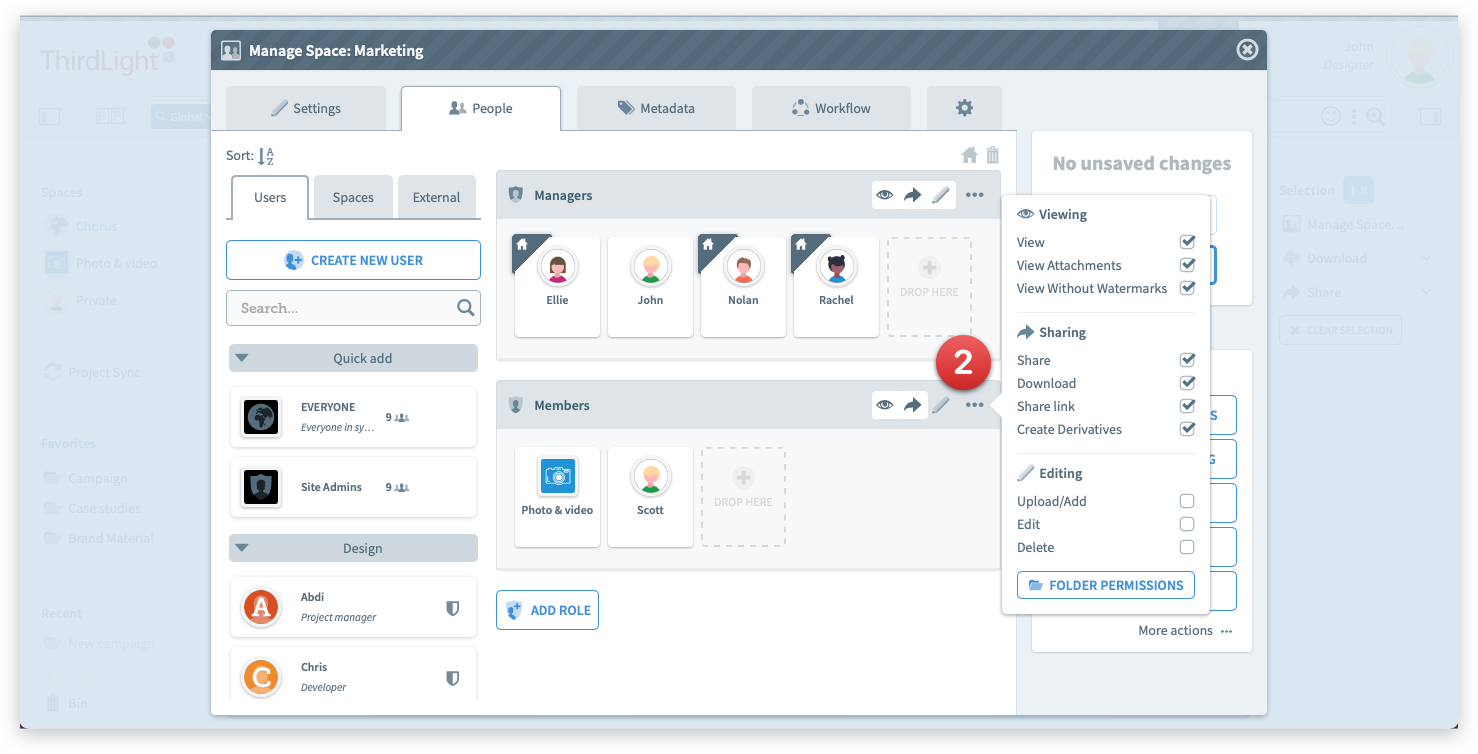
In the View section, you will find the View without watermarks permission (ticked by default). If you cross or untick this permission, any user in this role will get to see files with watermarks in this specific space.
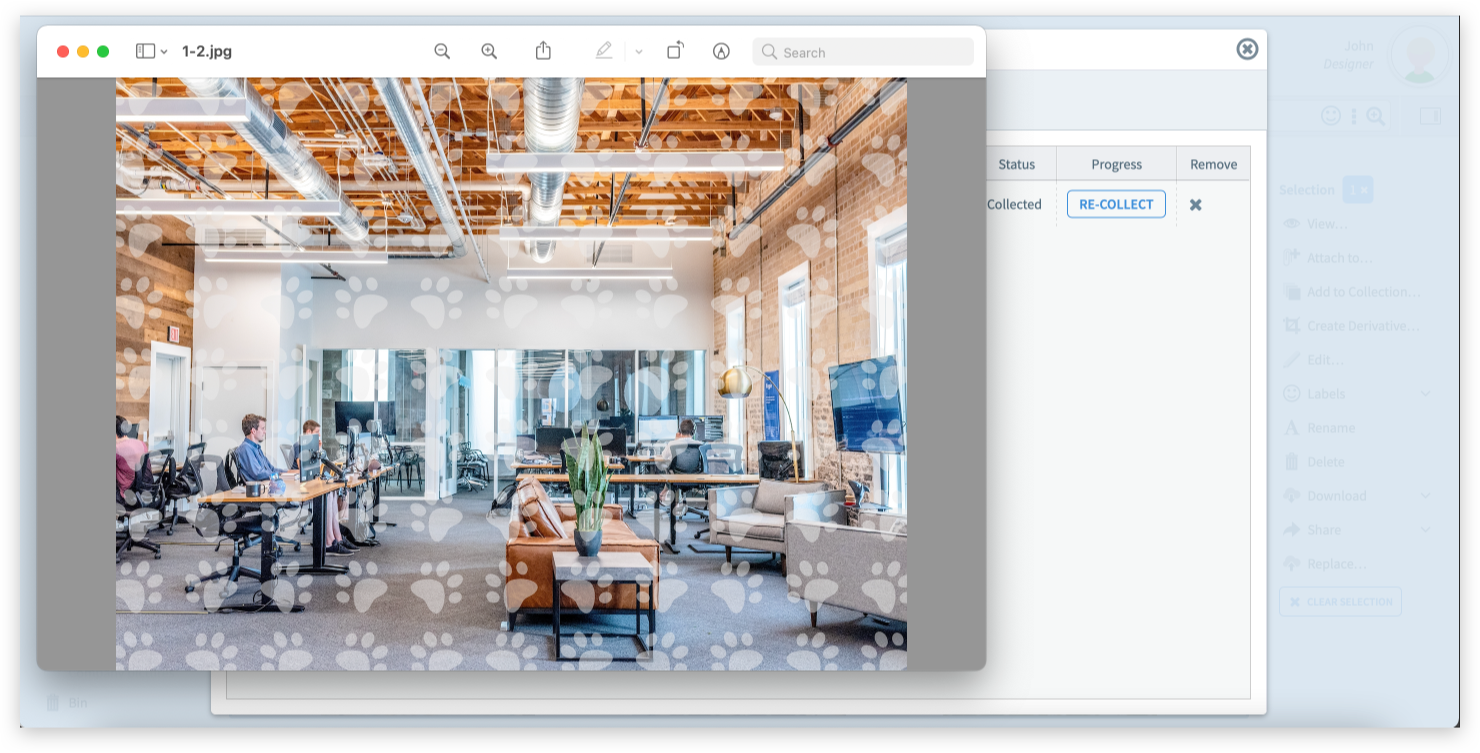
Viewing files with watermarks
Any user who doesn’t have the View without watermarks permission in a space will always see files from this Space with watermarks, e.g.:
Preview

Download
Share (folder or as collection)
The View without Watermarks permission can’t be given to other users.
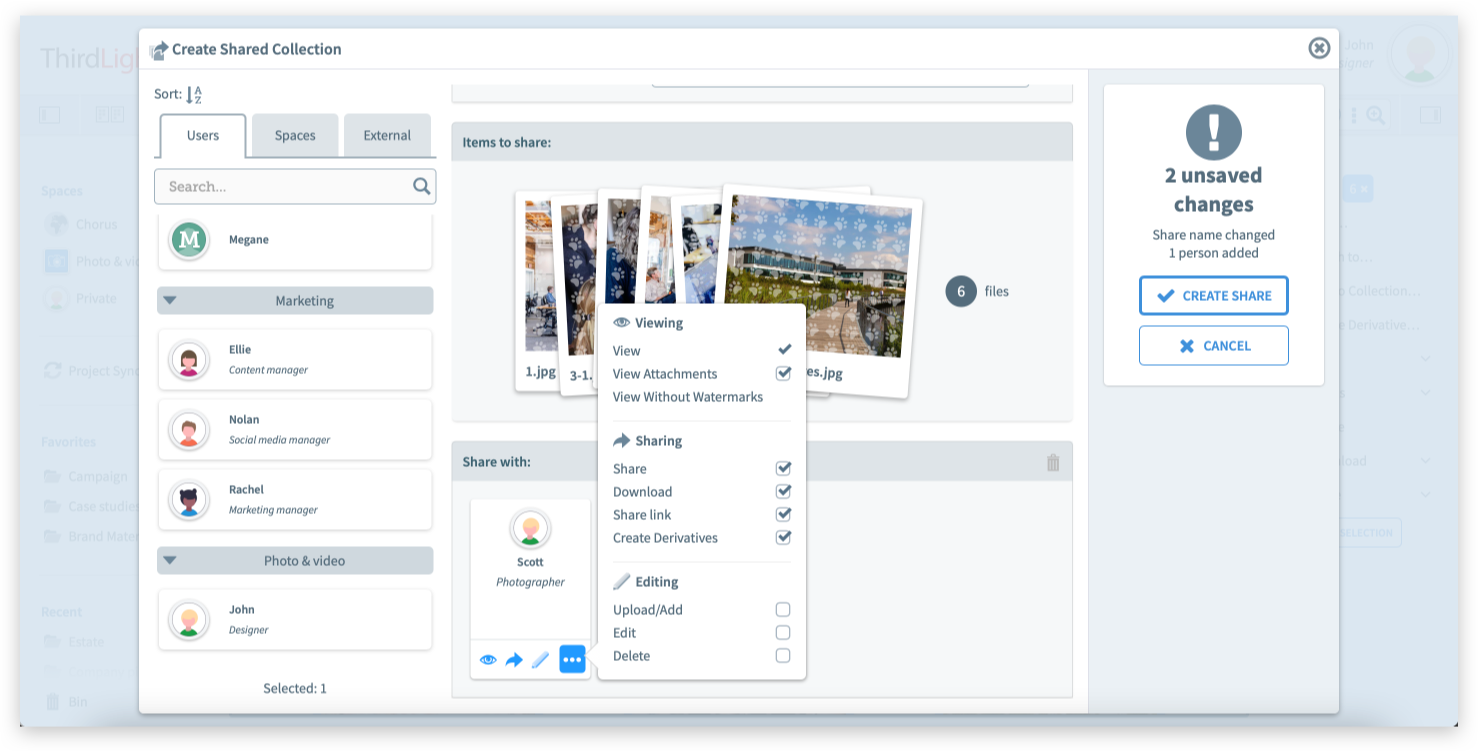
Share as link
The watermark tick box is automatically ticked and can’t be unticked without permission.

Viewing files without watermarks
To view files without watermarks, people can use the Request Usage approval workflow to request permission. Once the request is approved the user will receive the files in a collection to their private space, and will be able to view the files without watermarks.
