This guide is intended for advanced Active Directory administrators who do not currently have an AD FS deployment. This guide is based on Windows Server 2012R2 - the process is largely equivalent for Windows Server 2016, and should also be for 2008, 2008R2 or 2012, but the appearance varies. Third Light support staff cannot offer assistance with 3rd party tools, so while the following notes are provided for your convenience, they should not be relied upon without a full understanding of the AD FS technology.
Prerequisites
Prior to configuring AD FS, you will need
- A server running Windows Server 2008 or later, joined to your domain
- A service user for AD FS
- .NET Framework 3.5
- An SQL Server instance
- A valid, signed certificate for the domain of the AD FS 'Farm'
Configuring the Prerequisites
Creating a service user
- Launch Active Directory Users and Computers on a domain controller (or other system with AD management tools)
- Navigate to Managed Service Accounts within your domain (Administrative Tools > Active Directory Users and Computers > your.domain > Managed Service Account)
- Right click, select New -> User
- Enter 'AD FS Service Account' as name
- Enter 'adfs.svc' for user logon name
- Select a strong password, and make a note of it for later
Installing .NET Framework 3.5
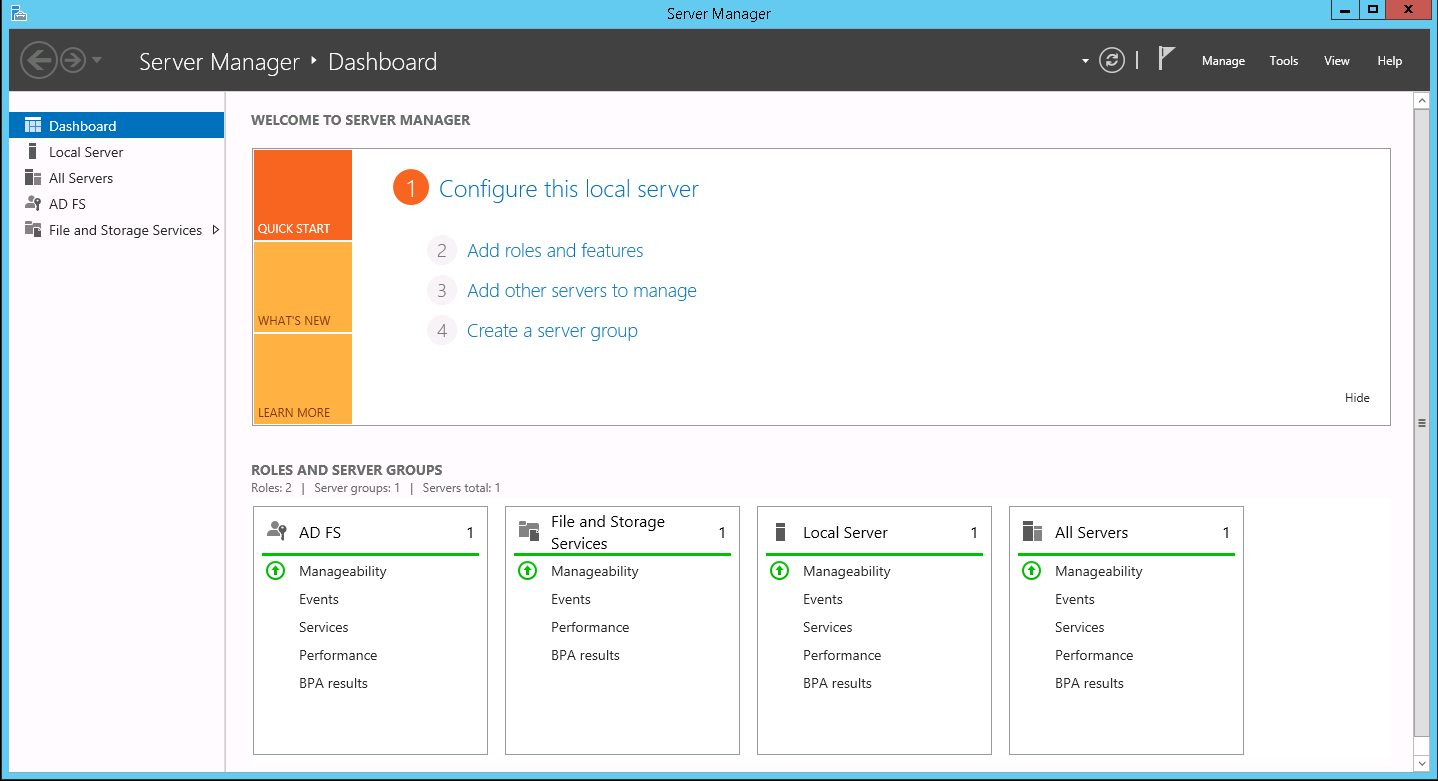
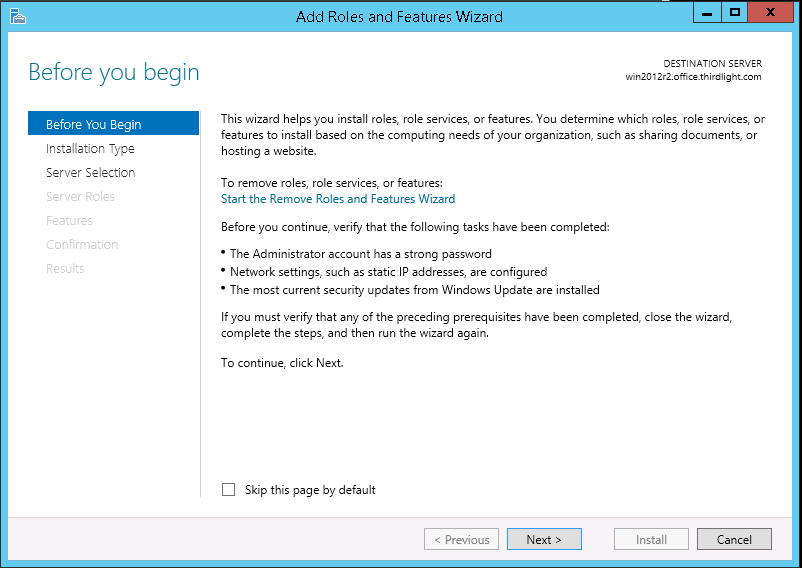
- From Server Manager, select 'Add roles and features'
- If you see the 'Before you begin' page, click next

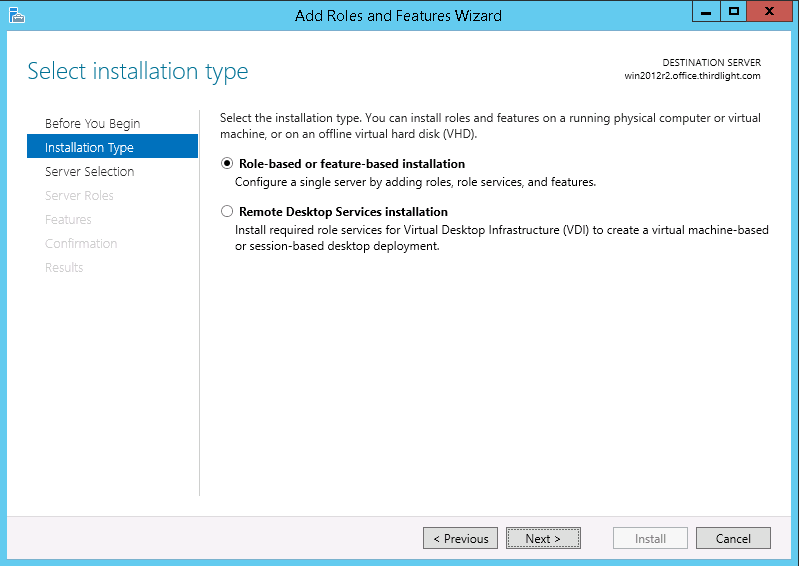
- Select Role-based or feature-based installation
- Select the server from the server pool
- Skip the Server Roles page
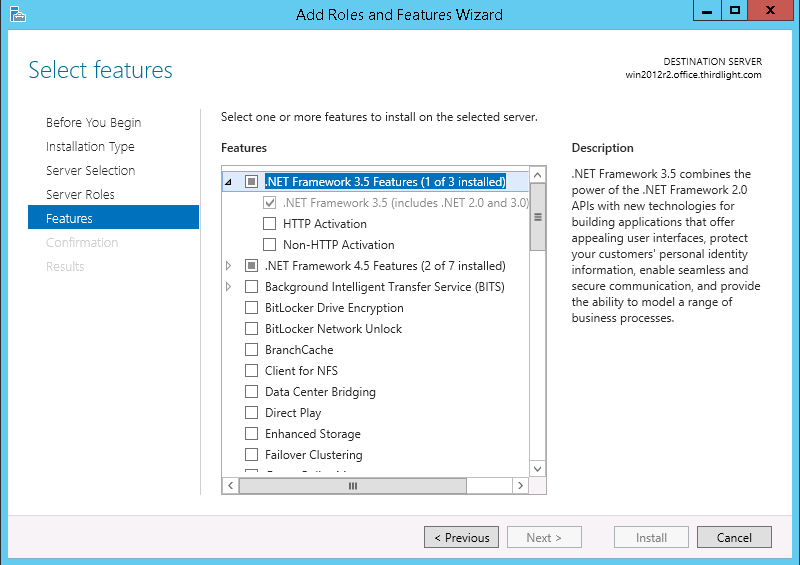
- Expand .NET Framework 3.5 Features, and select .NET Framework 3.5
- Finish the wizard
Preparing an SQL Server instance
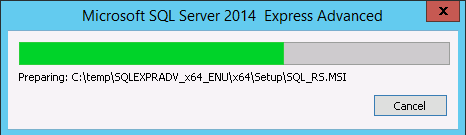
This guide is based on SQL Server Express 2014.
Typically SQL Server Express will be sufficient for AD FS. It can be downloaded free from the MSDN Evaluation Center. Select 'Express with Advanced Services (SQLEXPRADV)'.
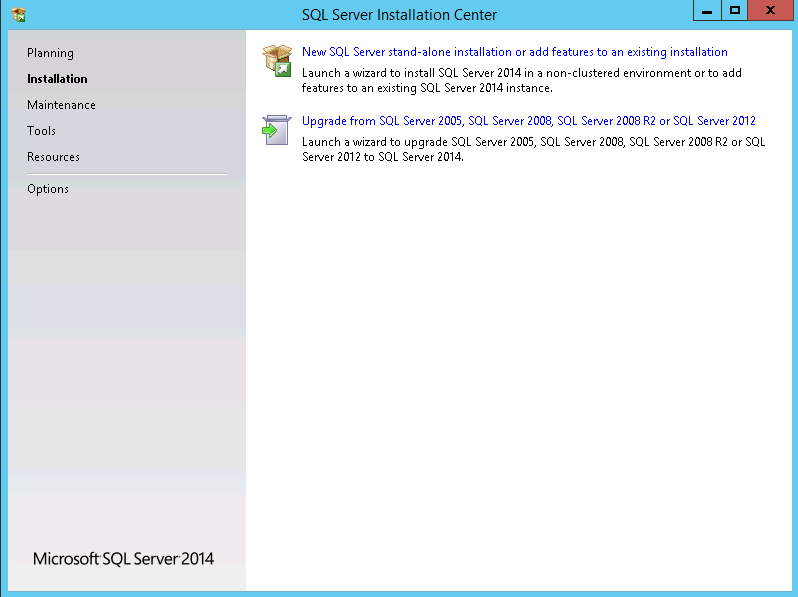
- Launch the Installer
- Select 'New SQL Server stand-alone installation or add features to an existing installation'
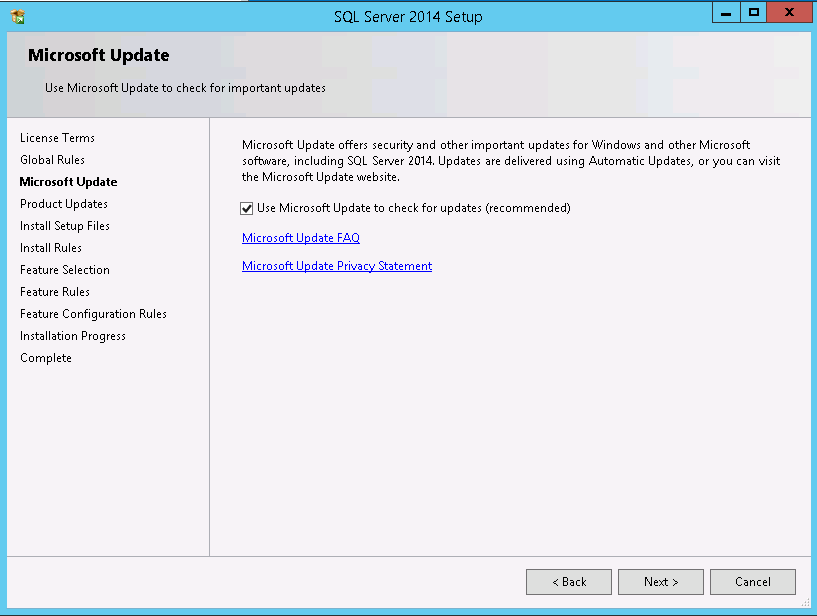
- Check Use Microsoft Update and click next
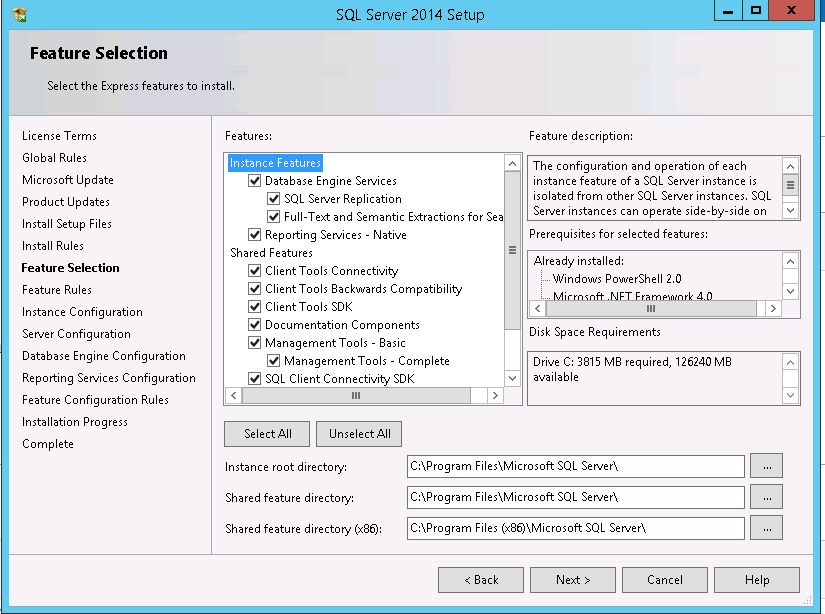
- You can normally leave the features and paths as defaults.
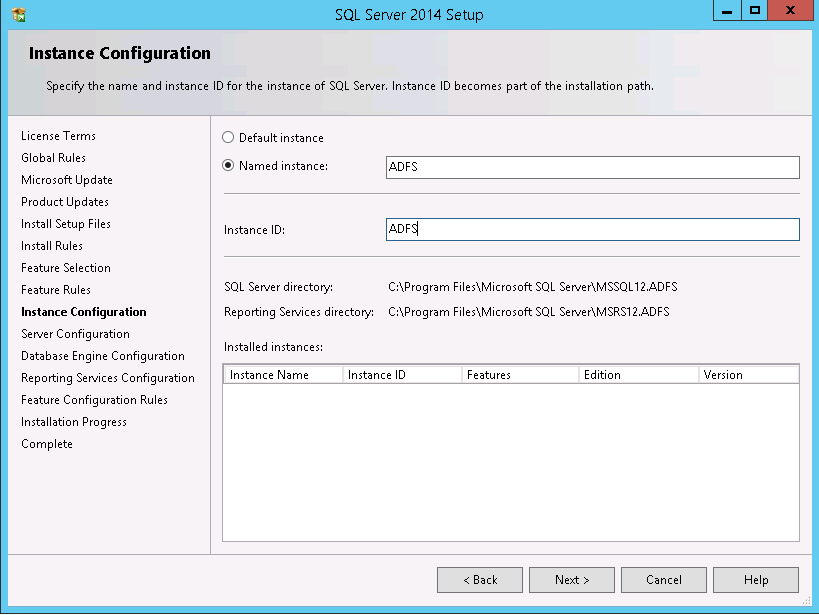
- Select Named instance, and enter ADFS
- You can normally use the default service account settings
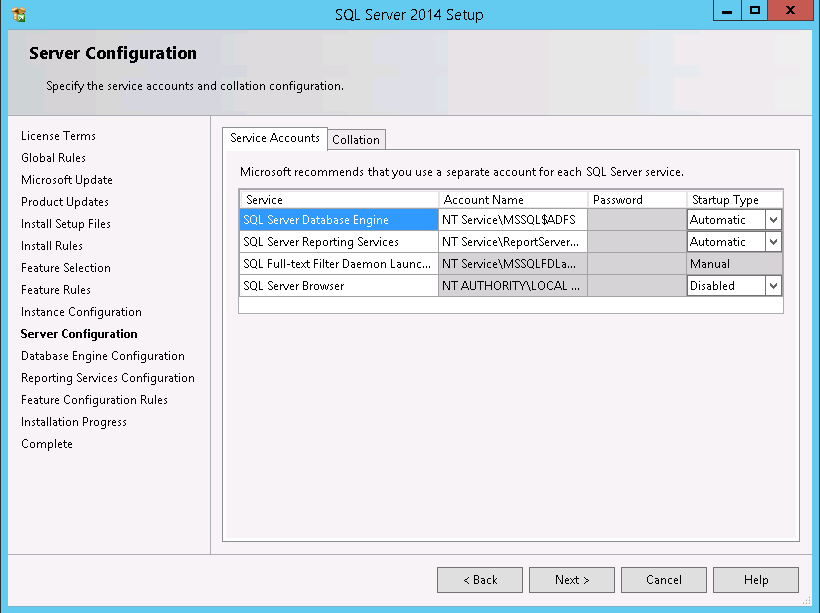
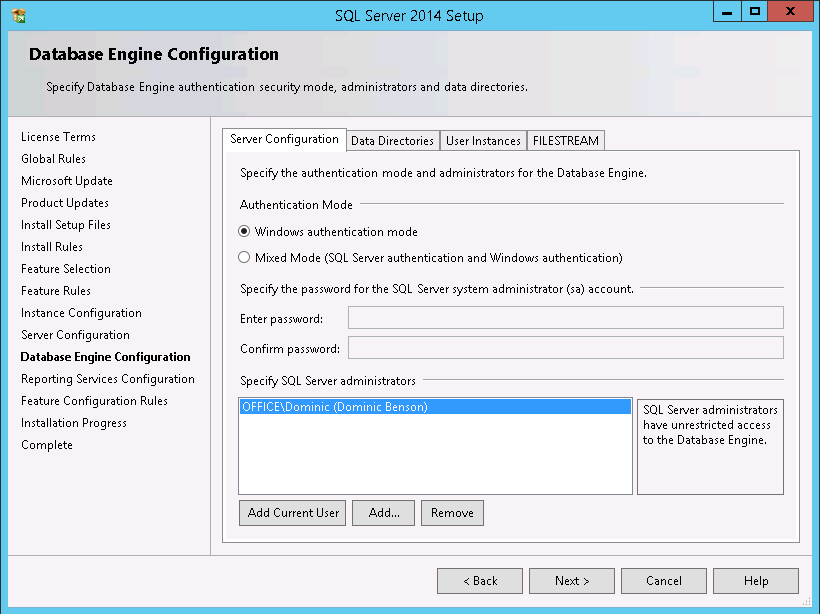
- Select Windows authentication mode, and under SQL Server Administrators click Add, choose adfs.svc and press enter (to select the AD FS service account)
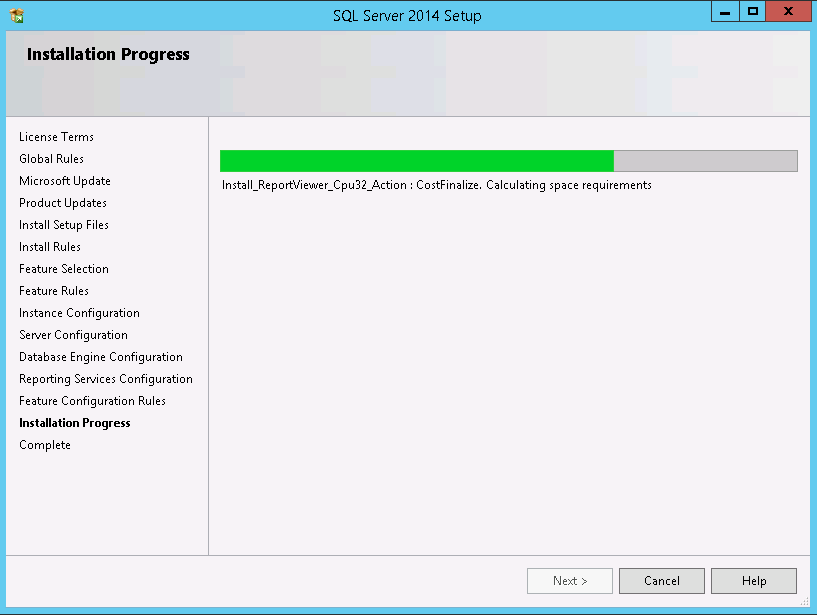
- The installation will now be performed
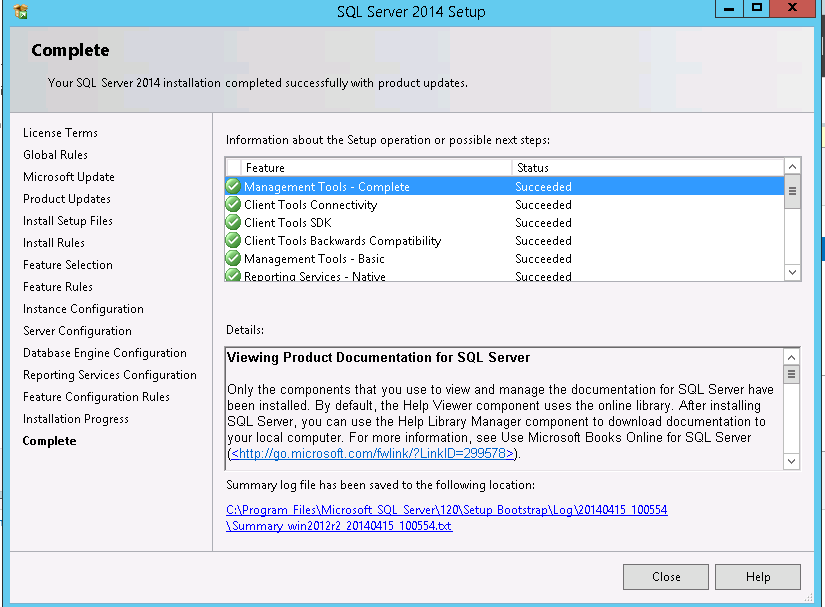
- If there were no errors, you will see the below. Click close, or go back and correct any errors raised.
Creating an SSL Certificate for AD FS
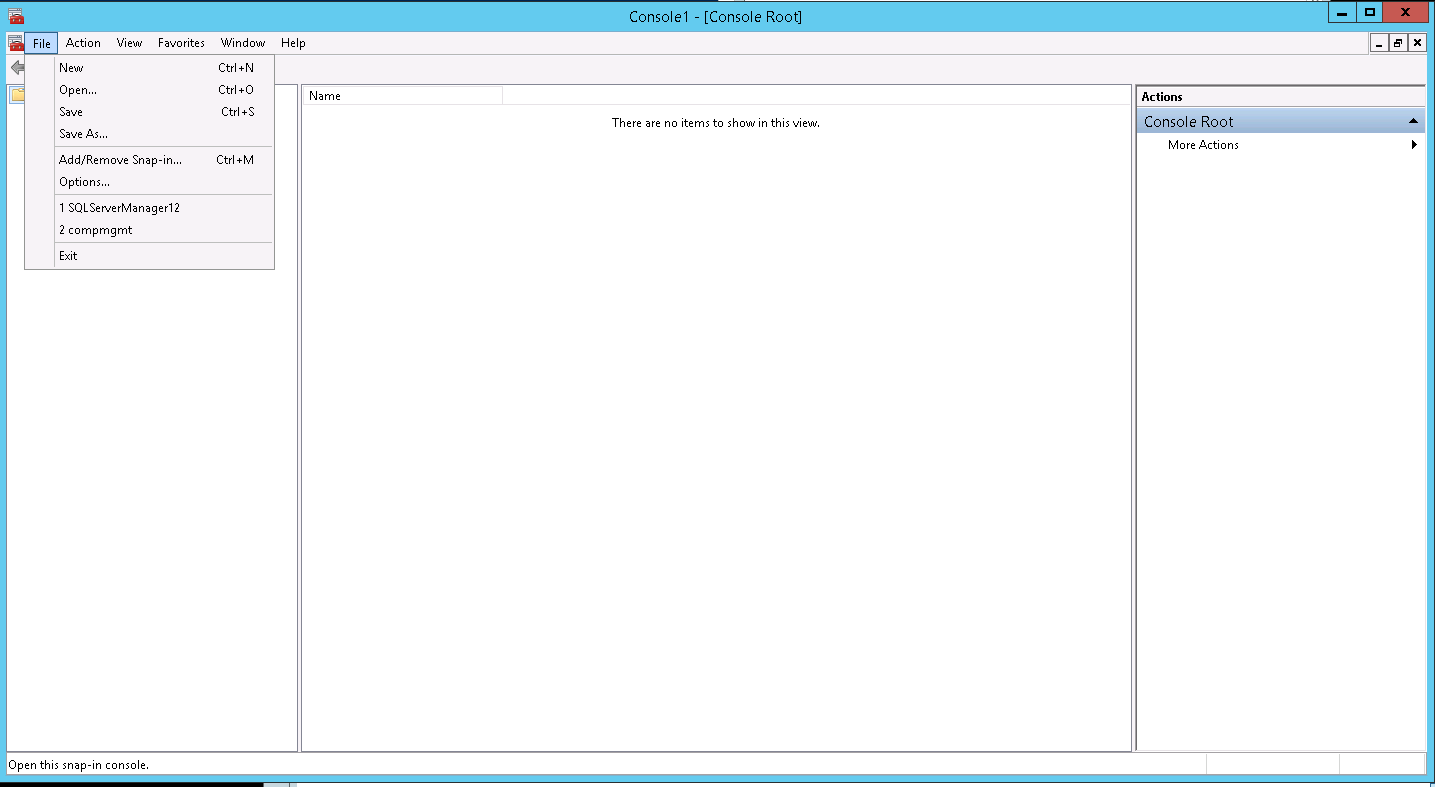
- Open Powershell, type mmc and press enter

- Select File -> Add/Remove Snap-in..
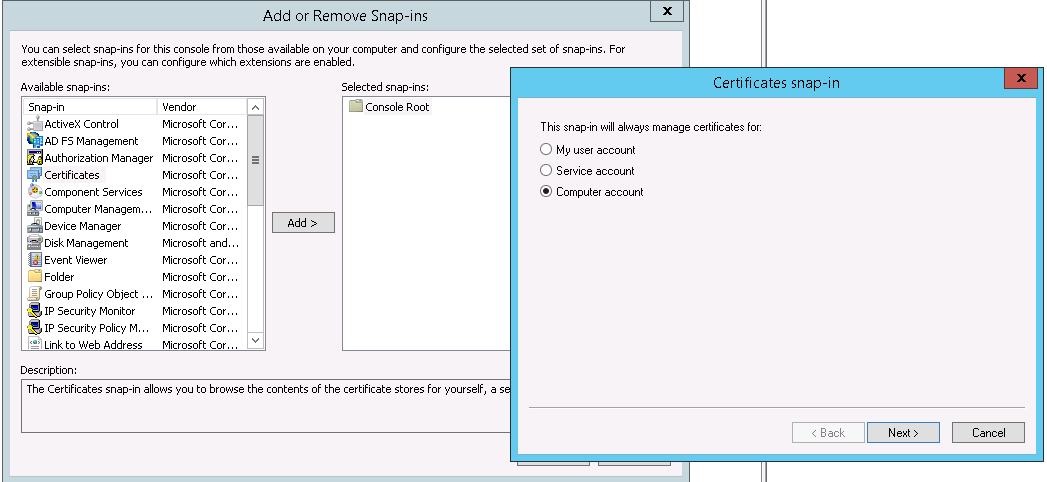
- Select Certificates, click Add, then choose Computer account
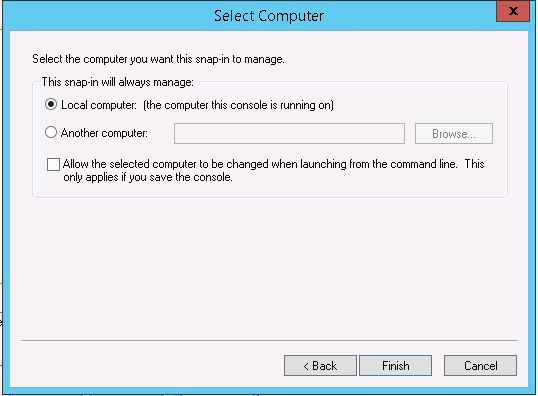
- Select Local computer and click Finish
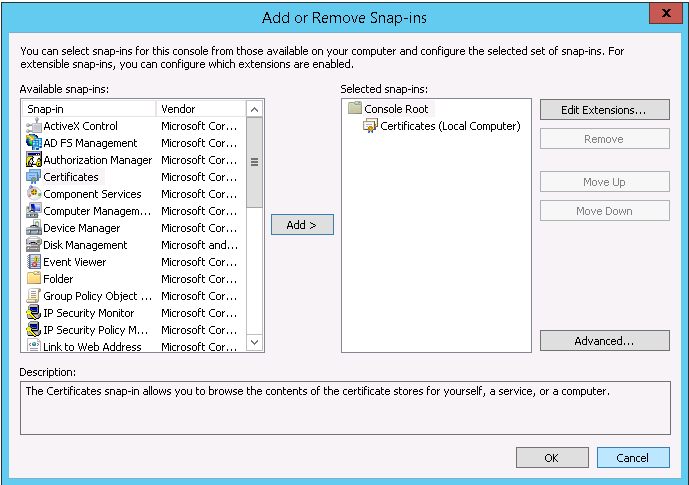
- Click OK
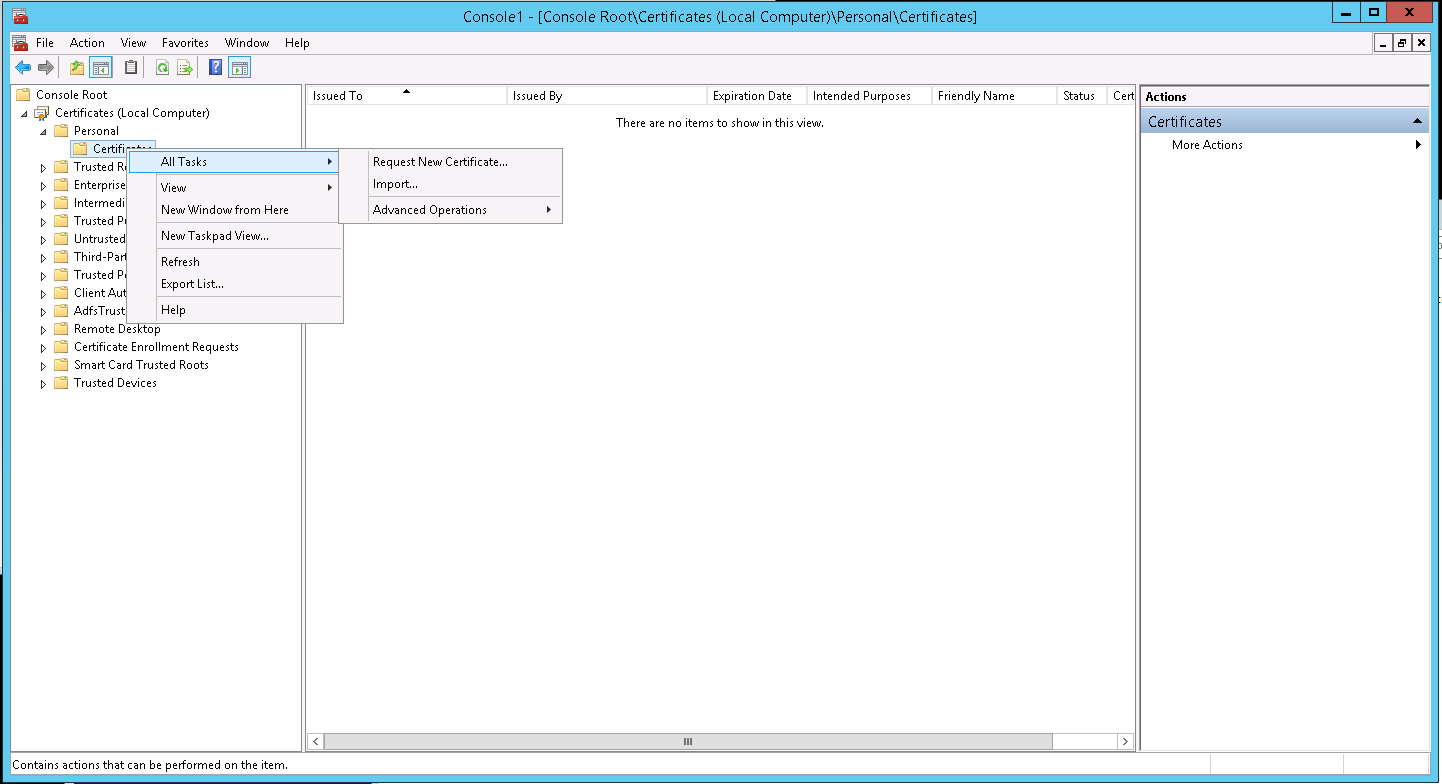
- Right-click Certificates (Local Computer) -> Personal -> Certificates, and select Create Custom Request...
(On a new installation, the 'Certificates' subfolder may not exist. In that case, right click 'Personal' instead.)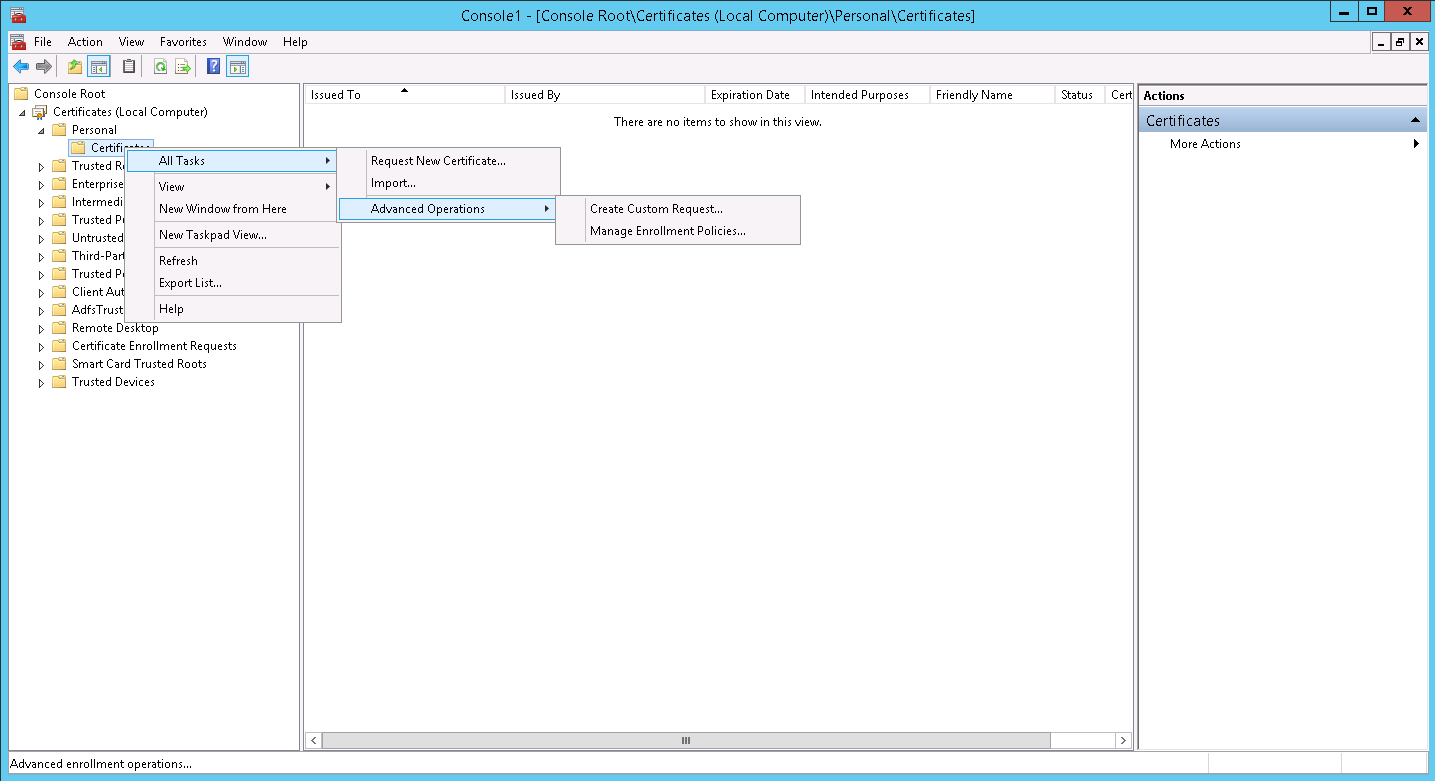
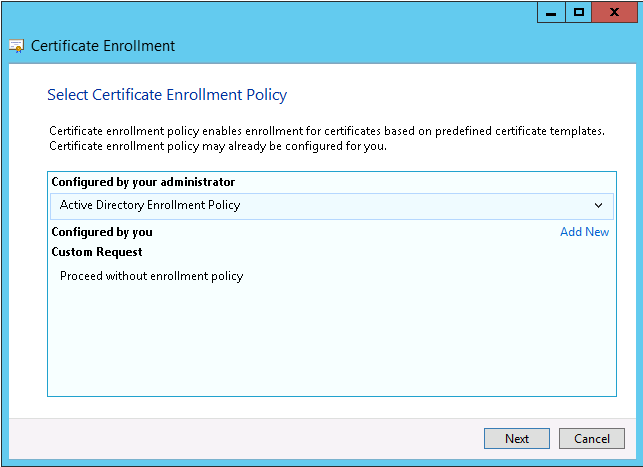
- Click next
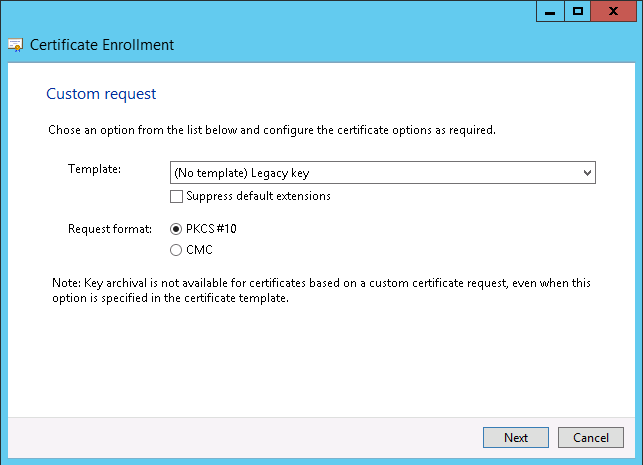
- Select "(No template) Legacy key"
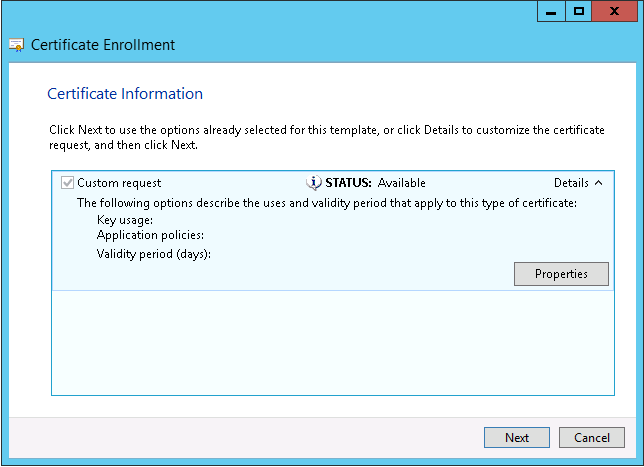
- Expand Details, and click Properties
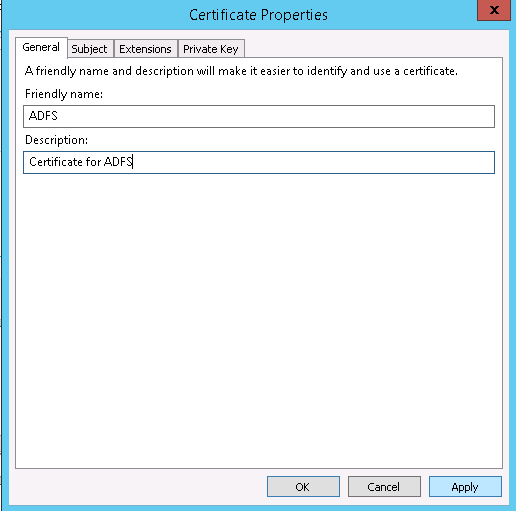
- Enter a name and description for the certificate
- Specify the subject of the certificate. The CN (Common Name) field MUST match the URI under which you will access AD FS.
You may choose to add one component at a time, or the entire "Distinguished Name"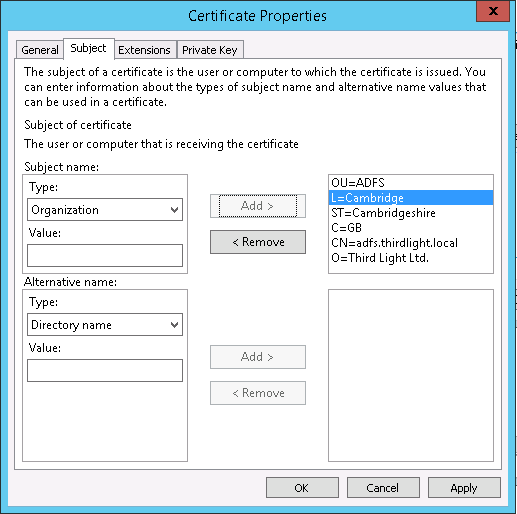
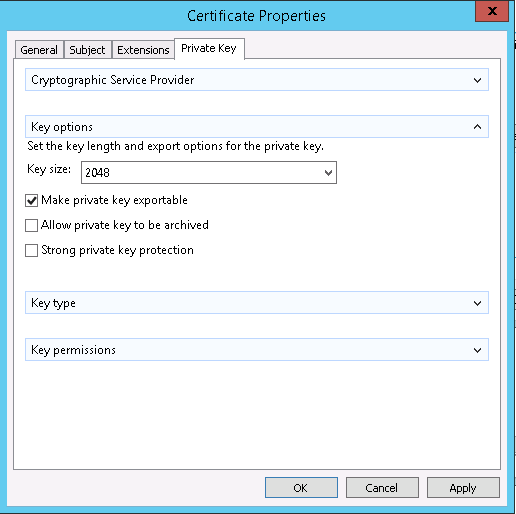
- Select Private Key, and choose a key size of 2048. You may wish to make the private key exportable.
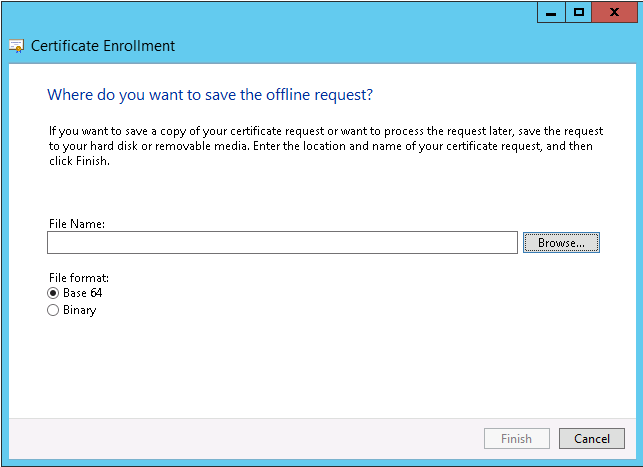
- Save the request to a convenient location
- Send the certificate request to a certification authority (e.g. Comodo, Geotrust or Verisign) and arrange for it to be signed.
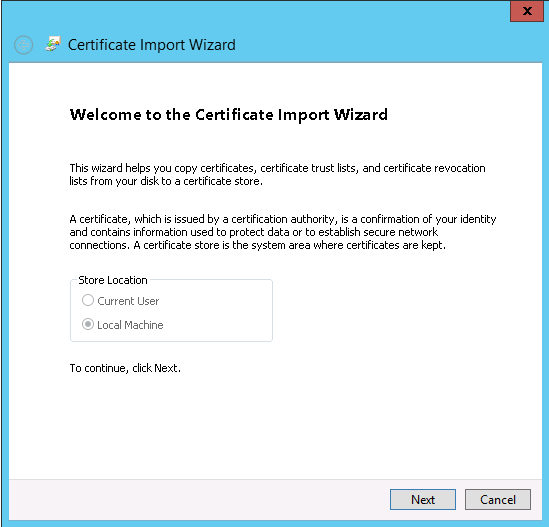
- Once you have a signed certificate, right-click Certificates (Local Computer) -> Personal -> Certificates, and select Import...
- Click Next
- Browse to find the signed certificate from the certificate authority

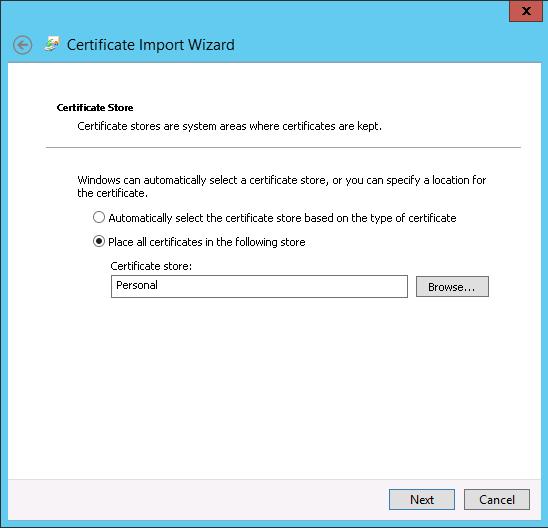
- Choose the 'Personal' certificate store
- Confirm the details, and click Finish
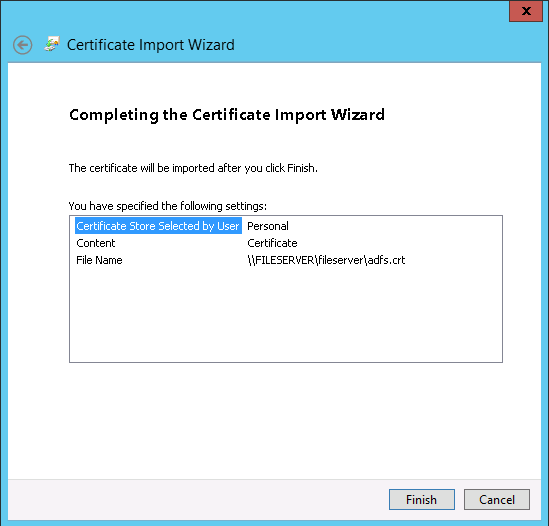
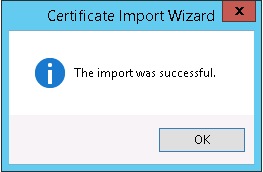
- You should see a success message - if you get an error, check that you selected the certificate (not the request) and that it is readable
- Select the certificate, click More Actions -> All Tasks -> Manage Private Keys...
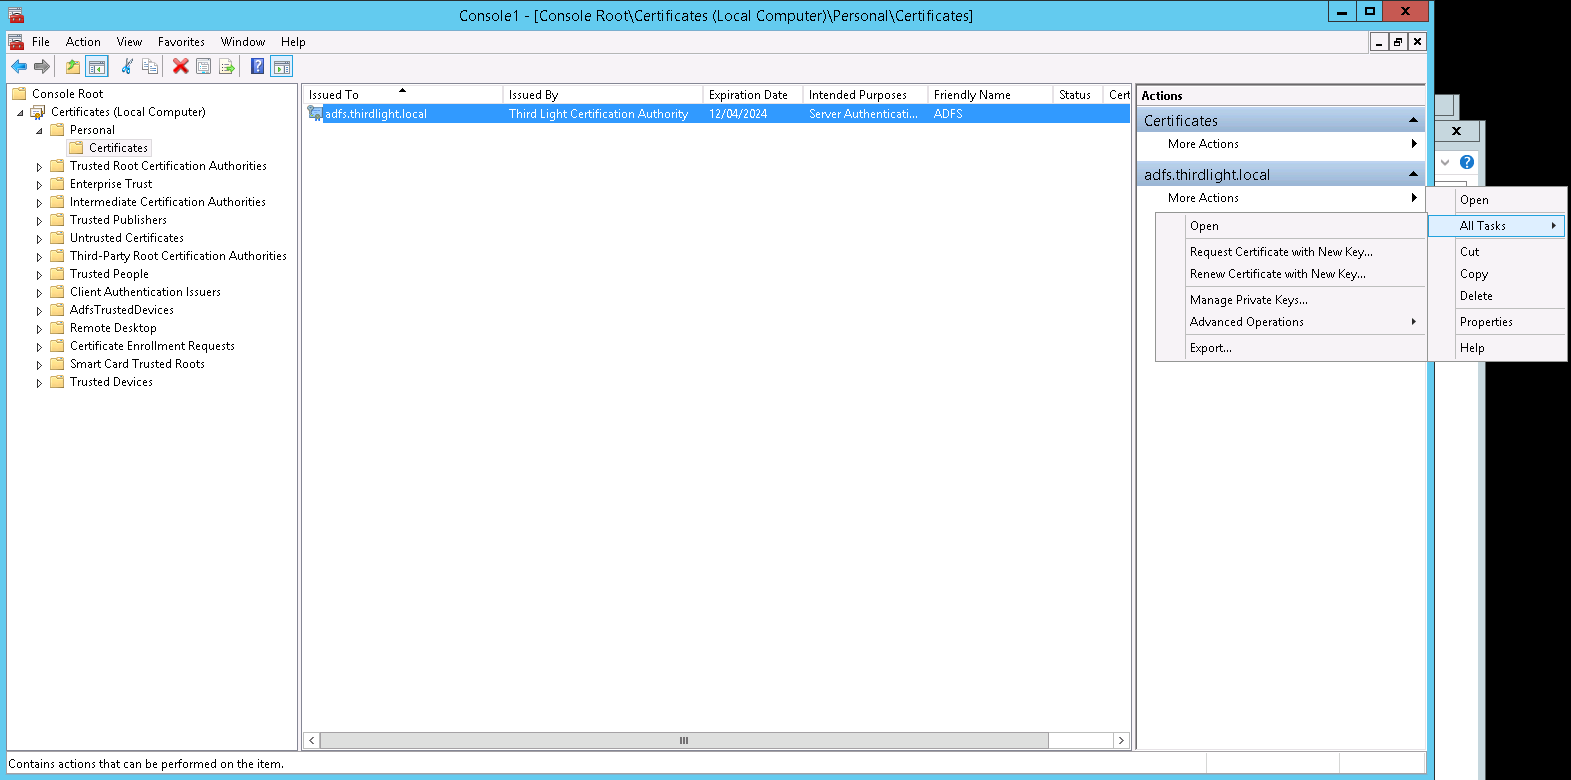
- Click Add...
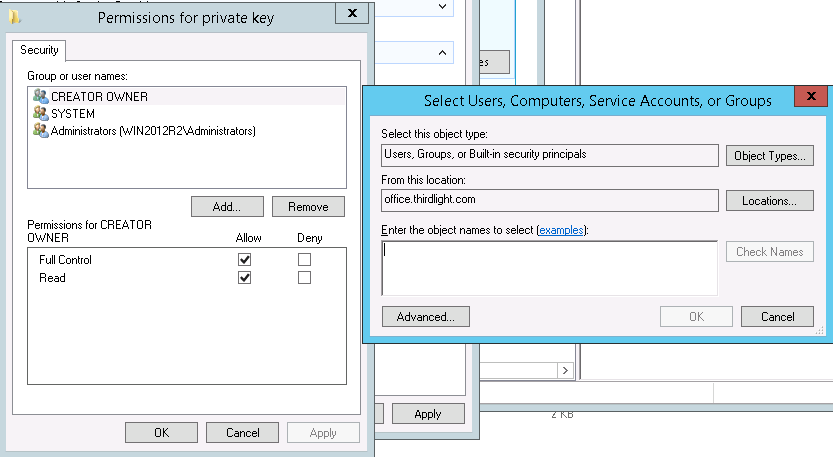
- Enter adfs.svc and click Check Names, then click OK
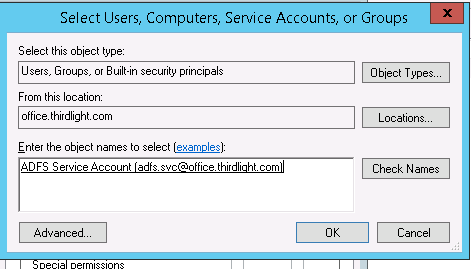
- Grant the AD FS service account full control

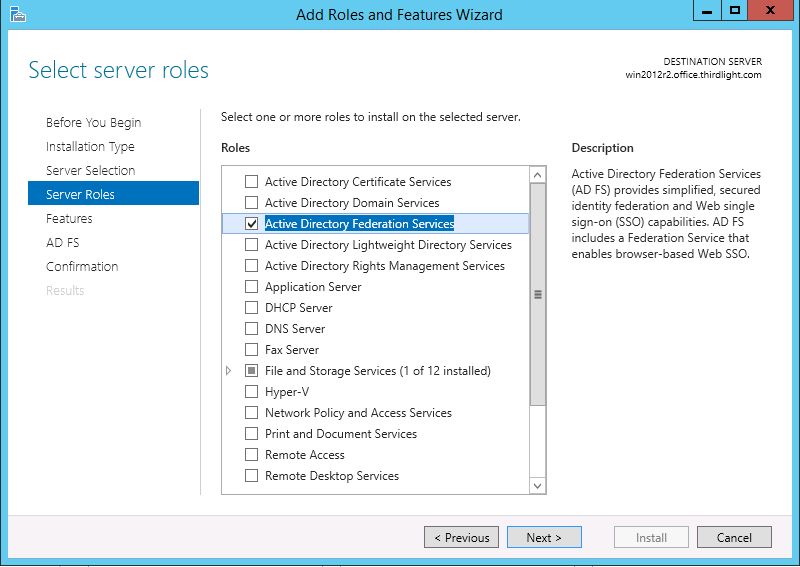
Installing AD FS
- From Server Manager, select 'Add roles and features'
- If you see the 'Before you begin' page, click next
- Select Role-based or feature-based installation
- Select the server from the server pool
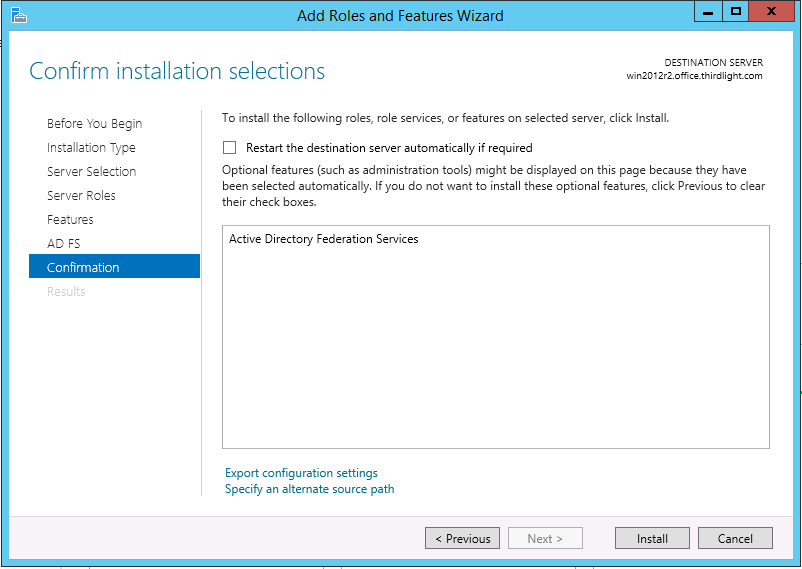
- Check Active Directory Federation Services and click Next
- Click through the Features page
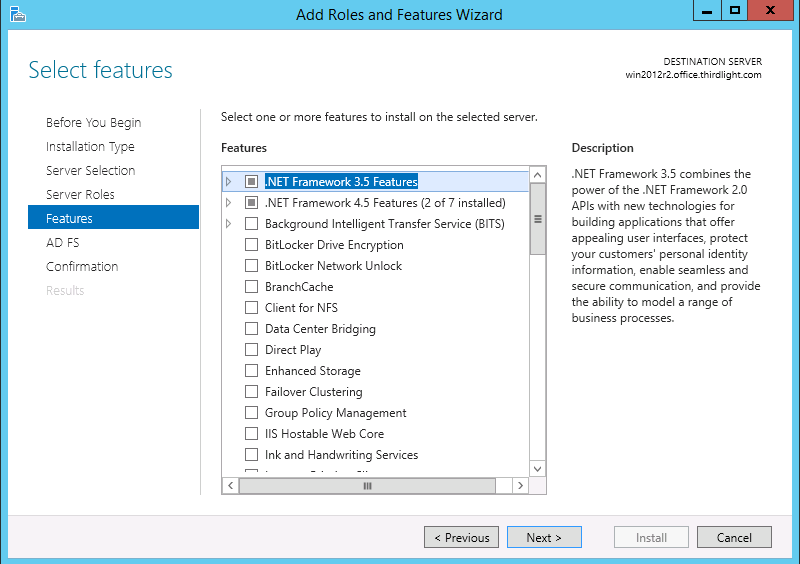
- Click Next
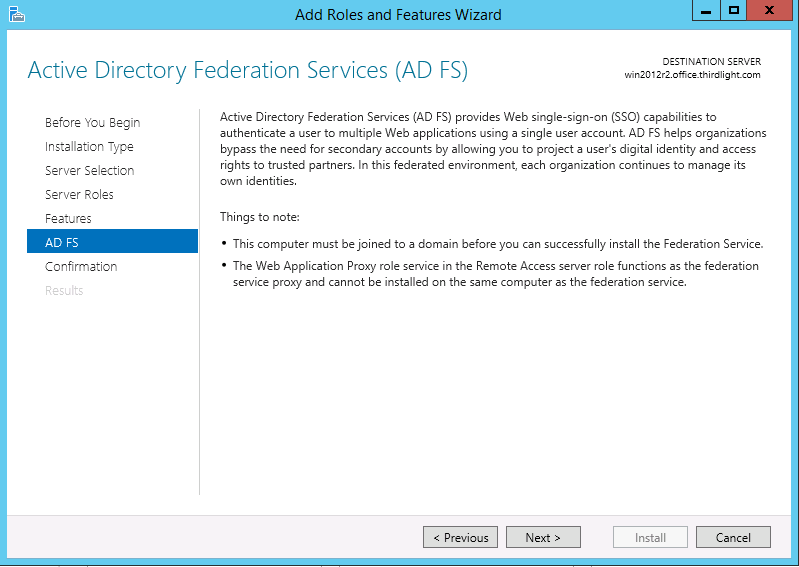
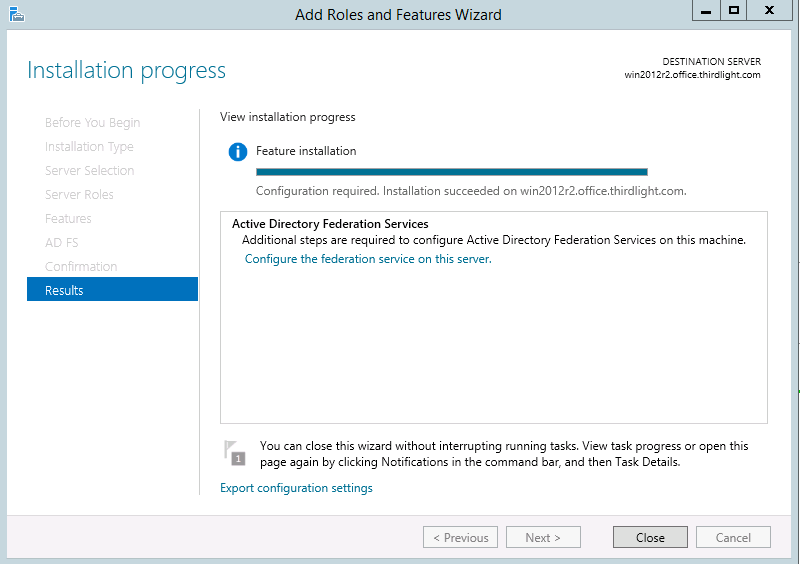
- Click Install
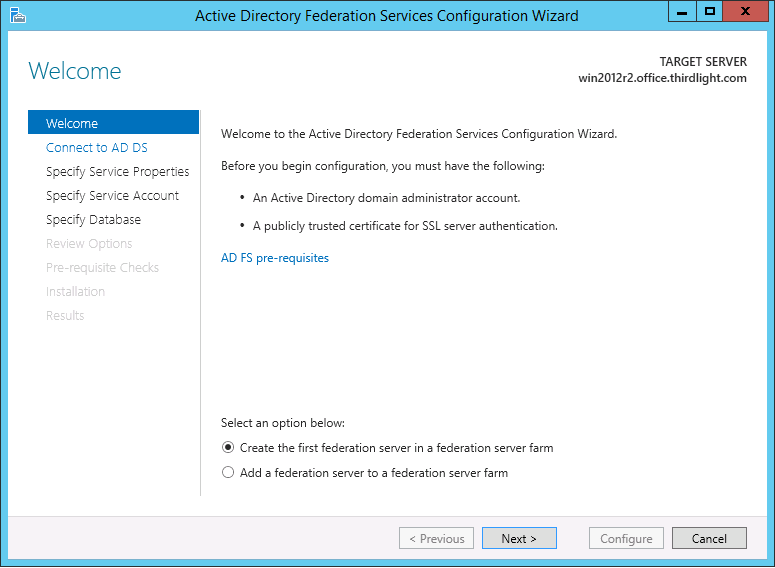
- Once the installation completes, click "Configure the federation service on this server"
- Select Create the first federation server in a federation server farm
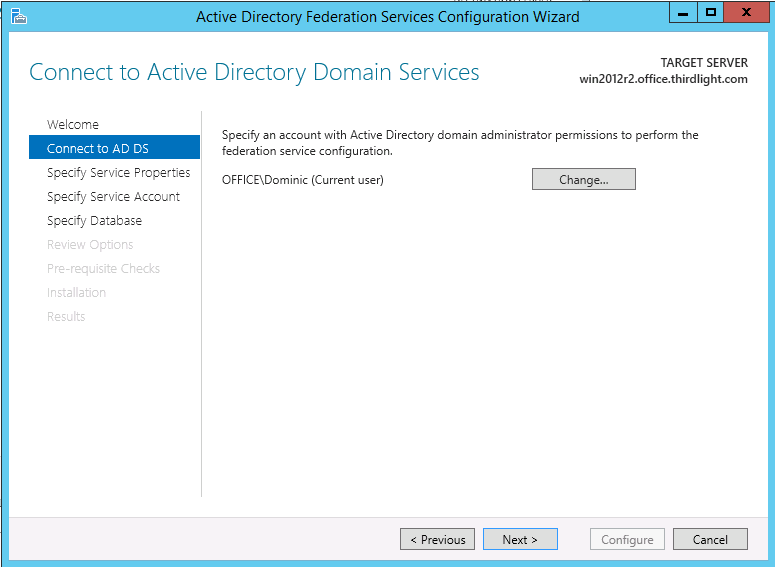
- Specify an administrative account in AD
- Choose the AD FS SSL certificate, and (if using a wildcard or UC certificate supporting multiple names), select the preferred Federation Service Name.
Enter a name to be displayed on the portal, and click Next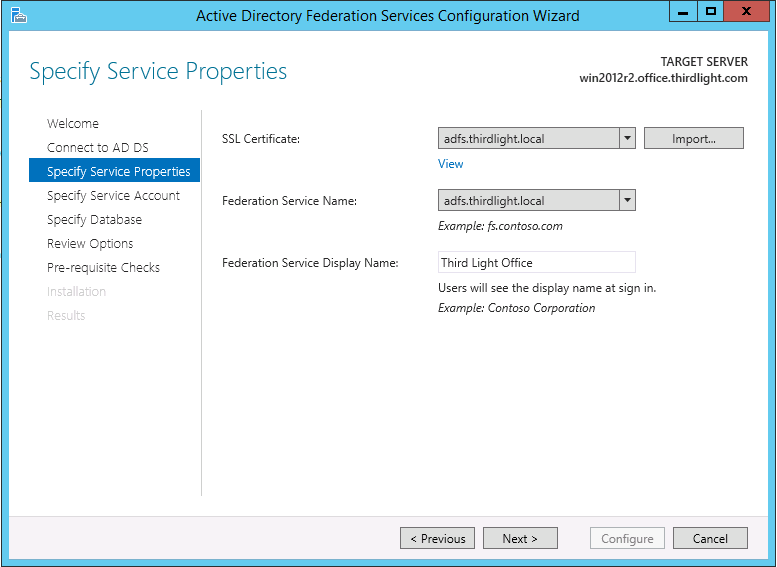
- Enter the username and password for the AD FS service account
(If you followed the prerequisite installation guide, this will be <your domain>\adfs.svc)
(At this stage, depending on your environment, you may see a warning like the following, which can safely be ignored)
- Choose "Specify the location of a SQL Server database" and enter the host name and instance name for the database
(If you followed the prerequisite installation guide, this will be the local server name, and 'ADFS')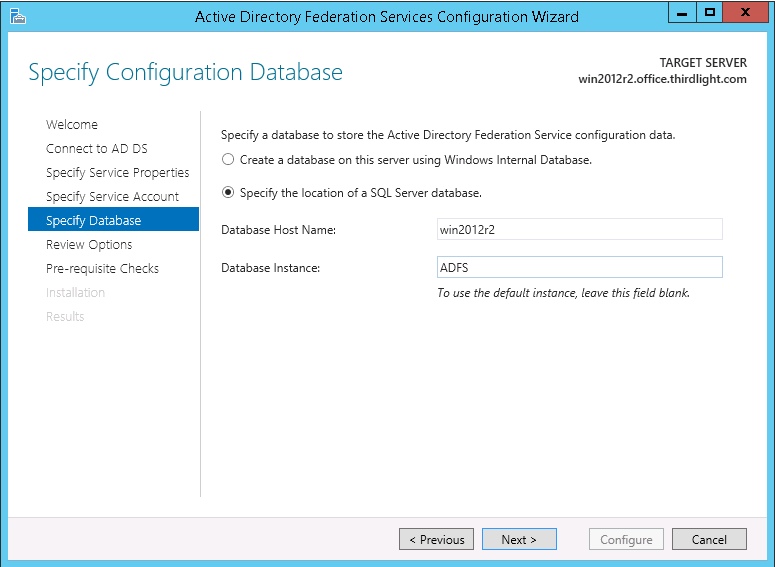
- Review the configuration options, and click Next
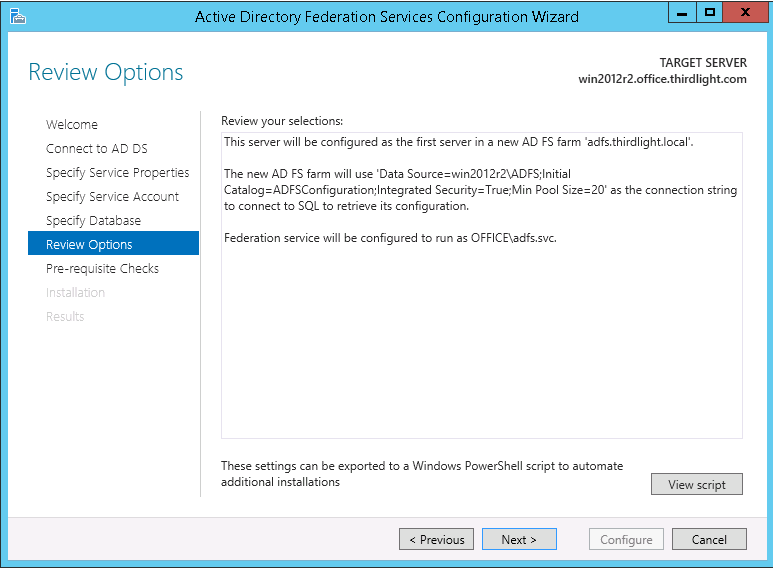
- When the Pre-requisite Checks run, click configure. If they fail, review the settings or correct the problem and try again.
(If you followed the prerequisite installation guide, there should not be any issues. Otherwise, a common problem here is the service account not having the necessary database permissions.)
- After the installation completes, you should see a success message. Click Close to finish

- To test the new AD FS installation:
- For AD FS 2016 or later, in Powershell run
Set-AdfsProperties –EnableIdpInitiatedSignonPage $True
- Open a browser and go to https://<your Federation Service name>/adfs/ls/idpinitiatedsignon
You should see a screen like the below, from which you can test signing in with your domain credentials
- For AD FS 2016 or later, in Powershell run
AD FS Configuration
Now that AD FS is installed, and known to be able to authenticate users, you can proceed to configure it for use with Chorus.
You are here:
