The metadata that users can see or edit on files in a space is dictated by the panels active in the metadata manager of that space.
Only managers of a space can edit its metadata manager.
Metadata panels are made up of fields. To manage a field of a metadata manager, see Create or edit the fields of a space metadata manager.
First, open the metadata manager of a space:
1. Select the space you want to manage.
2. Click Manage → This Space in the right-hand sidebar. The Manage Space modal will open.
3. Choose the Metadata tab at the top of the modal. The Metadata manager for this space will open.

In the Panels Available section, you will find three tabs:
- Space: this is where the local space panels will show
- Inherited: this is where available site and inherited panels will show
- Shared: this is where any panel shared by another space or a user will show
Step-by-step: Create a new metadata panel
1. Open the Panel builder to create new space panels.

Any new panel created will then show under the Space tab, in the Panels available section of the Metadata manager.
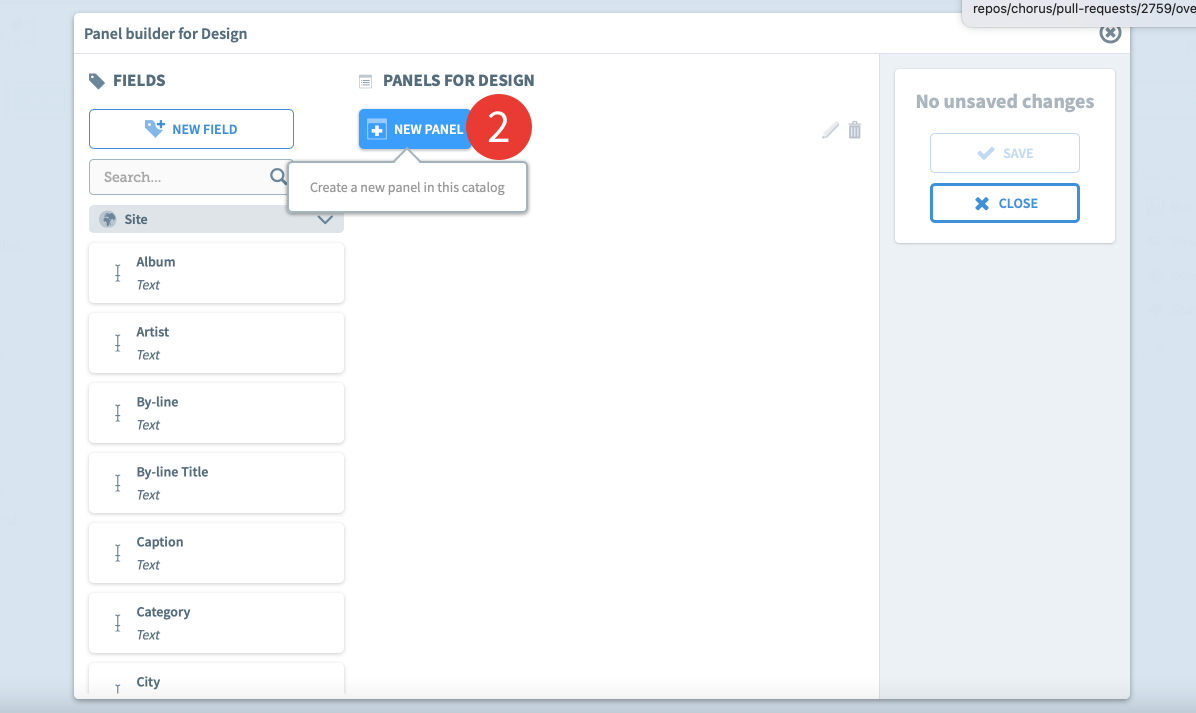
2. The Panel builder is composed of two sections: Fields & Panels. Create a new panel by clicking on the New panel button, in the Panels for the space section.
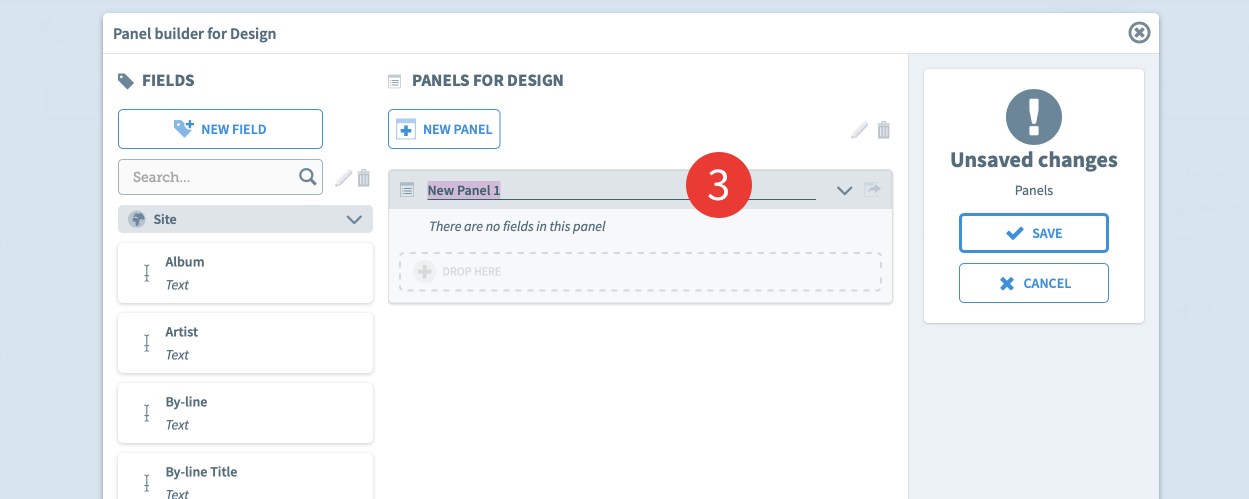
3. A new panel is created. Choose a name for it and press enter or click anywhere else to save its new name.
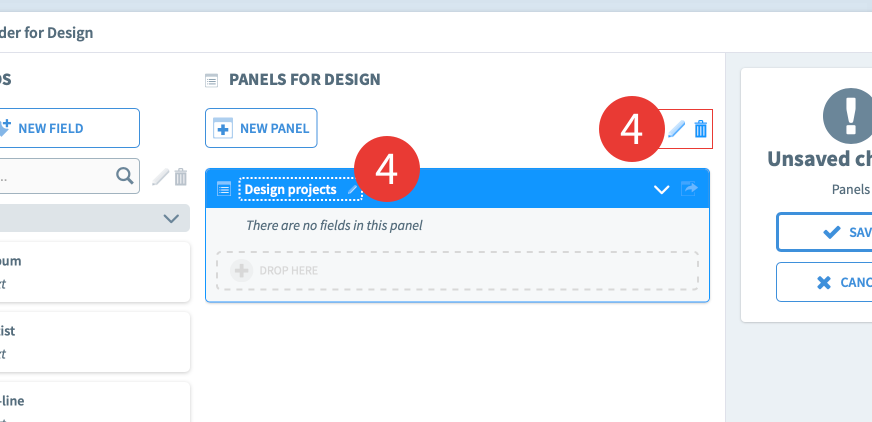
4. You can edit the name at any time by clicking on the pen icon, or delete it by clicking on the bin icon (available when the field is selected).
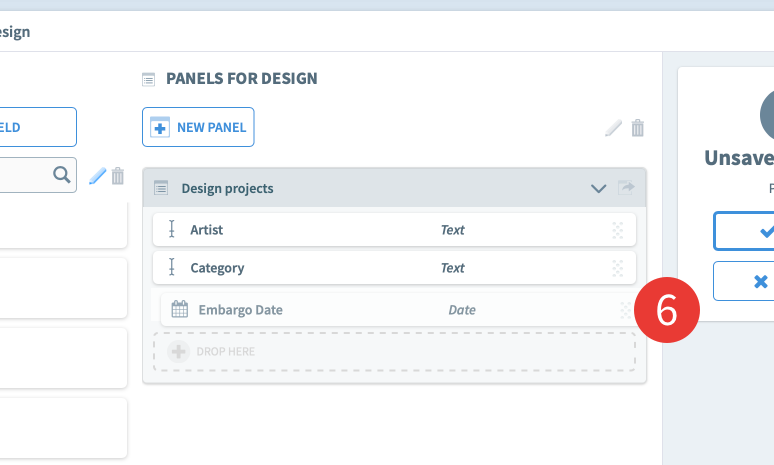
5. To add fields to the panel select one or multiple fields from the Fields section and drop it into the panel. You can also create new fields by clicking on the New field button.
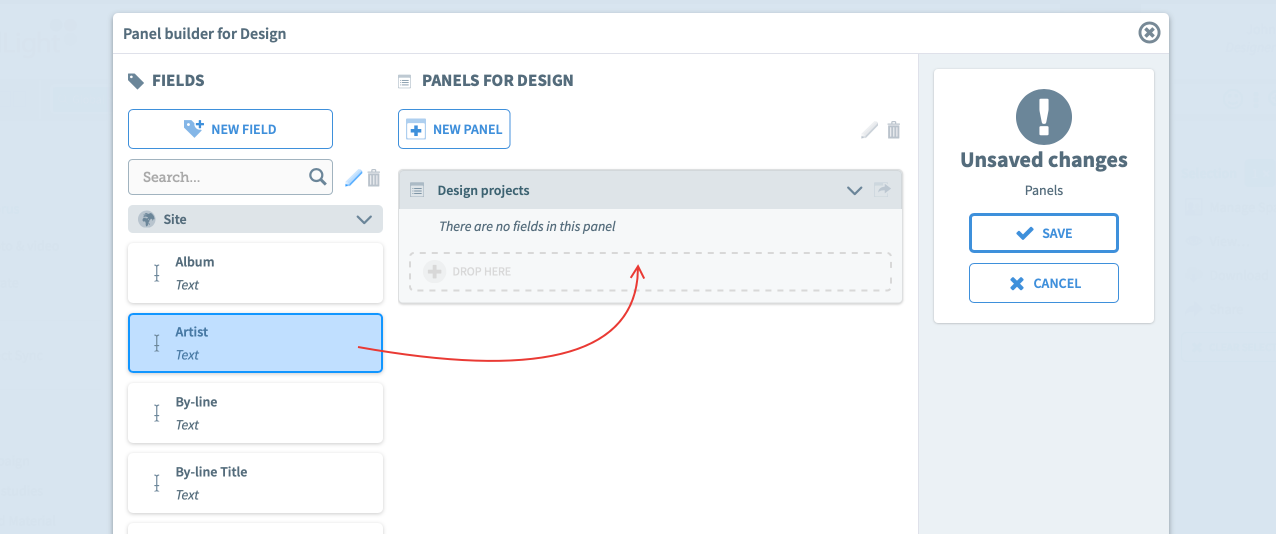
For details on each of the field types that come prepackaged with a Chorus site, see About metadata fields.
6. Once you’ve dropped all the fields that you need in a panel, you can reorder each one by holding the icon on the right and dragging the field in the position you want it to be.
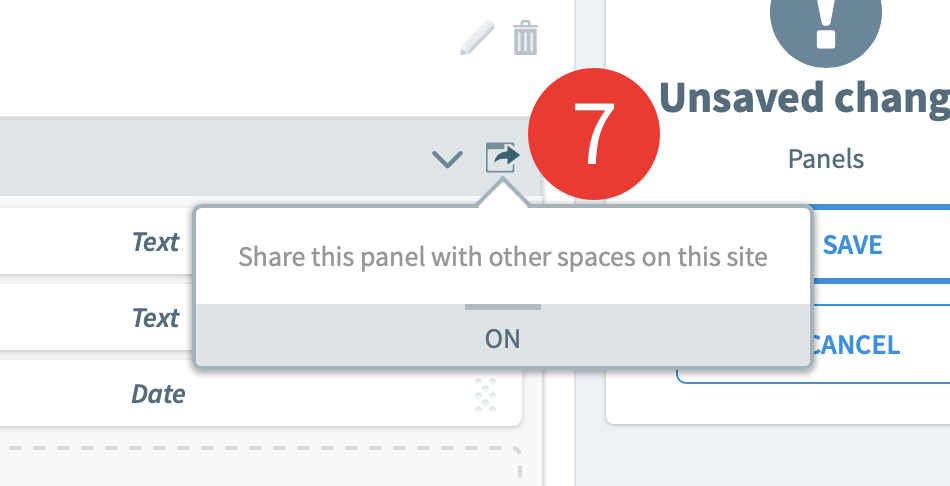
7. Click the Share this panel icon to make this panel available for other users to add to their own space metadata manager, or to the site for Admins.
8. Once you’ve created all the panels that you need, press Save and close the modal.
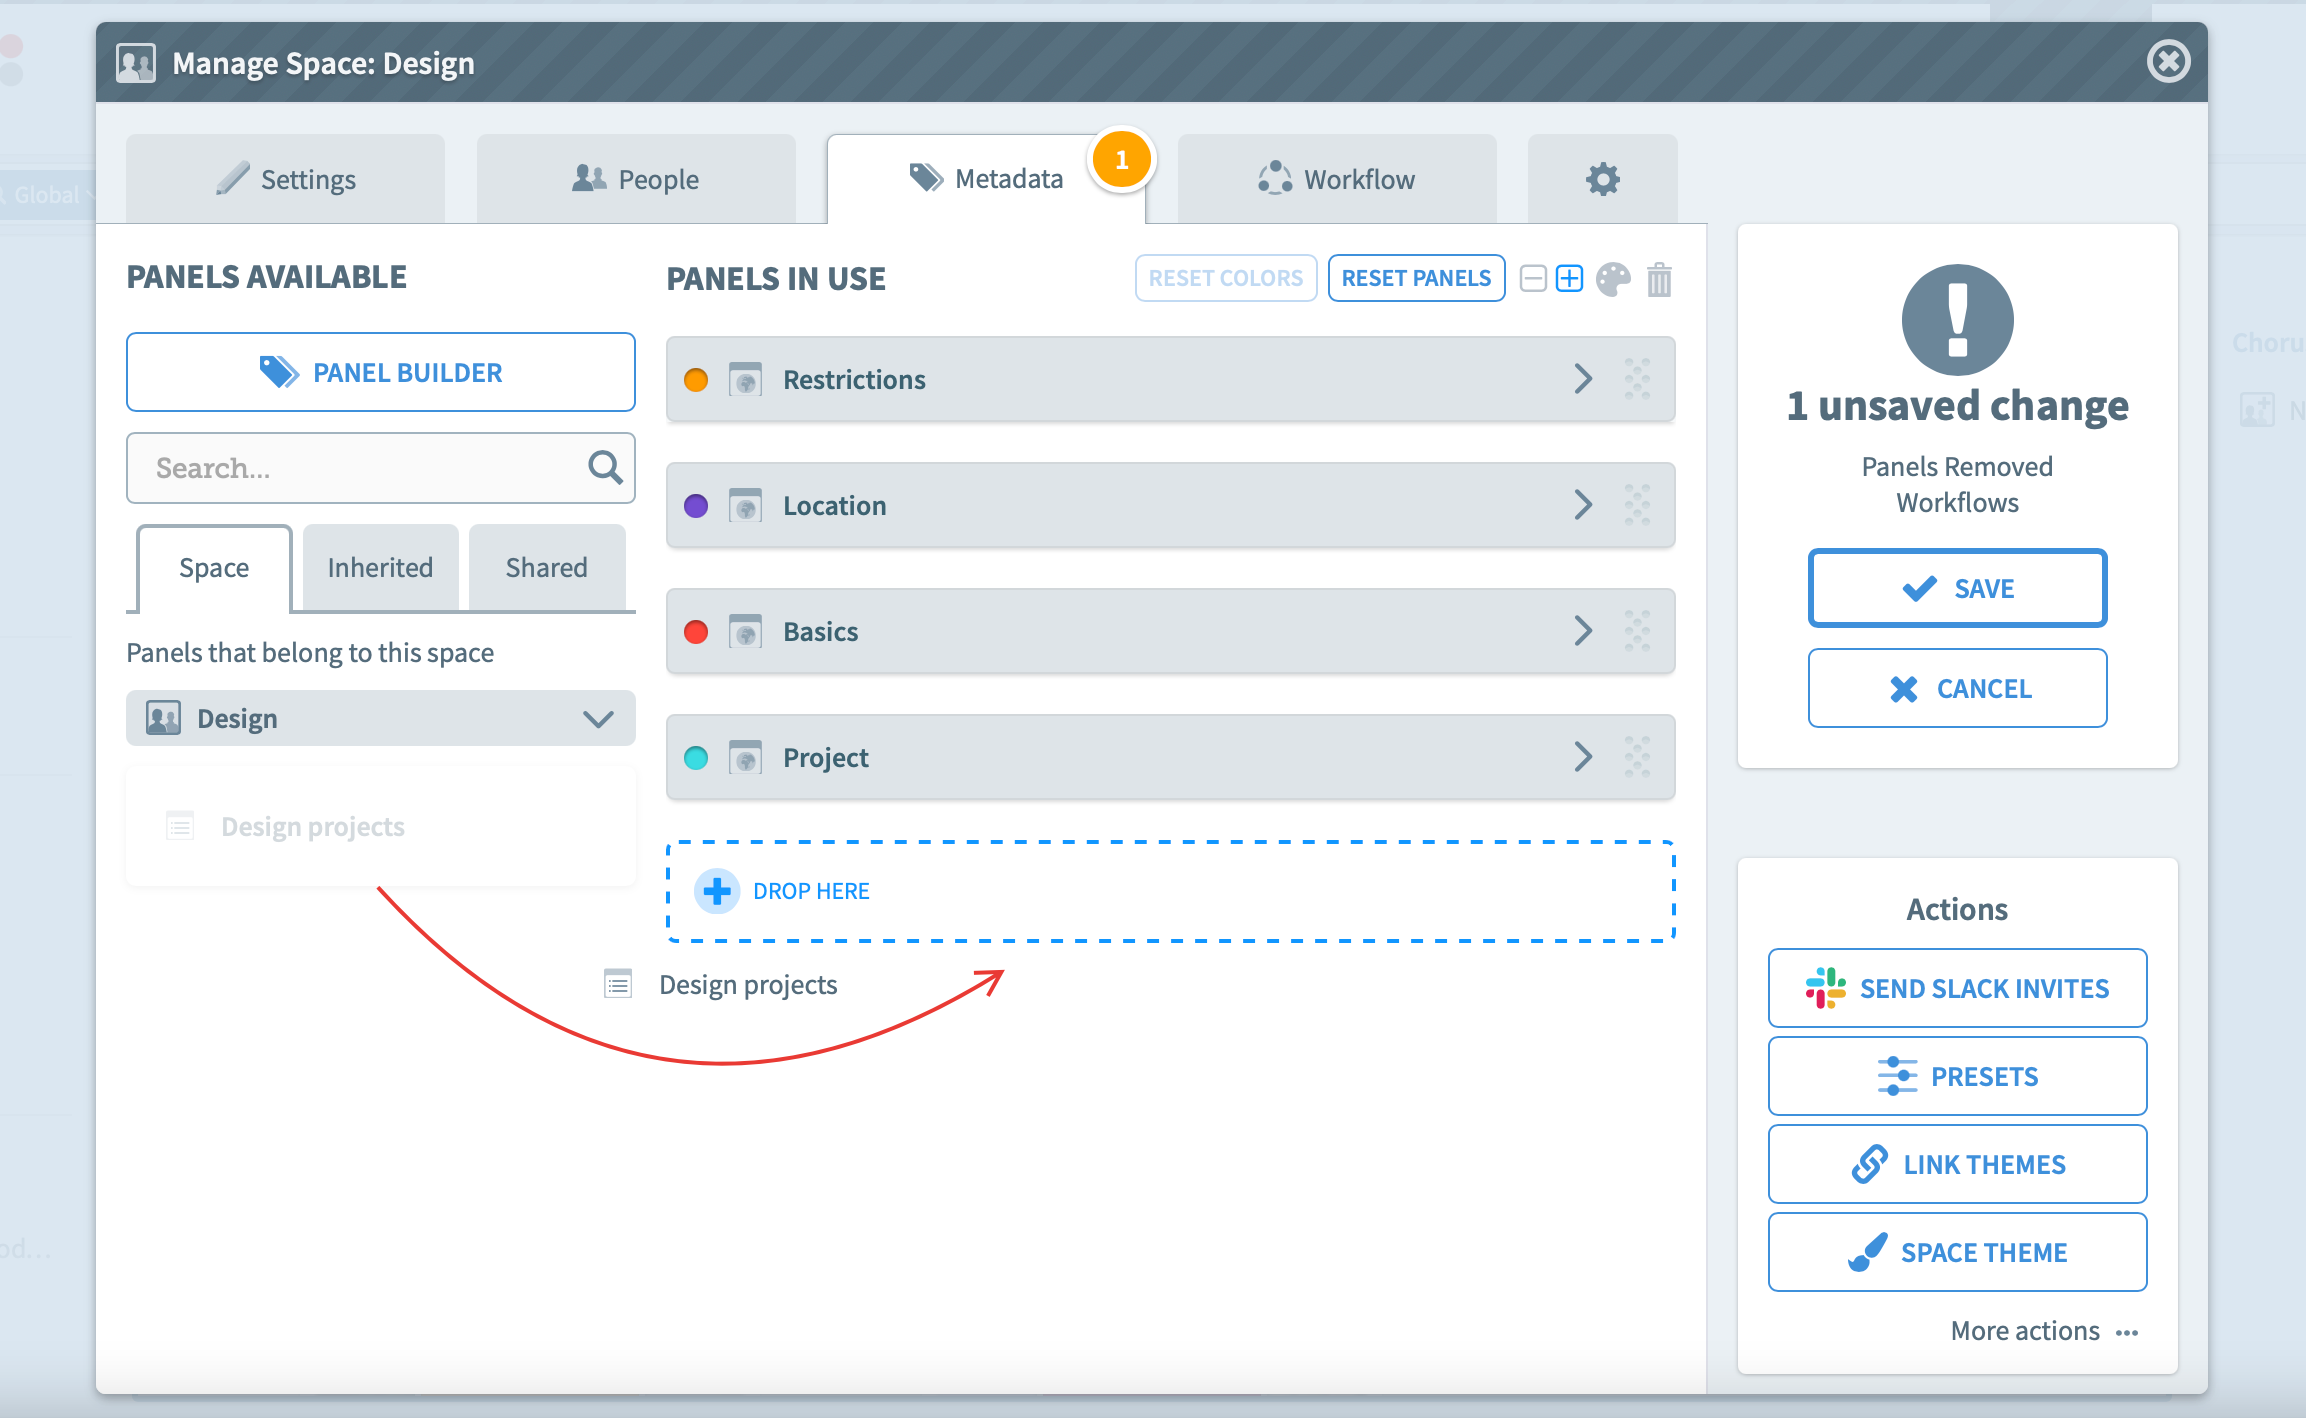
9. This will take you back to the space metadata manager. You will see the new panels created under the Space tab. To apply a panel to the Space, select it in the Panels available section, and drag and drop it into the Panels in Use section.
10. You can also remove a panel from the list by selecting it and clicking on the bin icon.
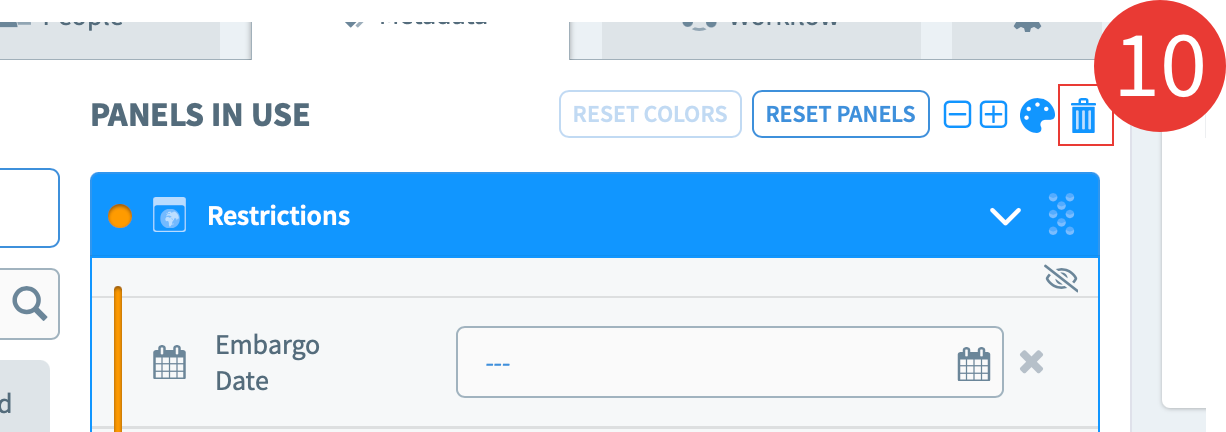
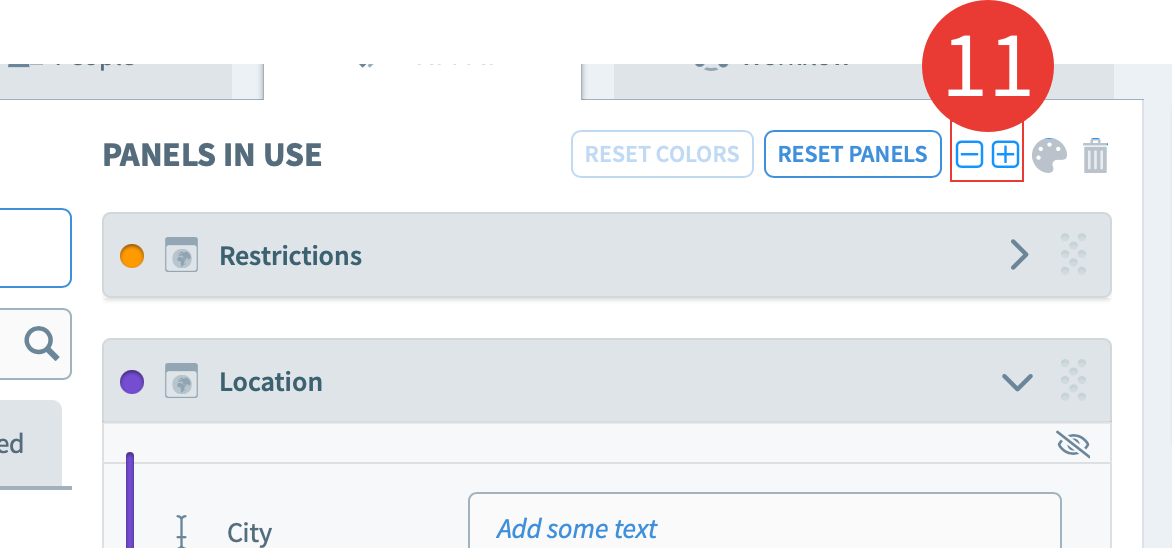
11. You can open and close all panels at once by by using the ‘-’ and ‘+’ buttons.
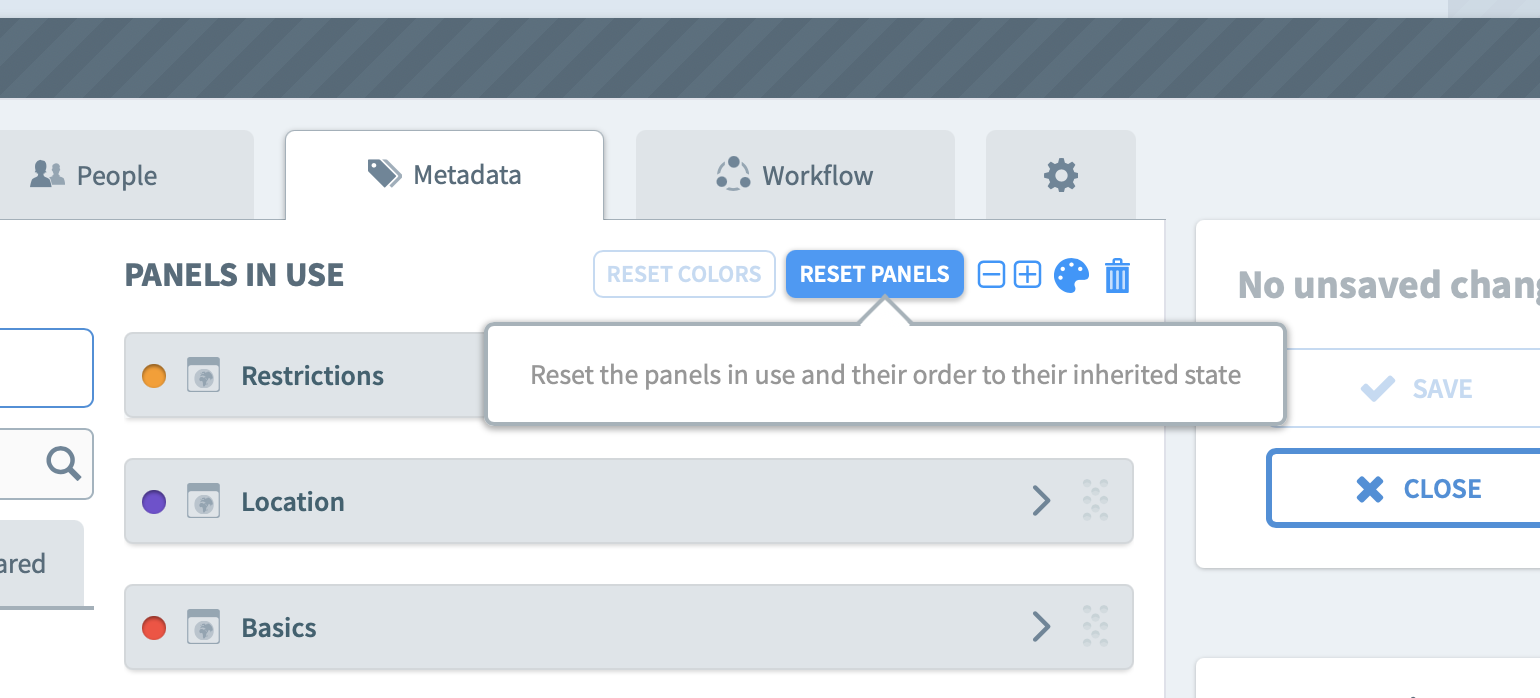
12. To go back to the inherited state, click on Reset panels. The order and panels will be similar to the site or parent space metadata panels. You can re-apply space panels by dragging them in again into the Panels in use section.
Step-by-step: Apply colors to Panels
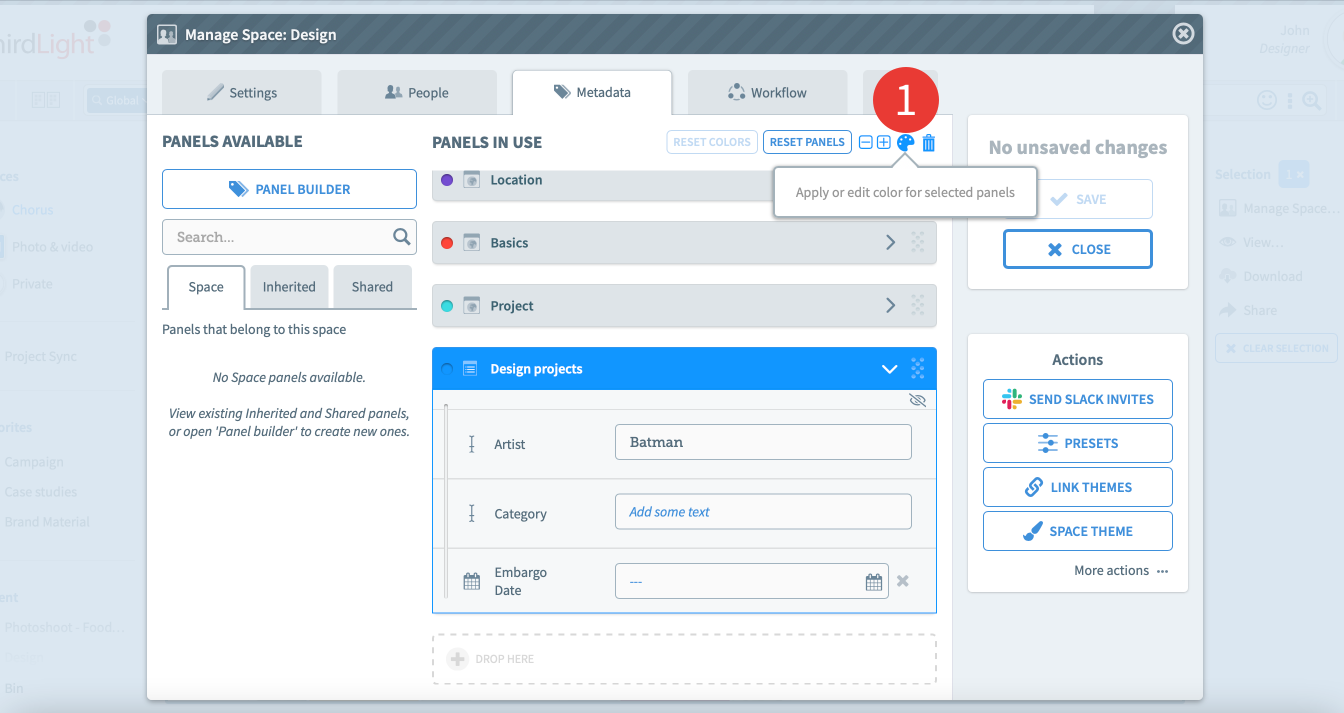
1. In the Space metadata manager, select a panel in the Panels in Use section, and click on the palette icon. If there is no panel in this section, drag and drop a panel from the Panels available section, or create a new panel through the Panel builder.
2. A dropdown will open, showing a list of 11 colors. Click on the color of your choice to apply it to the panel.

3. To apply color in batch, select multiple panels at once and click on the palette icon. Select the color of your choice.
4. To remove a color, click on the last square (white with red line).

5. Once you have applied all colors to the panels, click Save and close the Metadata manager. The colors will cascade down to any Sub Spaces using those Space panels.
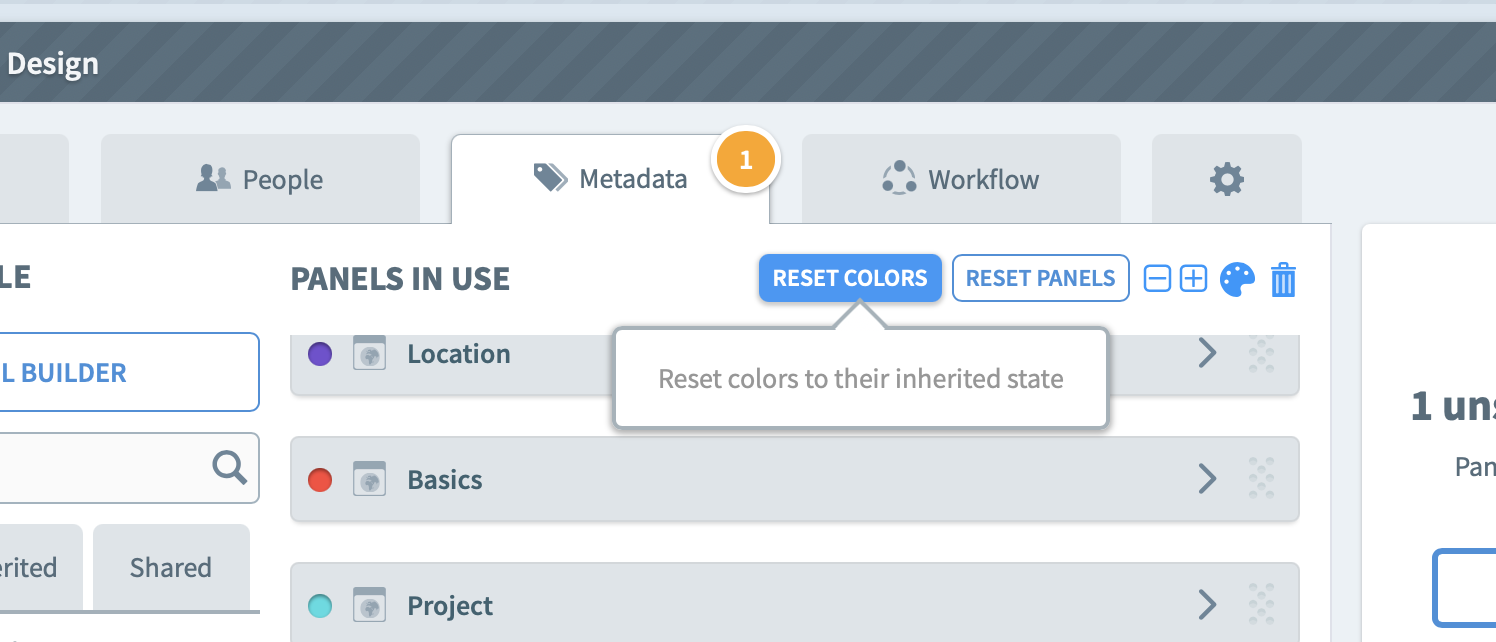
6. To Reset panels to their inherited colors, click the Reset colors button. Space panels will then loose their colors. You can reapply them by clicking on the palette icon again selecting a color.
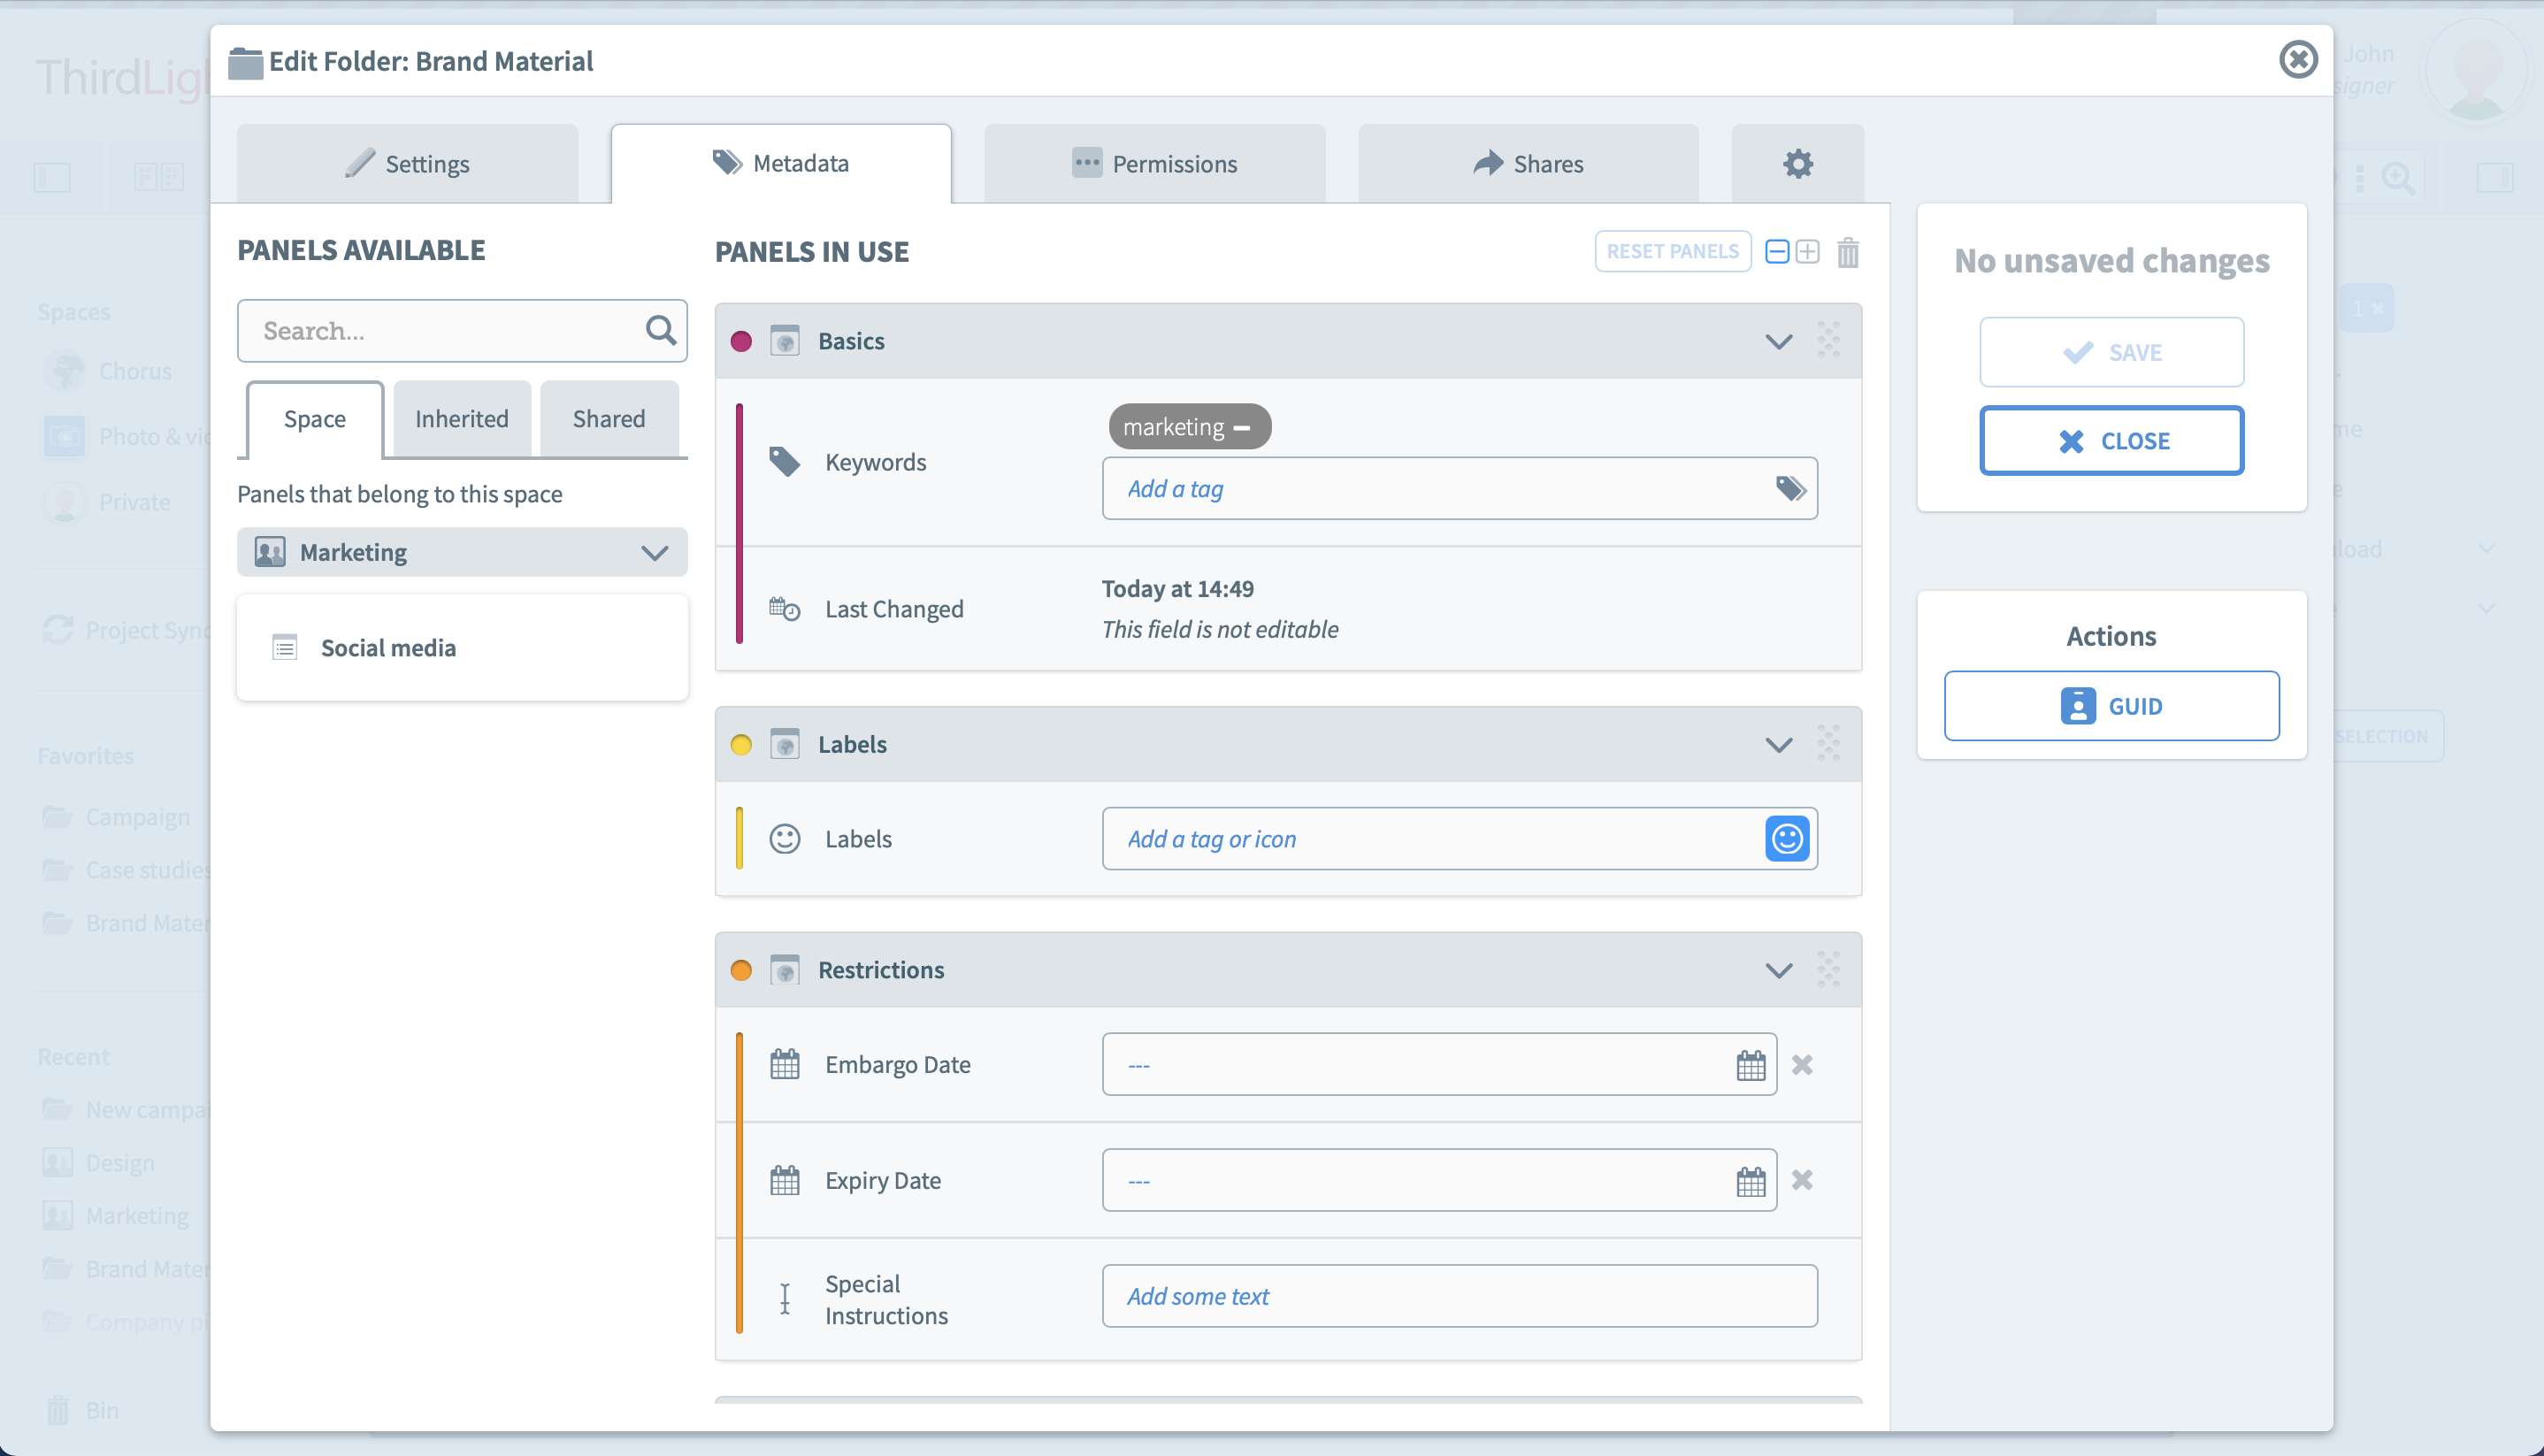
Once colors are set on metadata panels (from the site or space metadata manager), they will also show on Folders, in the Edit modal > Metadata tab:
Colors applied to Panels will also show on Files, in the Edit tab of the file preview:

Users with Edit permission have access to this tab. Here, each user can reorder panels in a position that makes sense to him, as well as open/close panels by color.
Step-by-step: Change permissions of a panel
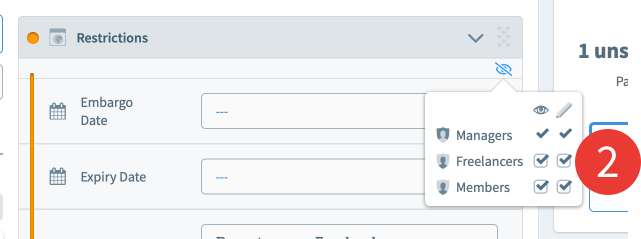
You can control who can view and edit the metadata panels applied in each space in Chorus. Each panel has a permission setting for every role in the space which can be set to hidden, viewed, or edited. Managers will always see all the panels in their space.
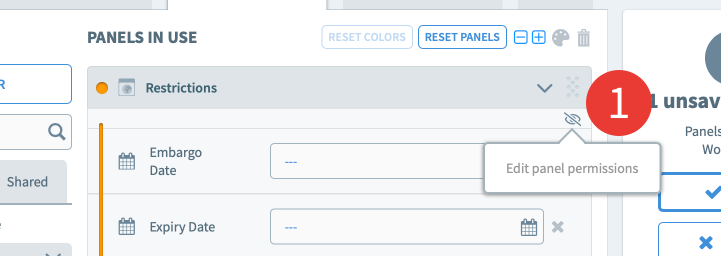
1. Click the panel permissions icon in the top right-hand corner of a panel to make changes.
2. Use the tick boxes for the ‘view’ and ‘edit’ permissions in each role to apply the desired settings.
More on managing the metadata of spaces:
You are here:
